I am pushing a large quantity of water through the sump to filter my 3m aquarium, so it needs to be large enough to accomodate this. Going a whole week without having to change out/clean the filter mats would be an added bonus too.
 This how I spent my day.
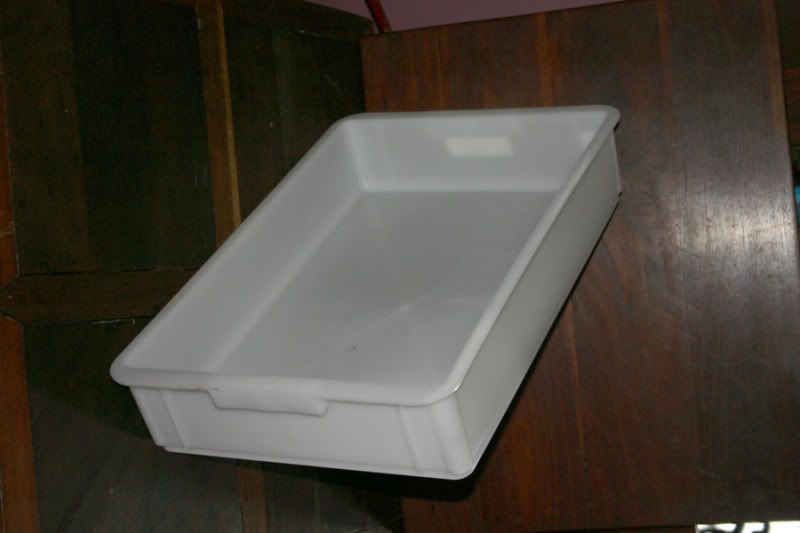
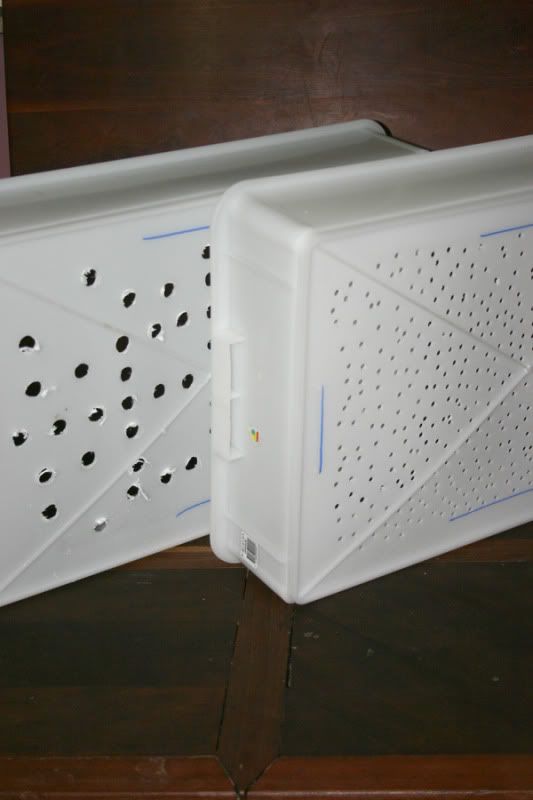
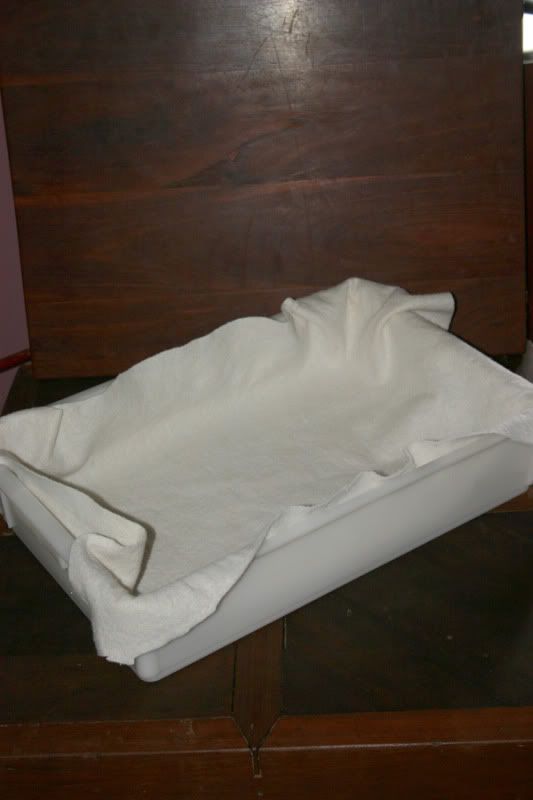
Step 1: I needed stackable containers. These are about 60cm x 40cm on the top rim, and fit very snuggly on of the bracing of my sump
Step 2: A 6mm and 16mm spade bits were used to pepper the holes into the floor of the trays. I used the 16mm spade bit to try and save some time, but the holes that it cut were very messy. The 6mm spade bit carved through the plastic like butter, but took a long time. Pretending to be a sewing machine helped...a little

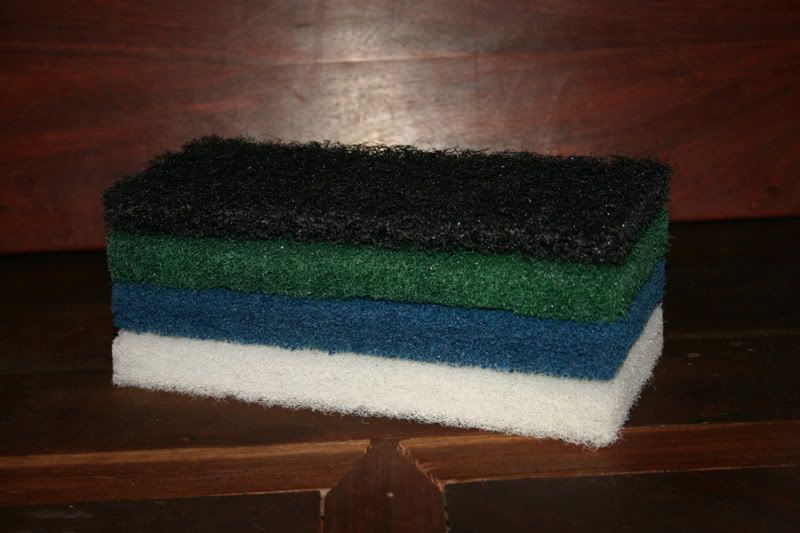
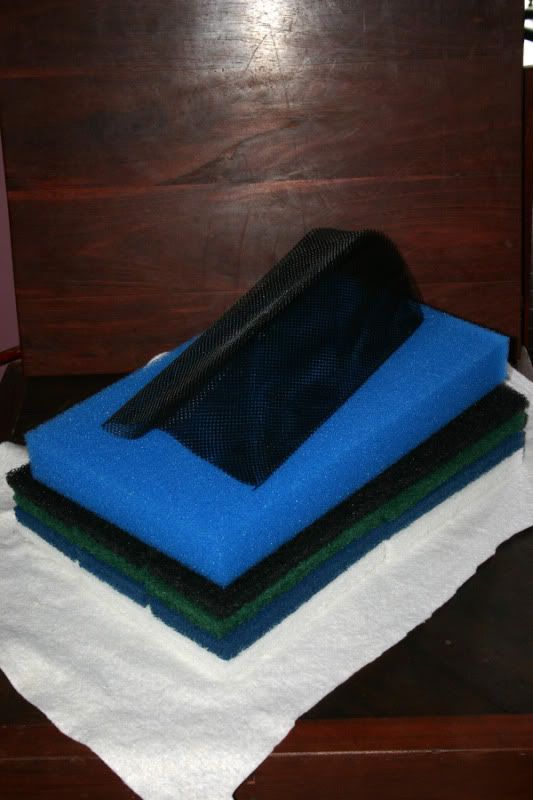
Step 3: I found these nice cleaning pads at my local hardware shop. 6 of them laying flat just about fills the entire area. These came in 7 colours and 7 densities, so I picked the best 4 as thats how many deep fitted in one tray. I cooked/rinsed these in the dishwasher before using.

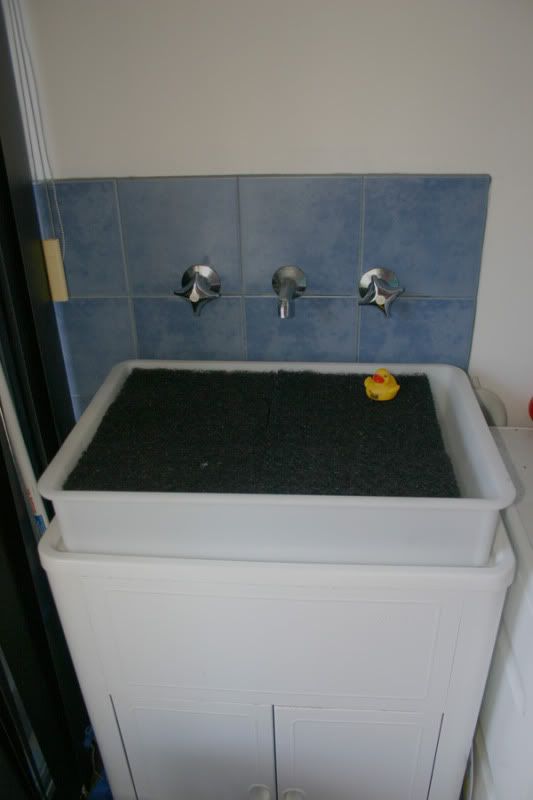
Another real bonus with these trays is they fit perfectly into the laundry sink

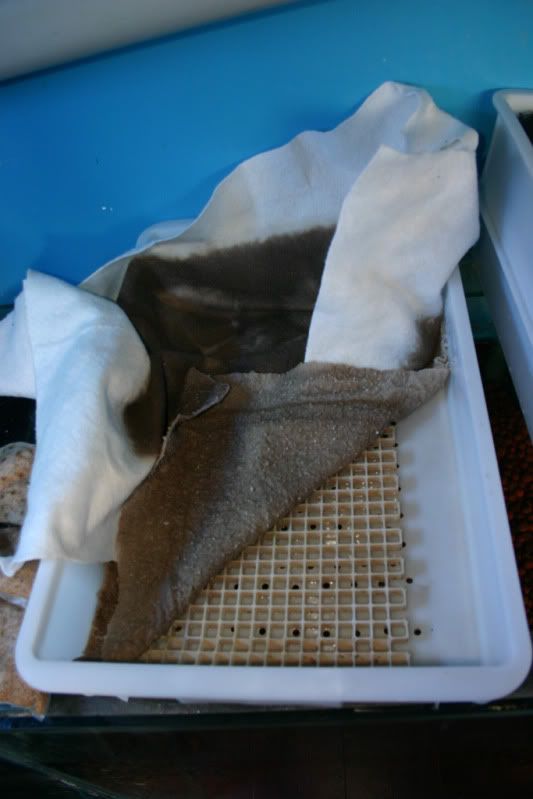
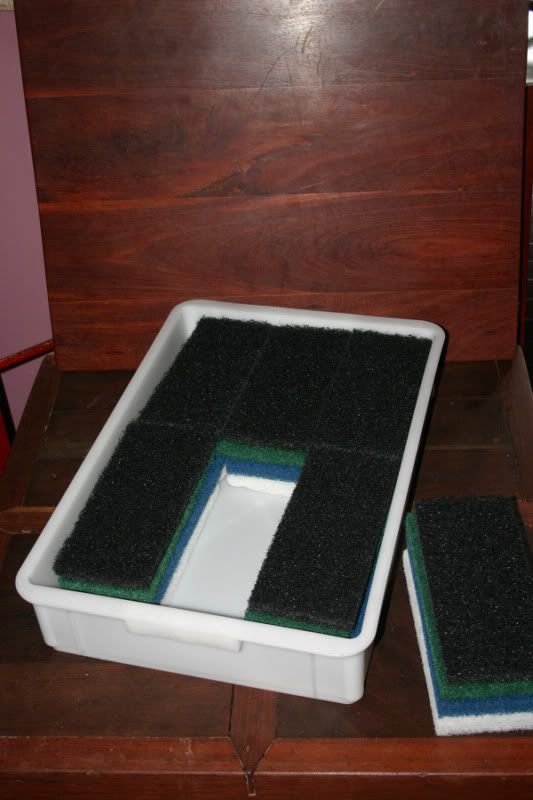
Step 4: The bottom tray is for the fine quilt material. Its kept off the floor of the tray with a sheet of eggcrate. There is plenty of room in this tray for activated carbon or other water polishers, and for the water to back up as the cloth starts to clog.
Step 5: This is the line up of filter material from overflow to sump. plastic mesh with 3mm holes on the overfow to stop leaves and fish going over - common blue aquarium foam in top tray to spread the flow of water and take out the largest particles - 4 densities of cleaning pads from coarse at the top to fine at the bottom - finishing with the fine quilt material.
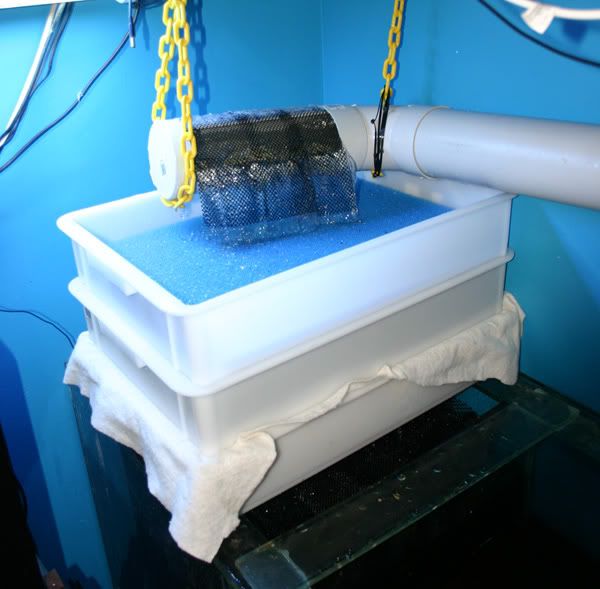
Step 6: Inplace and the water is flowing. Nothing gets out alive (that is visible to the naked eye). Thats a 100m pvc pipe drain for scale. The gutter guard over the pipe exit helps guide the waterfall down and reduces the splashing to almost zero, its only glued at the top like a flap so it doesnt trap any solids.
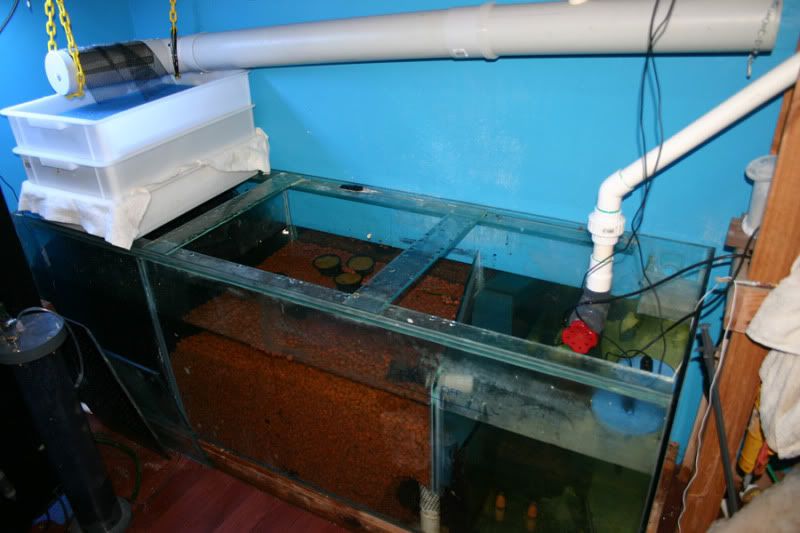
And how it sits on the sump. The sump is an old 6x2x2, and most of the bio filtering is done with 135 liters of hydroton (expanded clay balls) and 30 rolls of gutterguard. Im going to add some lighting over this soonish, and try to grow some lettuce in there aquaponic style.
Step 7: Hopefully enjoy some crytal clear water in a few days
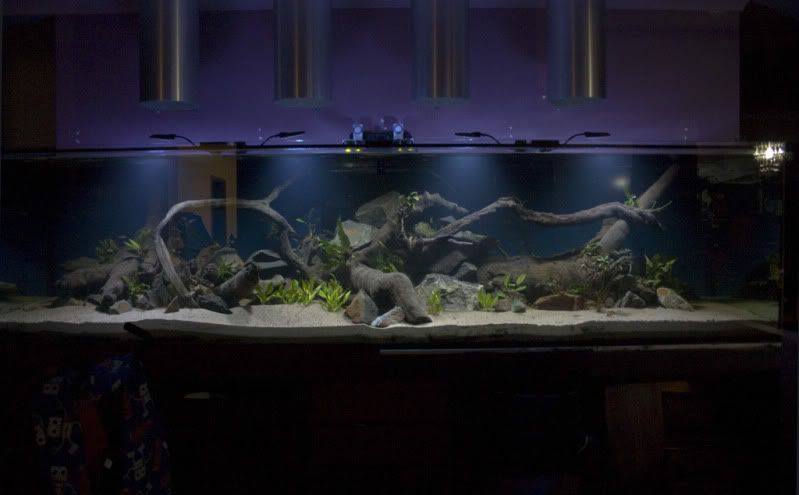
 This was taken a few hours ago, and you can see the cloudiness under the LED units. The LED units are 3W, and light the tank beautifuly for evening viewing.
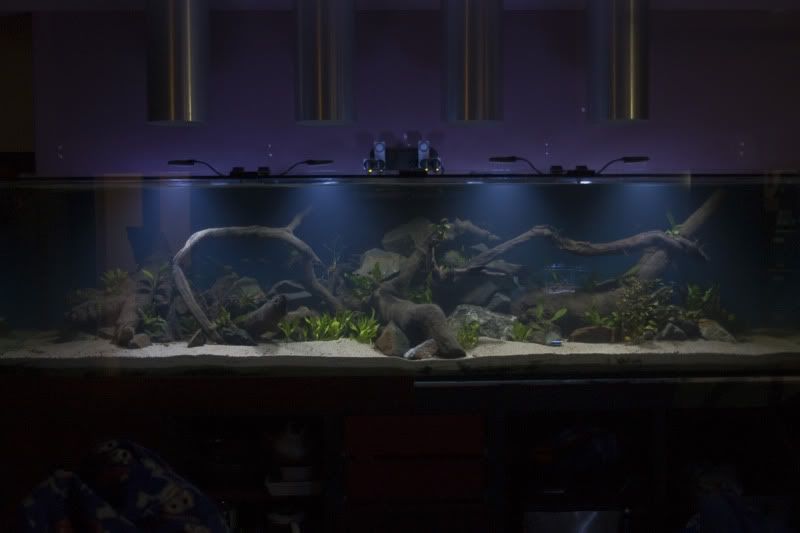
Updates when(if?) the water clears