Jump to content


Posted Image

PCS & Stuart M. Grant - Cichlid Preservation Fund - Details here


Photo

1100ltr Tank Progress


  • Please log in to reply
56 replies to this topic

#21 SamJohns

SamJohns
  • Forum Member
  • Joined: 31-March 12
  • Location: Maylands

Posted 23 April 2012 - 12:19 AM

Started having a play round with where I wanted the baffles. Just need to ger another sheet of Perspex tomorrow for the other side. Cut it to fit, then drain the tank and silicone in place.

I drilled alot of holes "instead of having a straight overflow" in the 2nd last baffle before the water flowed to the return pump and had the sheet go rite to the top of the sump. Just to make sure no debris of anykind got into the last section where my pump is in.


#22 Bowdy

Bowdy
  • Forum Member
  • Joined: 21-May 10
  • Location: Parkwood

Posted 23 April 2012 - 08:05 AM

Doing a sweet job there man.

In the sump the water should flow under the 3rd baffle not overflow.

So water enter's the sump under the 1st baffle over the 2nd onto the filter wool through the media then egg crate under the 3rd baffle over the 4th to the return pump.

That's how I would have thought it would go. I'm no expert so What do others think ?

#23 SamJohns

SamJohns
  • Forum Member
  • Joined: 31-March 12
  • Location: Maylands

Posted 23 April 2012 - 06:30 PM

Makes sence man!

Haven't glued anything in yet so all good.
Just tried it then and the current s quiet strong either way.

I'll do some more research now.


#24 SamJohns

SamJohns
  • Forum Member
  • Joined: 31-March 12
  • Location: Maylands

Posted 23 April 2012 - 07:30 PM

Picked up this lil guy today.
Thought I was over keeping oscars. But this dude was pretty cool looking. My girlfriend usually names all the fish I have. "to be quote honest I have no real interest in naming every fish I keep". But I think I'll call this lil guy "Sanchez"

Put the eheim canister thats been running through the sumo for a few days and an air pump in the tank while I've turned off the return pump and drain the sump to silicone in the baffles.

Not going to lie. I do enjoy how small he looks in there!

Edited by SamJohns, 23 April 2012 - 07:33 PM.


#25 danotaylor

danotaylor
  • Forum Member
  • Joined: 22-April 10
  • Location: east perth

Posted 23 April 2012 - 09:15 PM

Awesome lookng set-up Sam...it's awesome fun having a crack at something on the larger side hey...I have just built a sump for a 1340 litre tank...first go for me...it is very basic but is working well. 1st baffle 1" off bottom, 2nd baffle 1" away from 1st and 20cm high from bottom of sump. Media is expanded clay (not water logged yet), jap mat cut to fit 33.5cm L x 58.5cm W, fliter matting to remove solid waste. Have a 500 lph eheim compact + 2 x 300 W eheim heaters.


Good on ya bloke!
Dano
actually you live just down the road...if you wanna come have a looksy give us a bell bro
BTW Sanchez is a sick lookin oscar dude...awesome sauce!!

Edited by danotaylor, 23 April 2012 - 09:38 PM.


#26 SamJohns

SamJohns
  • Forum Member
  • Joined: 31-March 12
  • Location: Maylands

Posted 23 April 2012 - 10:58 PM

Looks fantastic man!

Bowdy actually sent me a pic of yours. I really like the way that's set up.

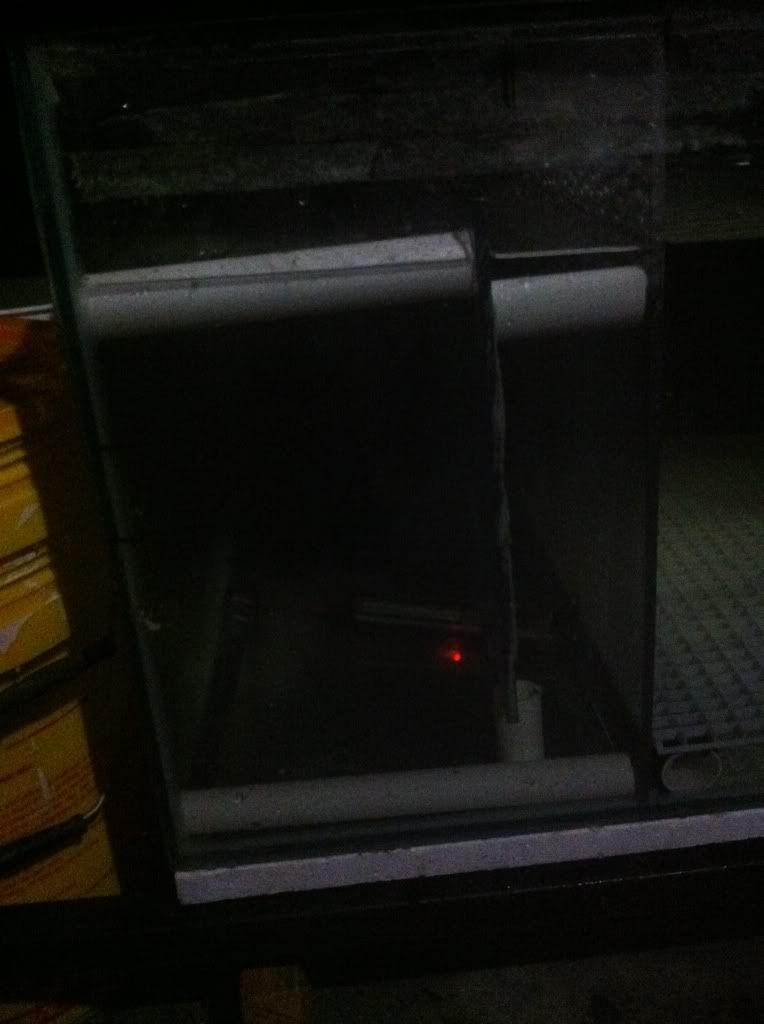
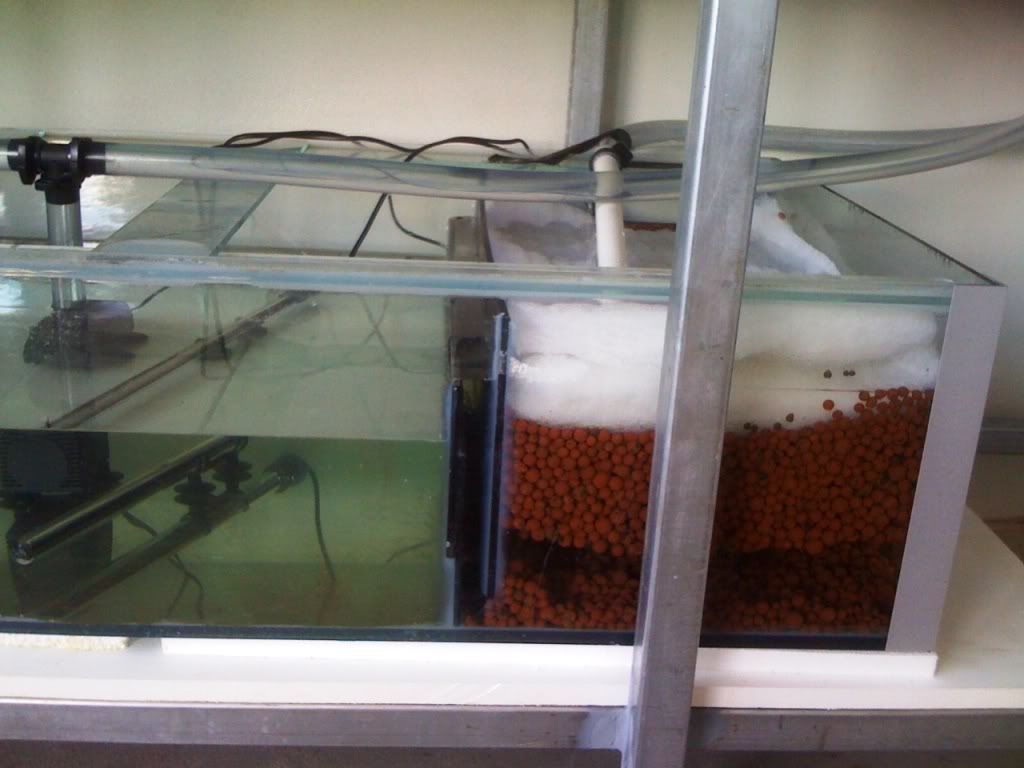
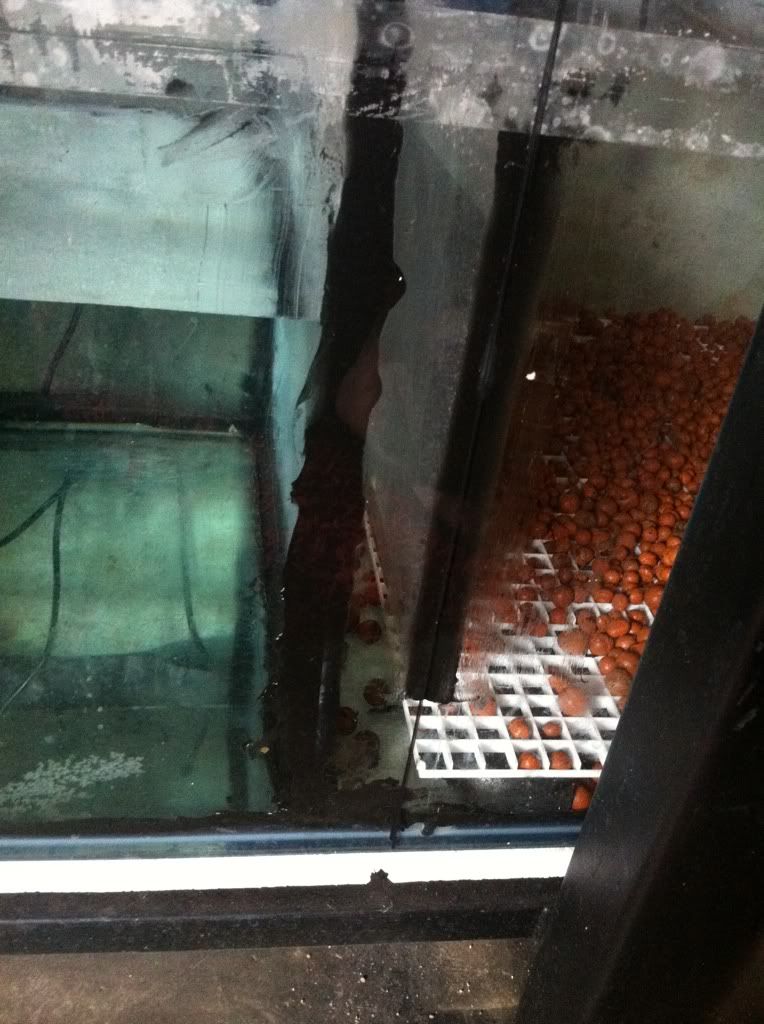
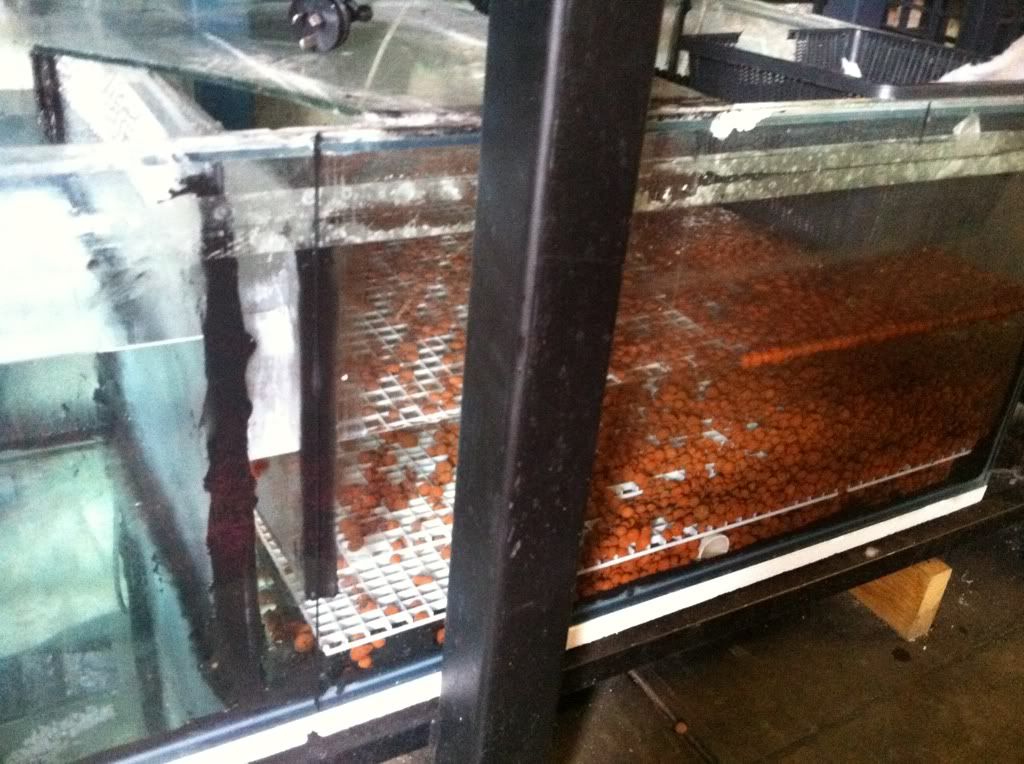
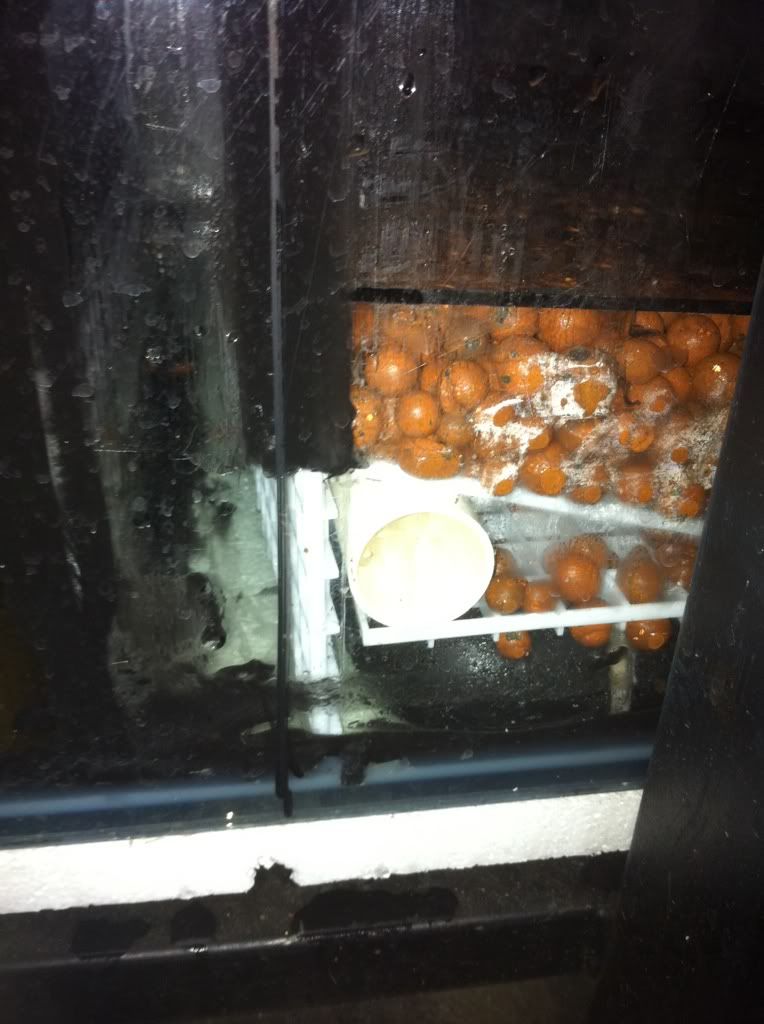
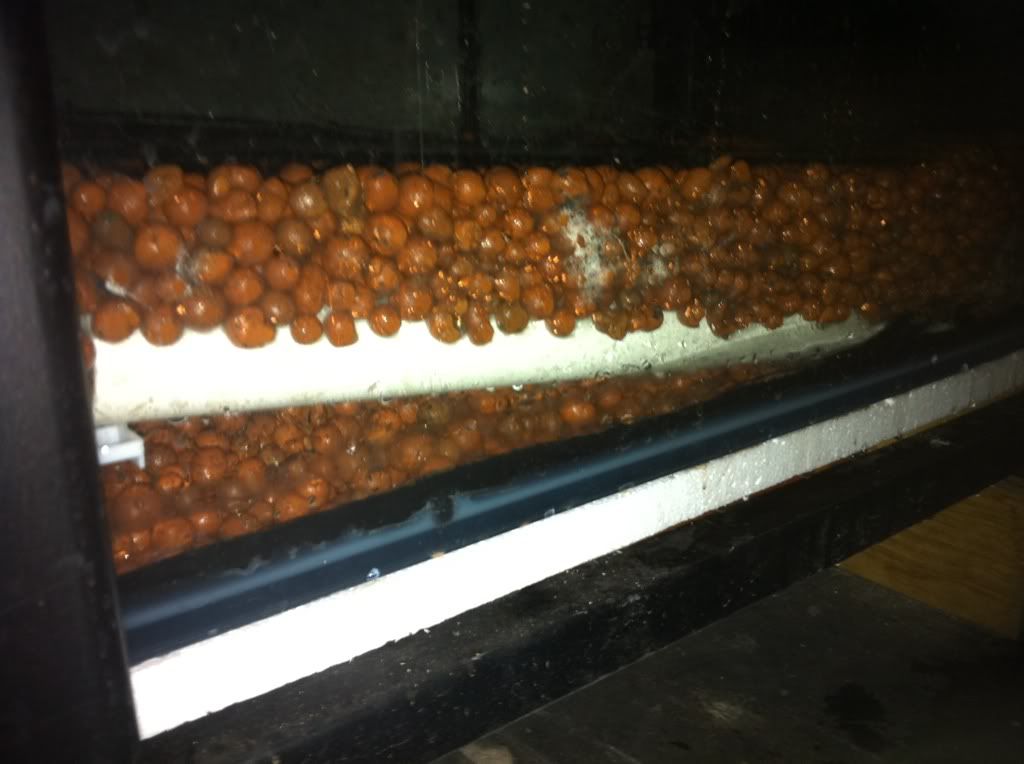
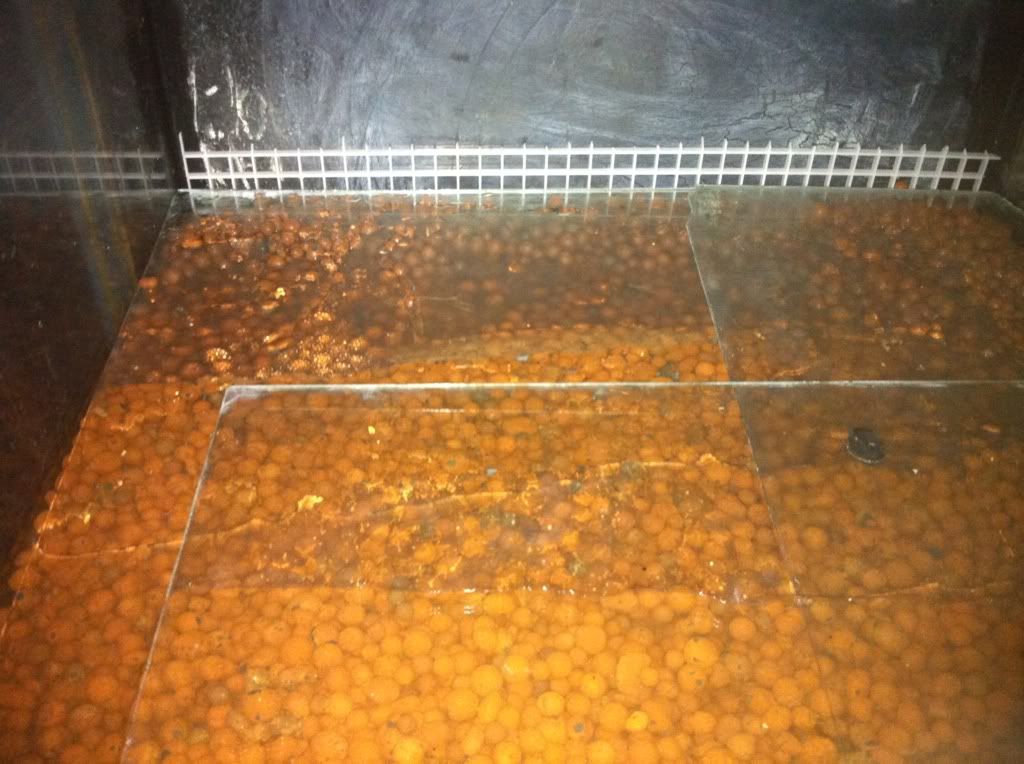
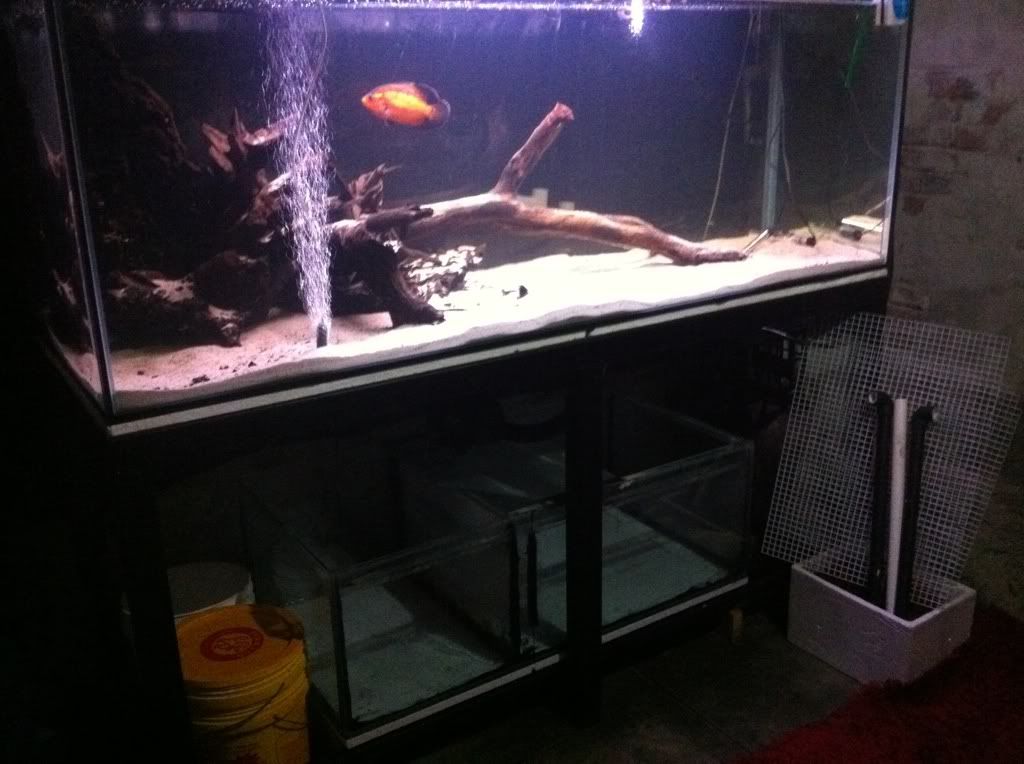
Ive actually just siliconed the baffles in this evening. Got expanded clay from bunnings as well. Think 1 more bag should do it!

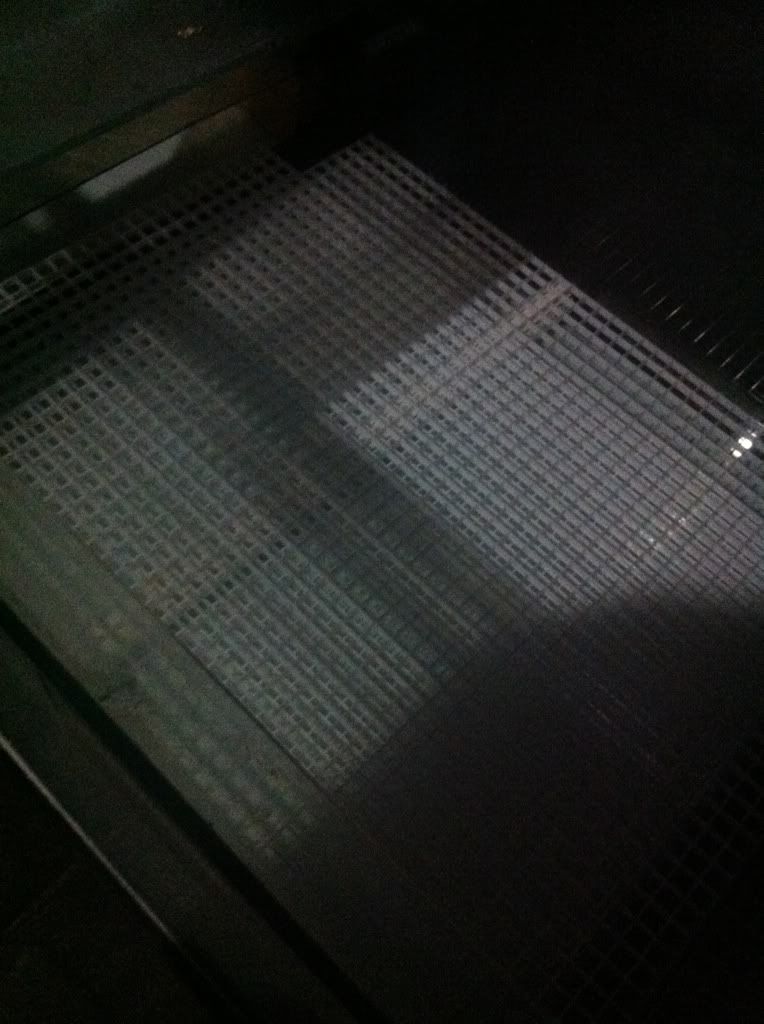
Popped some double up egg crate about 25mm off the bottom to try keep the flow as fast as possible.

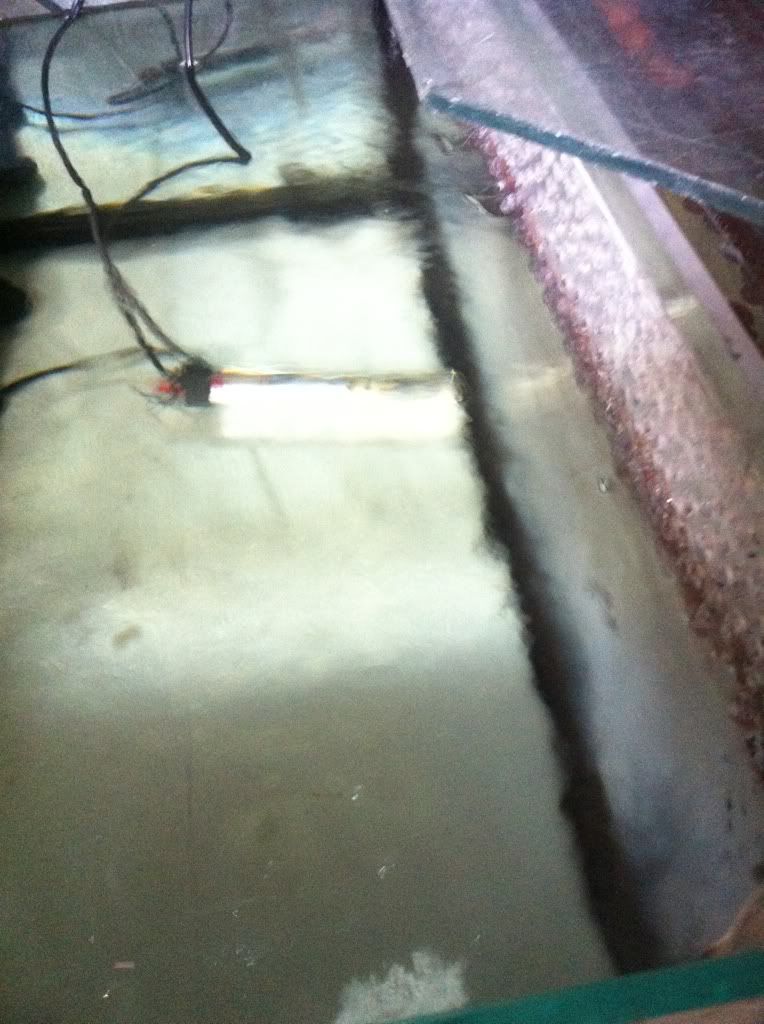
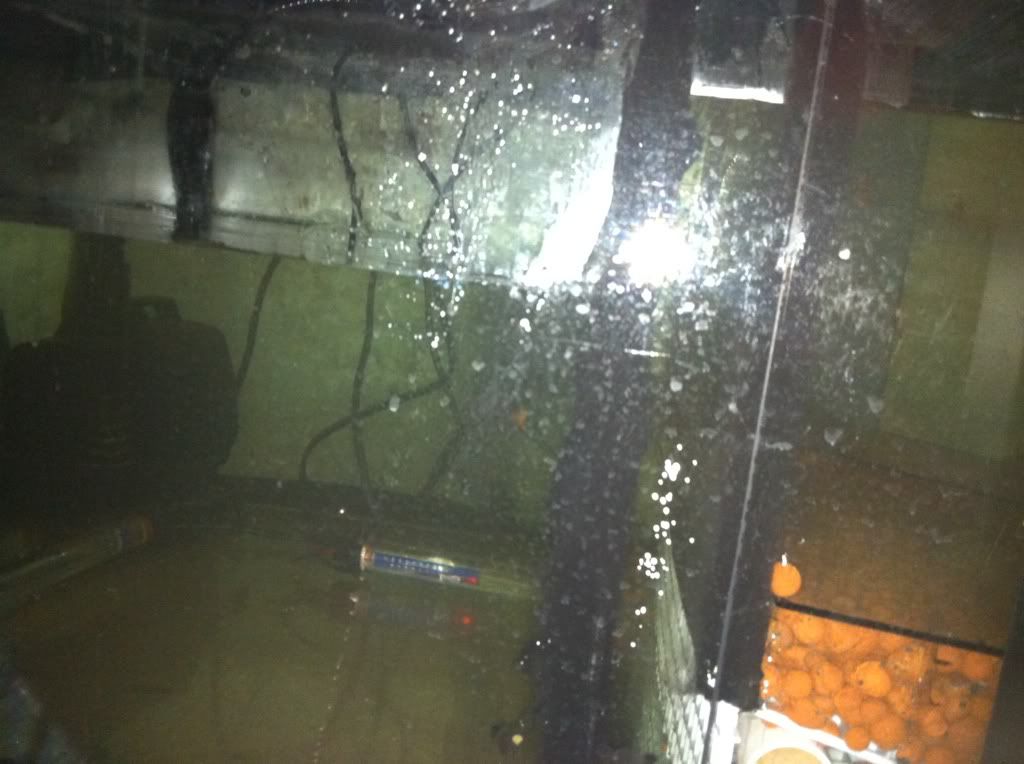
Gave the rest of the tank a re-seal after noticing the tiniest slow leak in the front right hand corner!
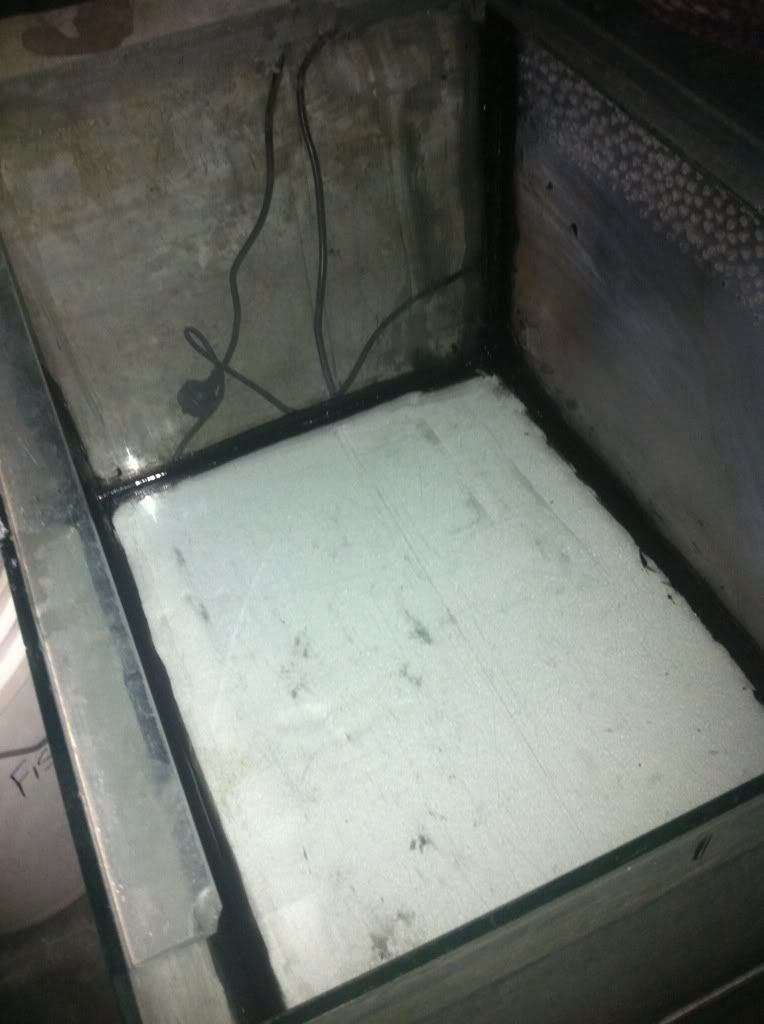
"Don't mind my amazing siliconing job" sump won't be seen anyway so wasn't really fussed about cleaning it up to neat.

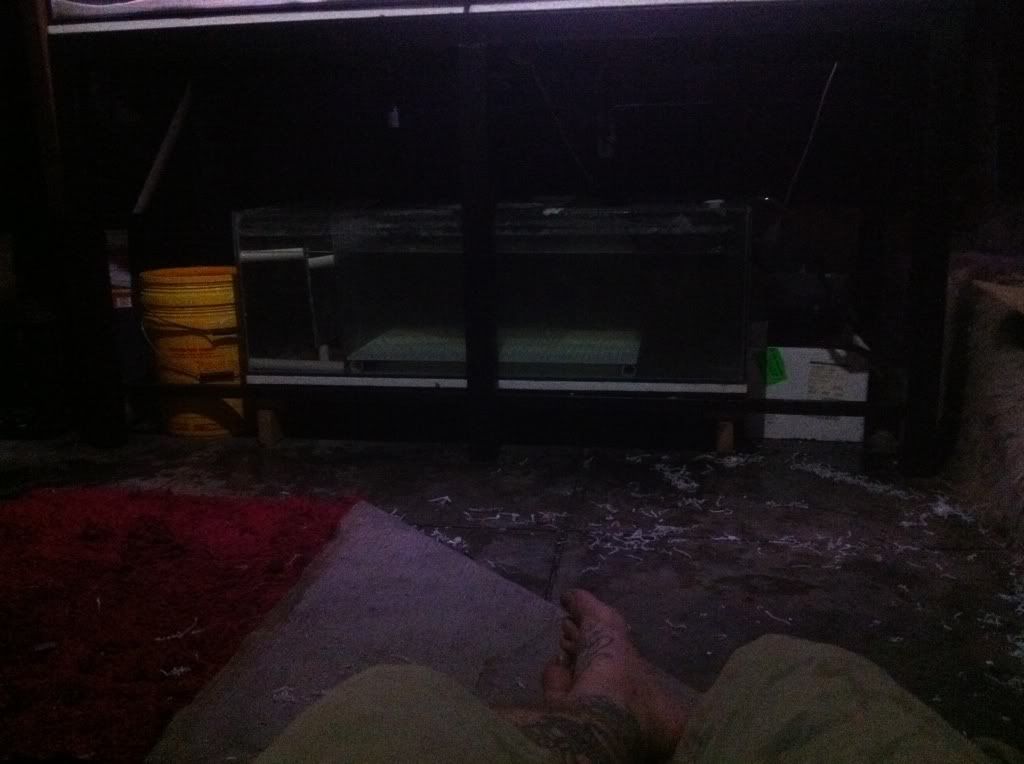
One final thing I did today was lay down an old shag pile rug "which is pretty shed worthy" after a couple of years in my room.


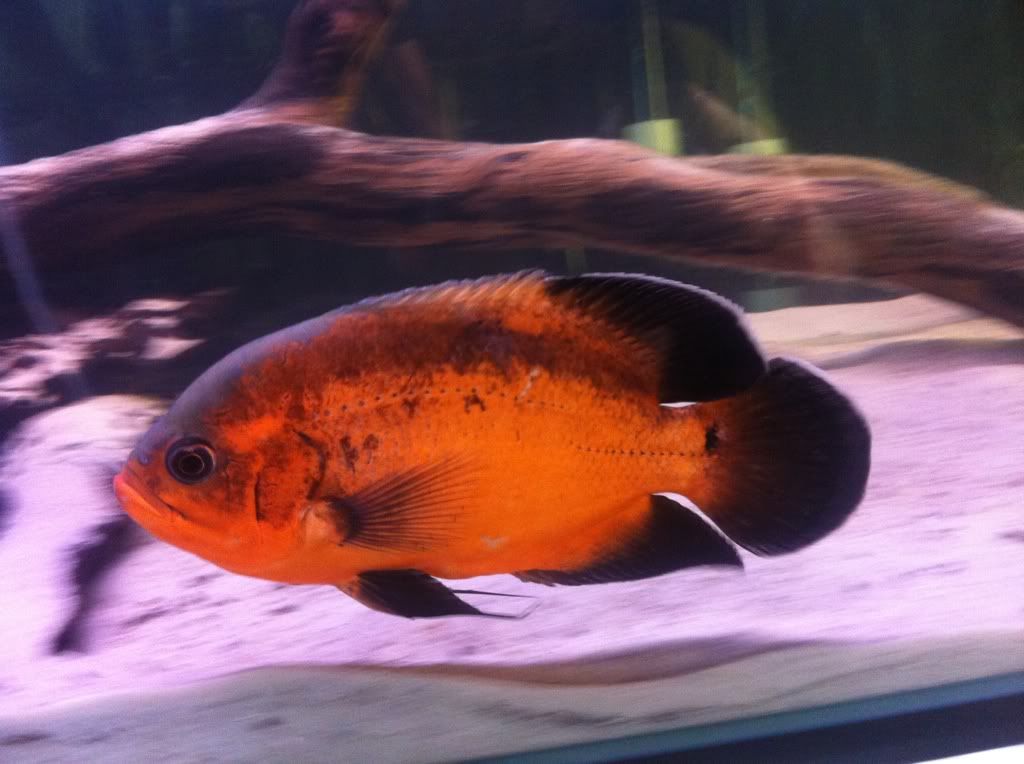
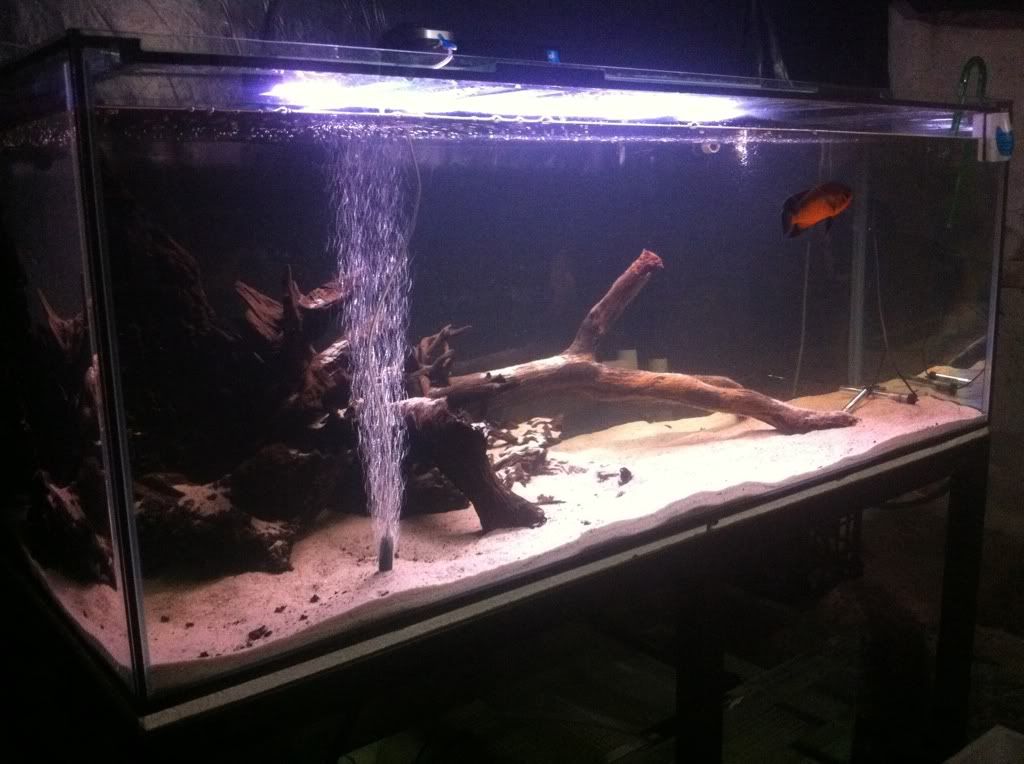
Now just waiting for the silicone to dry and pop the media in and get it up and rubbing again! Leave it for a week or so and start slowly putting the other fish in it I already have. When they are all sweet after another week I have a nice 40cm I'D shark to pick up from Aquotix.

Same goes for you man! Come check mine out anytime.

PM me your number or address what ever and I'll come check it out.

Cheers

Sam

Edited by SamJohns, 24 April 2012 - 12:35 AM.


#27 Bowdy

Bowdy
  • Forum Member
  • Joined: 21-May 10
  • Location: Parkwood

Posted 23 April 2012 - 11:21 PM

Doin a crackin job there mate nice work.

#28 Evil_Boof

Evil_Boof
  • Forum Member
  • Joined: 22-July 11
  • Location: Busselton

Posted 24 April 2012 - 07:35 AM

this is looking awesome sam.. cant wait to see it finished...

#29 Barf

Barf
  • PCS Club Member
  • Joined: 02-August 05
  • Location: Gidgegannup

Posted 24 April 2012 - 12:26 PM

QUOTE (Evil_Boof @ Apr 24 2012, 07:35 AM) <{POST_SNAPBACK}>
this is looking awesome sam.. cant wait to see it finished...


+1

#30 SamJohns

SamJohns
  • Forum Member
  • Joined: 31-March 12
  • Location: Maylands

Posted 24 April 2012 - 01:47 PM

Cheers guys!

Sump had a nice while to dry. Popped some water in it this morning and it works nicely!
Acouple more bags of expanded clay, fix a spray bar onto the outlet hose so it disperses evenly over foam and it will be finished... I think.

Filled the pump side first and there doesn't seem to be any noticeable leaks.


I figured I was going to have pretty large/messy fish so the more media/filtration the better. That is 25ltr of expanded clay. I think 2 more will be sufficient. The clay balls fell down towards the sides, but where egg crate is doubled over for the "most part" the sat ontop.


Seems to be a nice current pushing through. I left the 1st baffle slightly below top of the sump "incase power goes out and the pump for some reason drains the section it's in to quickly. I put the 2nd baffle rite to the top and drilled alot of holes instead of having a straight overflow. Thought this would help keep any sort of debris out of the section pump is in.

Edited by SamJohns, 24 April 2012 - 04:57 PM.


#31 Peckoltia

Peckoltia
  • Forum Member
  • Joined: 15-October 04
  • Location: Dianella

Posted 24 April 2012 - 01:47 PM

Looks the goods mate, well done. Must be excited.

Alex

#32 SamJohns

SamJohns
  • Forum Member
  • Joined: 31-March 12
  • Location: Maylands

Posted 24 April 2012 - 04:57 PM

Cheers man!

Yeah pretty pumped to start putting the other fish in slowly...

Just waiting for lids and the 3 fish I have in there to start cycling the water. Put the first lot of media in this morning and turned on the pump. I will add a couple more bags in the next few days and get a sheet of filter wool to cover the whole thing!

More so pump to pick up this ID Shark I have on hold at aquotix!


#33 Bowdy

Bowdy
  • Forum Member
  • Joined: 21-May 10
  • Location: Parkwood

Posted 24 April 2012 - 05:04 PM

Cracking job mate nice work.

#34 danotaylor

danotaylor
  • Forum Member
  • Joined: 22-April 10
  • Location: east perth

Posted 24 April 2012 - 06:58 PM

Hey good job Sam...I was gonna go with egg crate but in the end I rolled up some gutter guard and shoved it down between the 2 baffles...I figured the exp clay balls could possible block flow thru the egg crate...the gutter guard blocks the clay balls without impedeing teh water flow and stops them travelling thru to the return section...take care mate. Dano

#35 Bowdy

Bowdy
  • Forum Member
  • Joined: 21-May 10
  • Location: Parkwood

Posted 24 April 2012 - 07:25 PM

I think the advantages with a design like what Sam has done over just blocking the baffles with gutter gard is that there is a smalled area of which it can block up with blocking between the baffles compared to a raised platform like Sam has don't. Both looking good though.

#36 danotaylor

danotaylor
  • Forum Member
  • Joined: 22-April 10
  • Location: east perth

Posted 24 April 2012 - 07:33 PM

true...i see what you are saying Raymondo...teh gauge on the gutter guard is very different (much smaller) to the size of the balls...they rest up against it but do not stem the flow at all...anyhoo it's only thru testing and seeing what works hey...many different ways to skin a cat...it's easy to change that aspect of sump design fortunately...smile.gif

Edited by danotaylor, 24 April 2012 - 07:35 PM.


#37 SamJohns

SamJohns
  • Forum Member
  • Joined: 31-March 12
  • Location: Maylands

Posted 24 April 2012 - 09:06 PM

Team man. They both seem like great ideas. This is the first time I've done a sump. So trial and error really. I got some more clay tonight. So I'll give that a clean and have a look how it goes after that. It's such a huge space I have put it in I doubt I'll have trouble with flow. But we'll see. I mean some have gone to the bottom. But there is still alot of free room for water to move.

Got your message dano! I'll give ya a call sometime and come check it out for sure smile.gif

#38 SamJohns

SamJohns
  • Forum Member
  • Joined: 31-March 12
  • Location: Maylands

Posted 25 April 2012 - 12:19 AM

Wasn't really happy with the way I had the expanded clay setup in the sump. So I stripped it before I put the second bag in. Placed a piece of egg crate flush with the 1st baffle. Then stacked a piece on 2 pieces of PVC I have running across the tank, followed by another piece of PVC and another piece of egg crate on an angle "all the same size. Then placed a large piece over the top of that, that piece goes rite to the right hand side of sump. I then put the existing expanded clay onto it followed by another bag I pre washed. Placed glass ontop of that to weigh it down until it is waterlogged. I left quiet a decent hole at the front rite to make sure enough water through for the time being.


Started the pump back up and the Inlet starts syphoning full ball with plenty of water still over the pump "incase of power out" and pushes a nice current through the media before filling and leveling out.

I hope this will put any chances of blocking up with debris to a minimum.

Edited by SamJohns, 25 April 2012 - 12:25 AM.


#39 danotaylor

danotaylor
  • Forum Member
  • Joined: 22-April 10
  • Location: east perth

Posted 25 April 2012 - 07:27 AM

good job Sam...I have layed a piece of jap mat cut to fit snugly into the sump section where the clay is...this keeps the clay submersed...mostly...as each day goes by more & more clay becomes water logged and sinks...I may end up getting some egg crate too actually just to make sure that water flows thru all the clay before going thru the baffles...where did you get it Sam & how much is it?
If you decide to buy some jap mat City Barn is WAY cheaper than everywhere else...most LFS sell it for between 100-140 per sq metre, but I bought 2 pieces 58.5cm x 33.5cm for $20.50 a piece with pcs discount.
Catch ya soon mate.

#40 SamJohns

SamJohns
  • Forum Member
  • Joined: 31-March 12
  • Location: Maylands

Posted 25 April 2012 - 10:45 AM

Hey man. For the sheet of egg crate it was 65 from Aquotix. So I kind of wanted to make it work with that at that price haha. Some of the smaller clay balls fall through "as you can see in the pic of the side view" but the rest stay ontop. It seems to have alot more room to flow through now.

Before I was getting a few falling into the space in-between the baffles. Still none was getting into my pump/heater box because I decided to drill those holes instead of leaving a straight cut off overflow.

No clay balls have reached that middle bit now.


0 user(s) are reading this topic

0 members, 0 guests, 0 anonymous users