Before I get started I will say this is a very messy project so have your vacuum cleaner quite close by as you don't want to walk all the foam through your house!
Now on with the project!
Tools:
Wood saw
Sand Paper
Stanley knife (Brand new blade)
1" size paintbrush
Drill
Airbrush or various paintbrushes
Vacuum cleaner (As it is super messy!)
Materials:
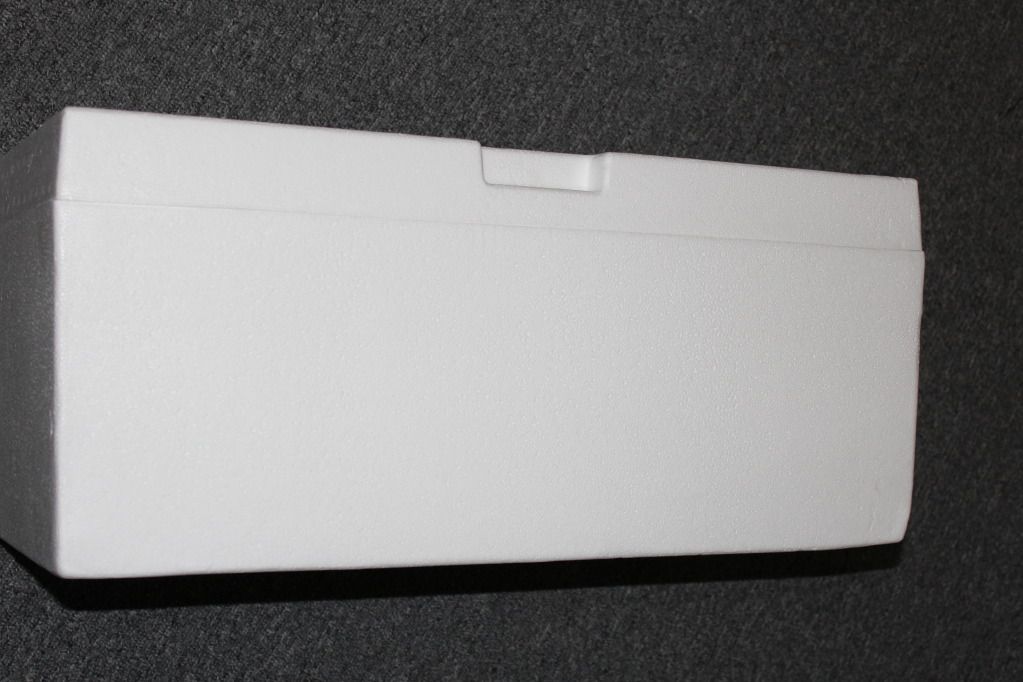
Polystyrene Foam ( I used an esky)
Modelling clay
Wall plaster (plaster of parris)
Silicon
Paints (colours that are natural)
Pond sealant
Fishing Sinkers
Method :
Start by cutting up your foam into rough sizes with the wood saw. I just went totally random as that's what plants are. Obviously you will have one main "trunk" and then large ones coming from that and then smaller of those but it's up to you what look you want.
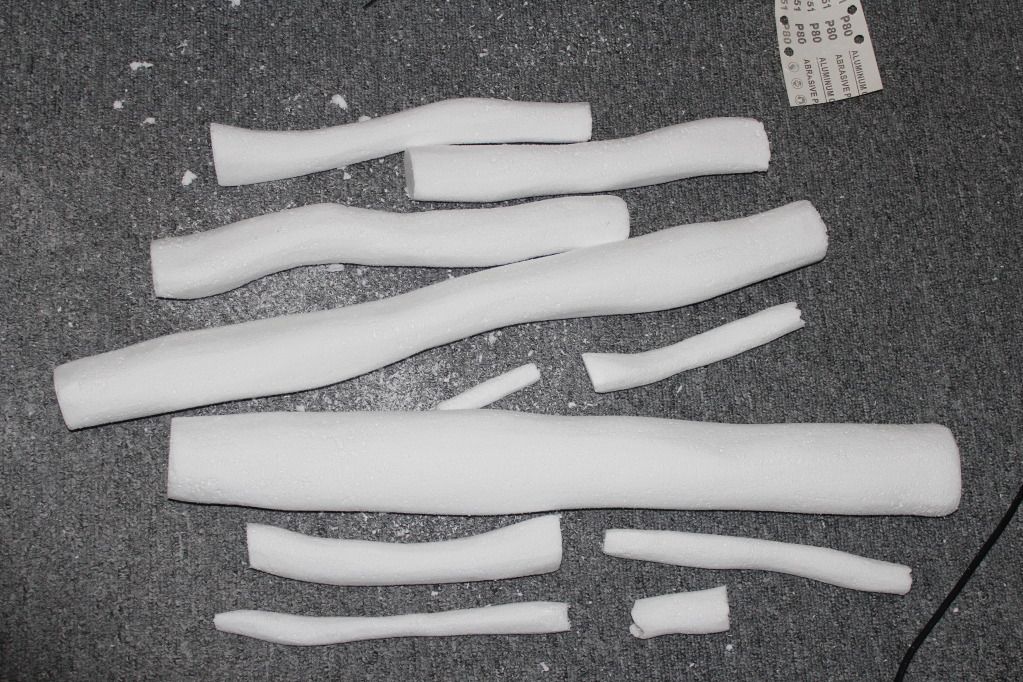
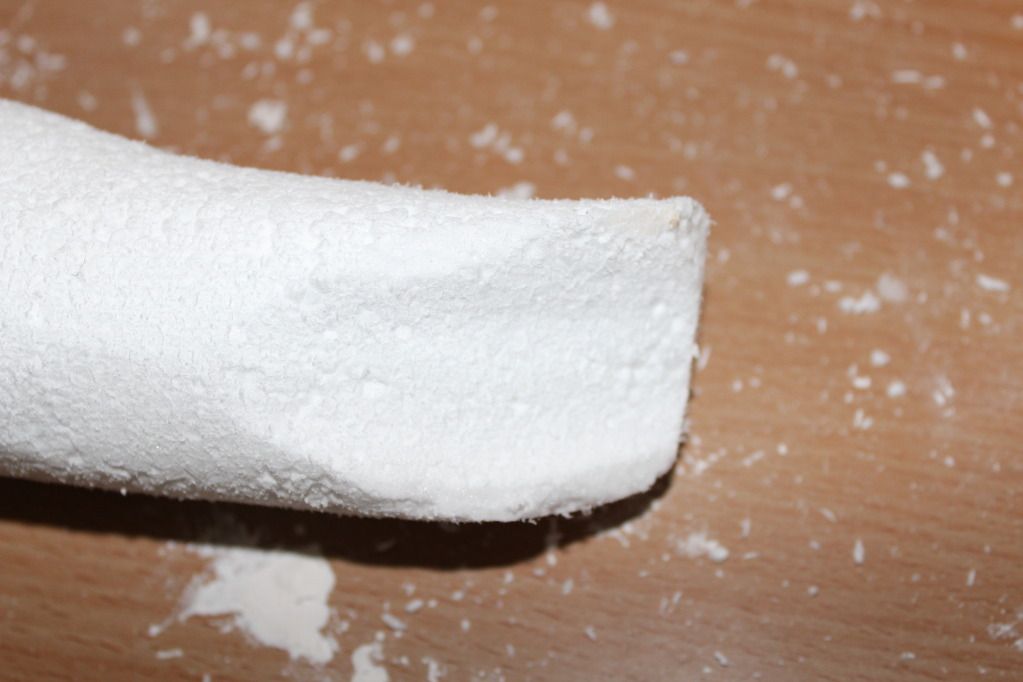
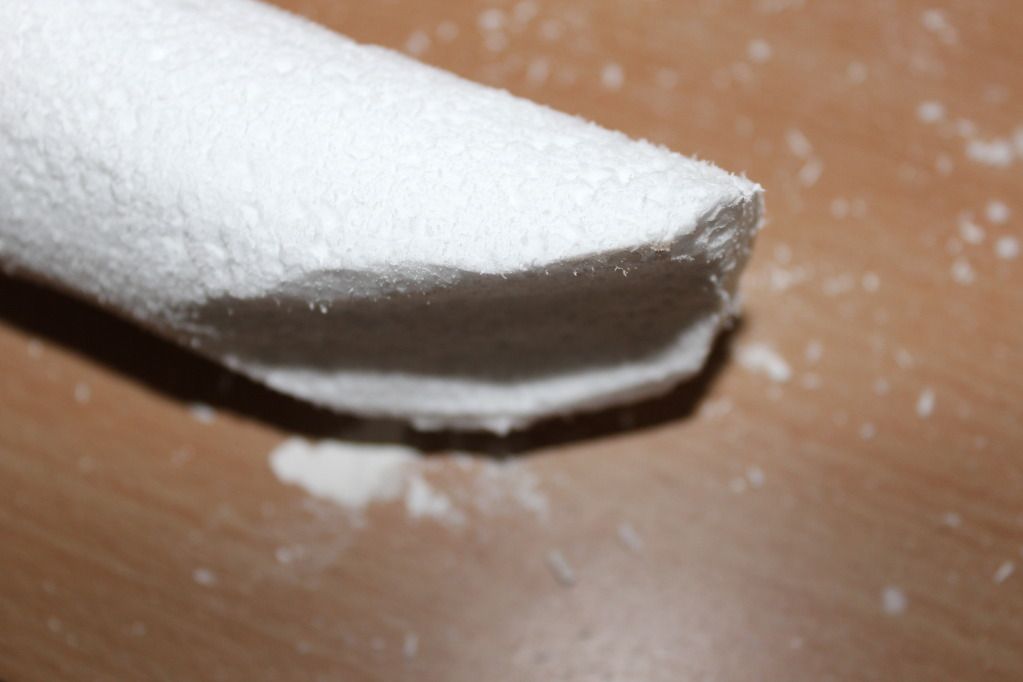
Next once you have the rough length and width now cut down each long size with the knife to give it a bit of randomness. With mine I put some curves or took chunks out or left a bump. Then shave down the corners to take that square look out of the roots.

Now take the sandpaper to it. Note this is the super messy part! All i did was rub down and sharp looking edges till it was a semi rounded look as plants aren't perfectly cylindrical you don't need to worry about flat spots or anything being super perfect!

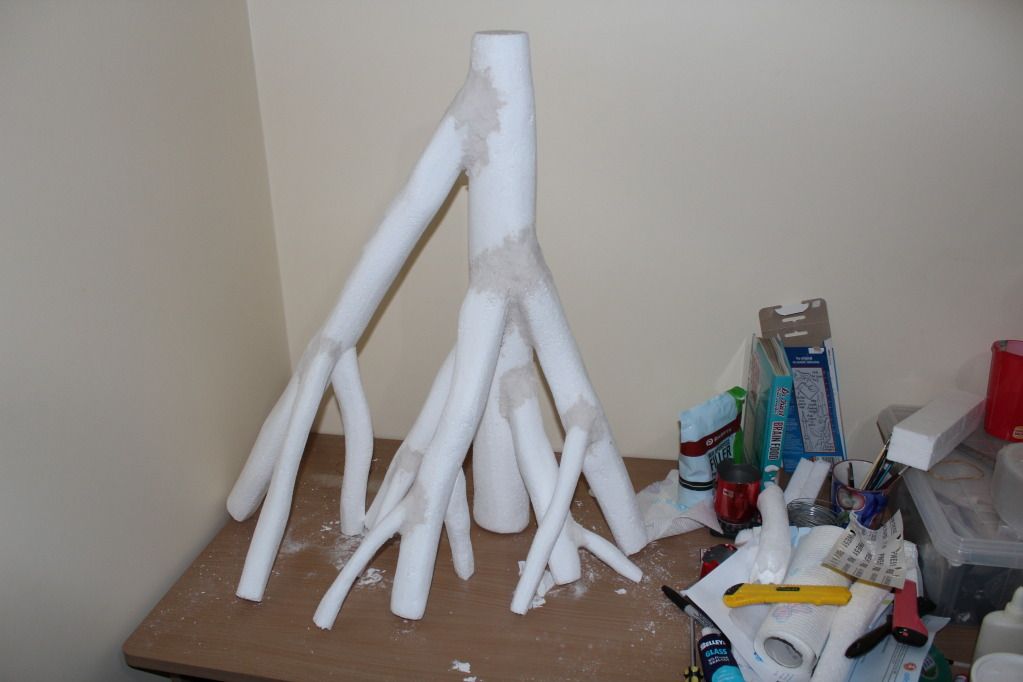
Once you have all your roots made and sanded you can start deciding how they should all fit together (I had to make extra roots because it was looking quite bare). Start by just laying them next to each other to get a rough idea of how it will look together.
Now you have to angle the end so that they sit flush to each other. I got the root at the angle i wanted and cut it to fit against the other root. If it's not perfect just trim it a little. Once it is at the angle you like grab the sand paper and sand in a curve so it fits nice and snug.
(the better the fit the less patching you will have to do later) Now put some silicon on and stick it on. The silicon is quite viscous so it should hold itself on. For the first one you may need to rest it on something. Do the same thing with each limb until you have the amount you are after.
Once the silicon is dry you can get the clay and start filling in the gaps that are left from where they didn't meet quite perfectly and it also gives it a much smoother and natural look as if it is really coming out of the first limb.
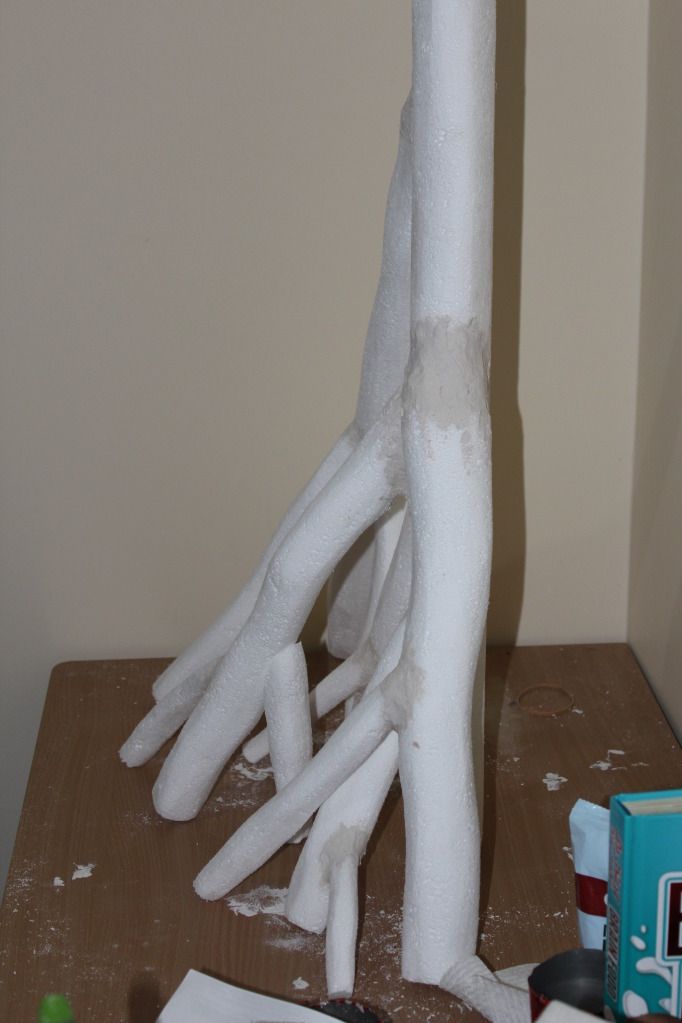
Once they are all complete and dry you can give them a quick sand if it is looking quite rough and spiky. After you are happy with the general look of it all, mix up some plaster to a consistency that is between putty and paint as you want to brush this on but not have to run off. I like the look of the plaster as if have a rough texture but also smooths out any little dents of scratches that you may have made.
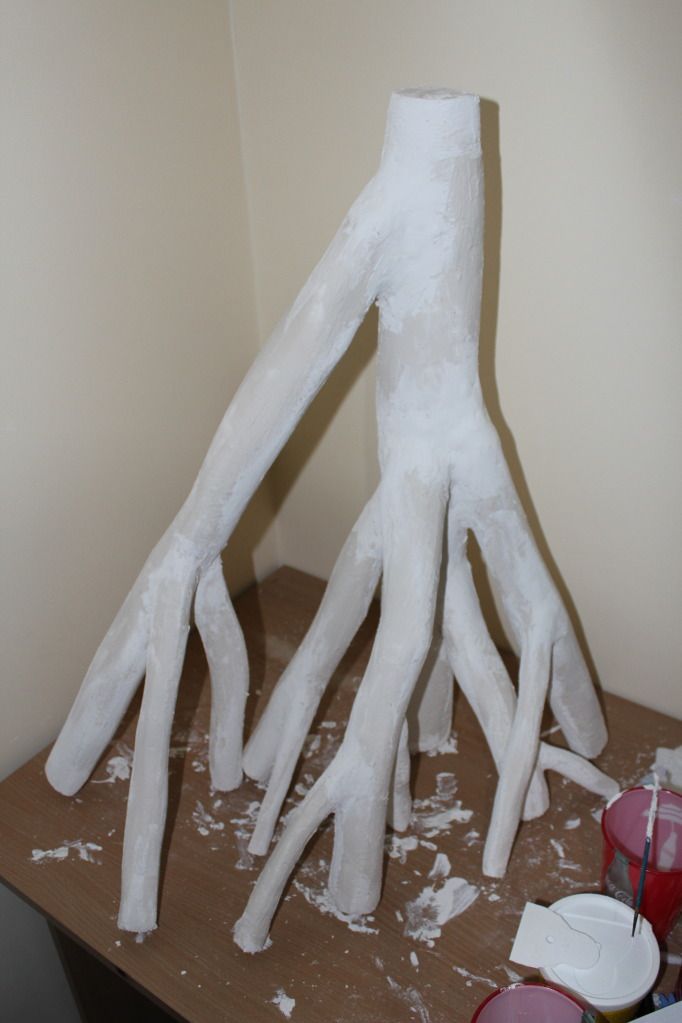
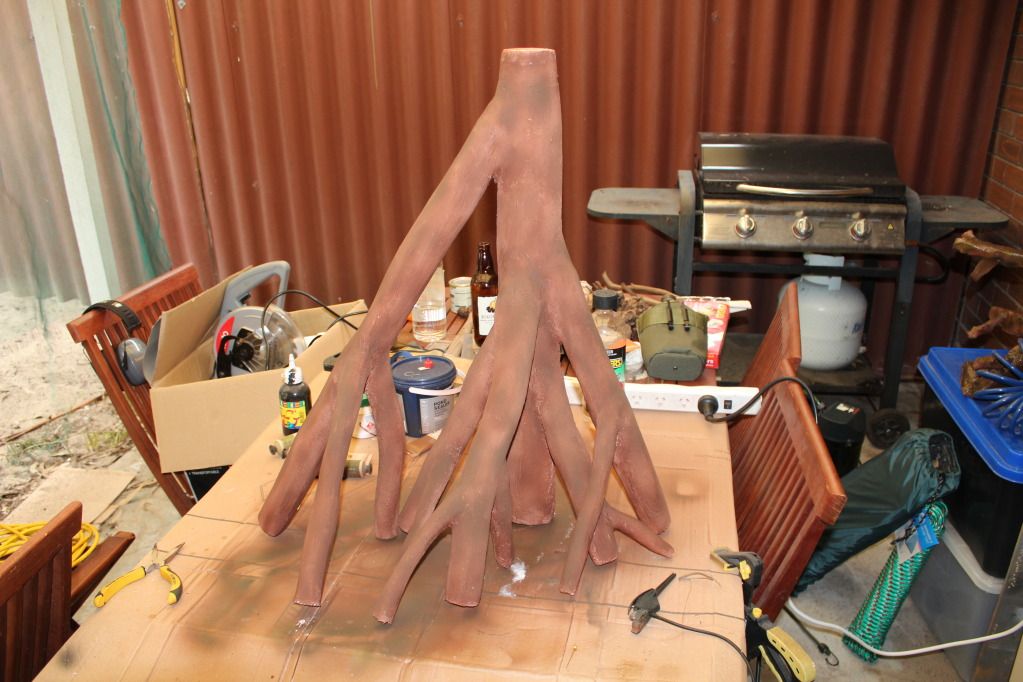
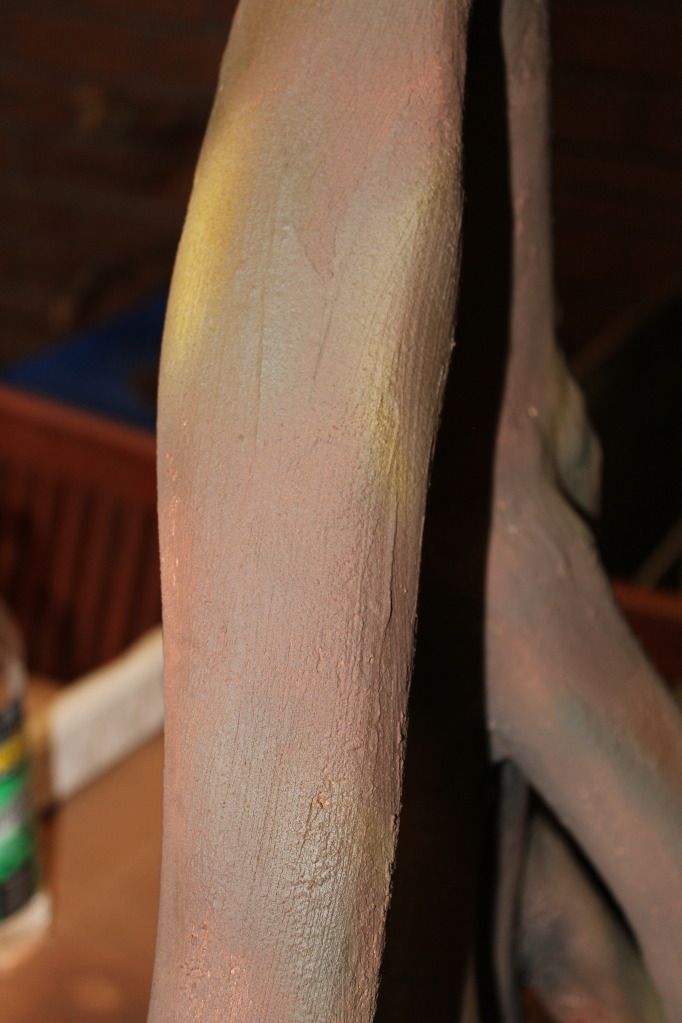
Once this is dry you can then start painting. As this will be what really sets it off it is totally up to you as to what colours you use. But here is what i did. I started with a basic brown undercoat that was mainly to cover any white.
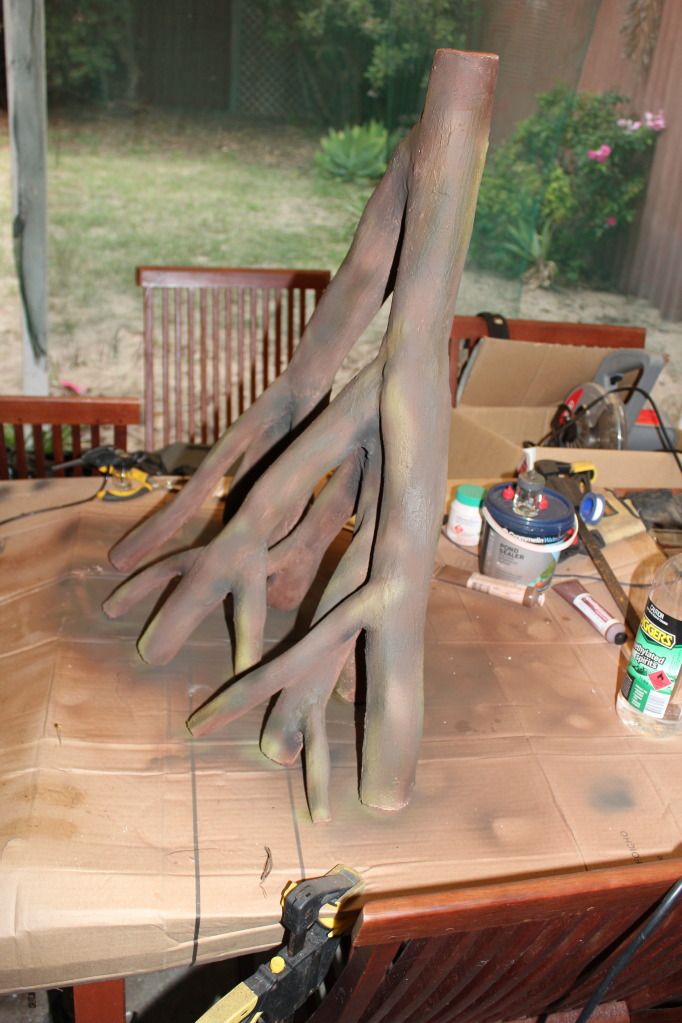
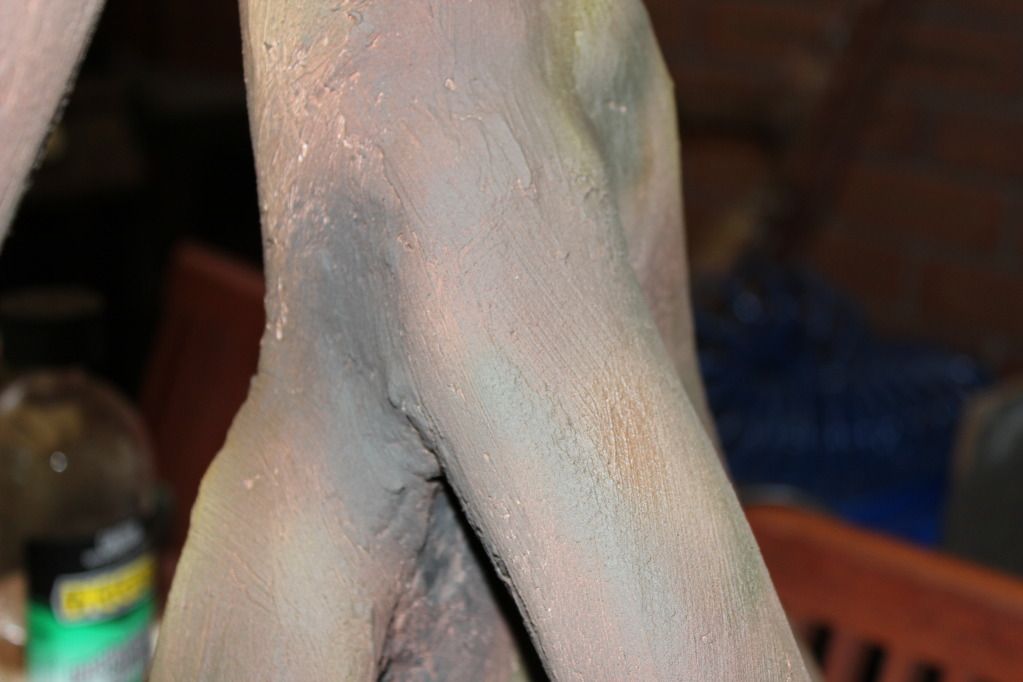
I started with the lighter colours and then got darker as it is easier to cover light with dark then it is to cover dark with light. I used a light green in a random fashion lines and dots to simulate algae or moss, then a light brown just to give it dimension, Dark green over most of the light to add to the plant life look then spots of black in places that would normally be dark like at the joins or any holes you made. I did a complete overcoat with a mix of colours brown and black with a touch of dark green just to make them all blend together and give it a more aged wood look.

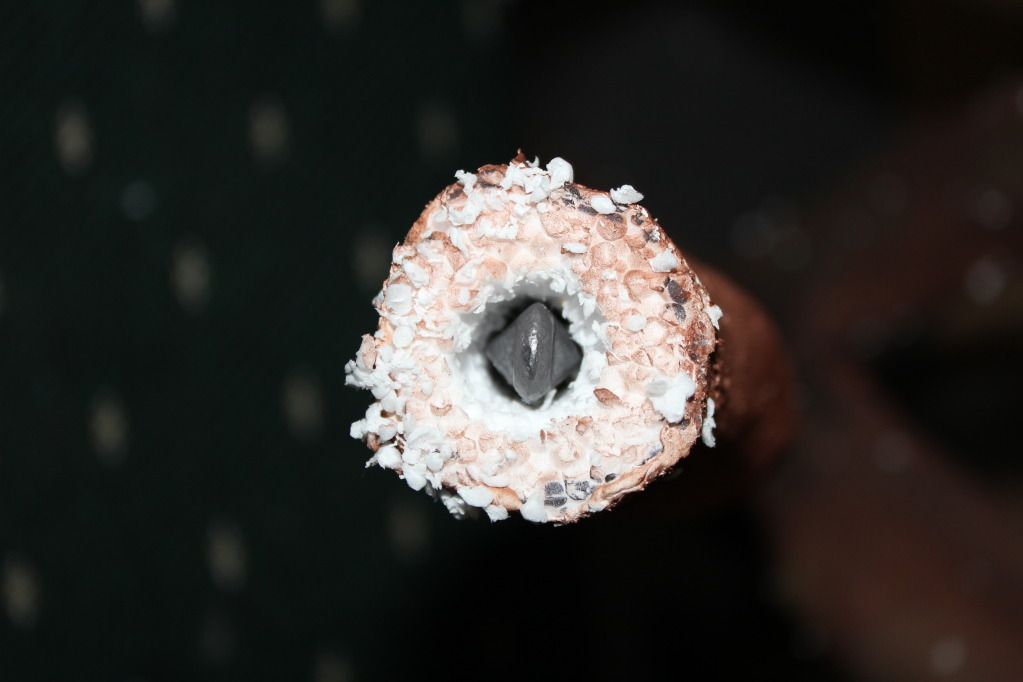
I then added weights to each limb at the bottom to compensate the natural lift foam has and reduce stress on the joints. I did this by drilling a hole the same size as the weight and then dropping the weight in. I plugged the holes with a bit of silicon over the top to stop the weight falling back out. I found this to be very messy as well so have that vacuum cleaner nearby.
Now all that is left to do is do a few coats of pond sealer and then it should be ready to add to your tank!
Good luck and thanks for reading!
If you have any comments or suggestions for my next project please leave them below!
I will do a in the tank shot once it's sealed and ready to go!
Edited by Furnix, 04 June 2012 - 12:46 PM.