Well the wife and I made the unfortunate move to Sydney almost a year and a half ago now. We rented a house for almost the whole time while we decided if we were going to stay or head back to sunny WA. Well, we decided to stay for a while so looked around for a house. Part of the selection criteria for me was that it NEEDED to have a structure that I could turn into a fish room. I didnt want to have too many tanks in the house (like I had in Perth) for 2 main reasons 1) I didnt want to be nervous about water changes on carpet 2) There was no way we would be able to afford a house of sufficient size in Sydney to devote rooms to fish 3) theres a baby on the way so space inside is a premium 4) I wanted an OUTSIDE room where I could escape from the wife

Anyway, we found a nice old house in what is essentially a little country town outside Sydney. Some people drive the 2 hrs(during peak hours) into Sydney to work...in a week they spend a whole day just in the car travelling to and from work, crazy stuff. Fortunately both the wife and I work locally.
And so let the pics begin...this started about 2 months ago so some of the text may sound a bit strange
Some people may have seen this post on other forums but I thought it worth posting here as well
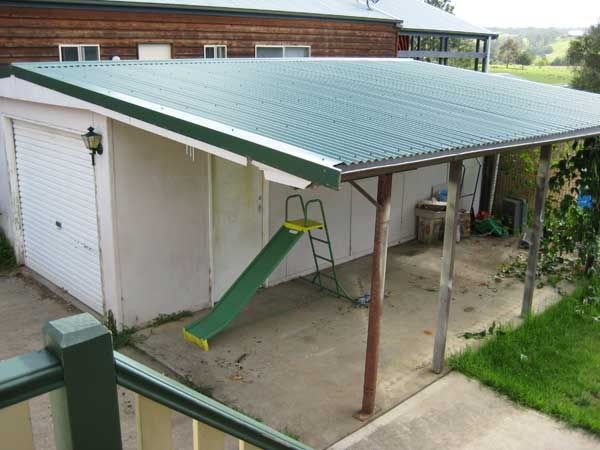
Well...its going to be a lot more work than I originally thought. I cant move any fish from the old house until this is done....and theres a few weeks work involved here....I wish I had some holidays owing
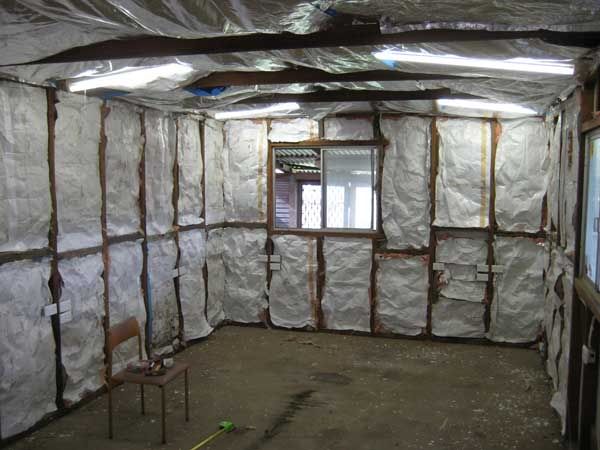
The walls are lined but theres no insulation in so all the lining will have to come off and insulation put in......Ill then hold the batts Ive got in place with roofing or wall foil.
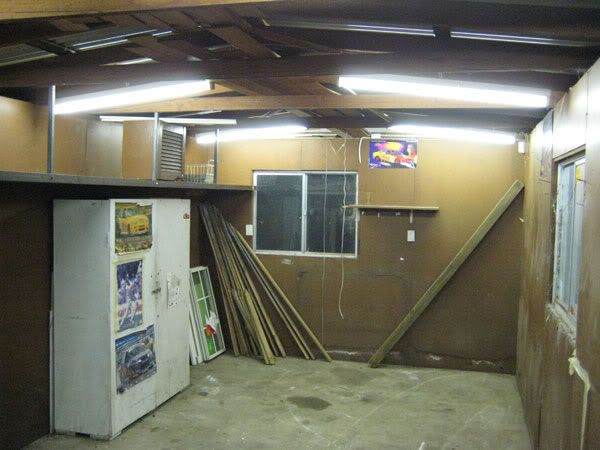
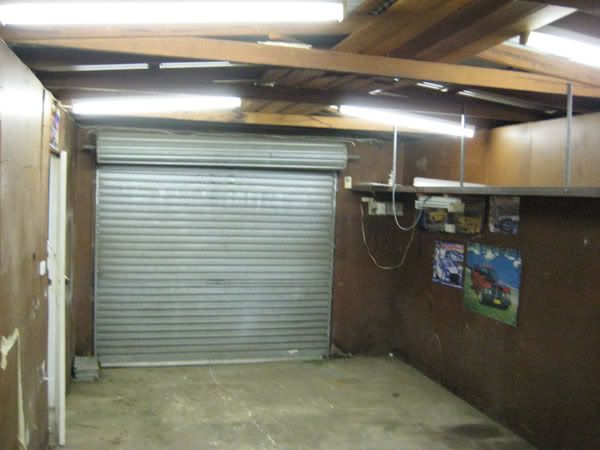
The roof is an issue, Im not sure how Im going to put the insulation up and keep it in place....I may just use the roofing or wall foil and support it with battens....but the joists are going to cause me some grief and the lights are awkwardly placed.

Theres a really nice welded shelf right along one wall....but its no good for me in here so that will have to come down...it weighs a tonne.
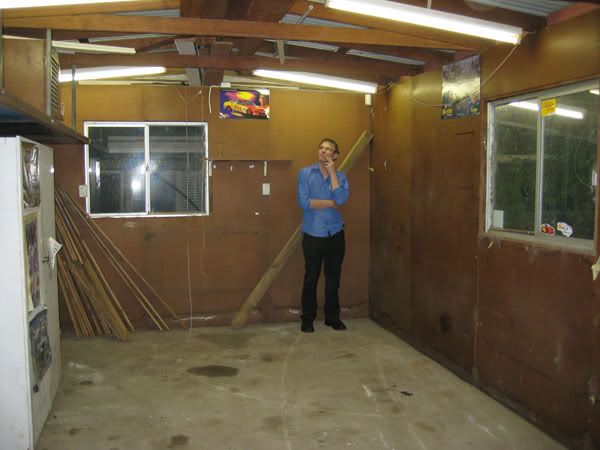
This weekend Ill strip the inside of the shed and have a friend do the electrics for me...luckily it appears the shed is on its own circuit...but of course the circuit board is in the wrong place (it will be behind a rack of tanks)...so Ill have to see if that can be moved.
The wife thought I just looked confused and a little overwelmed...she might be right
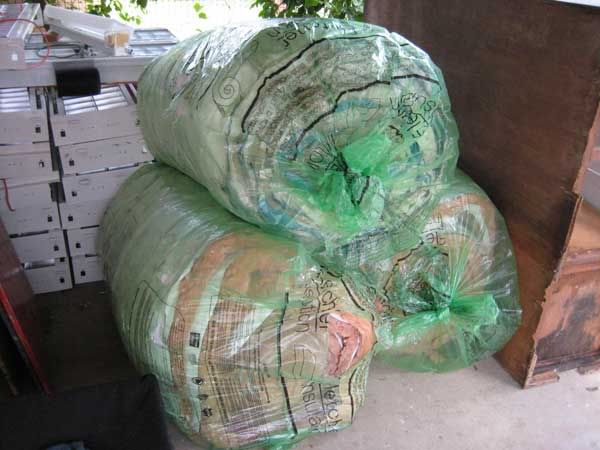
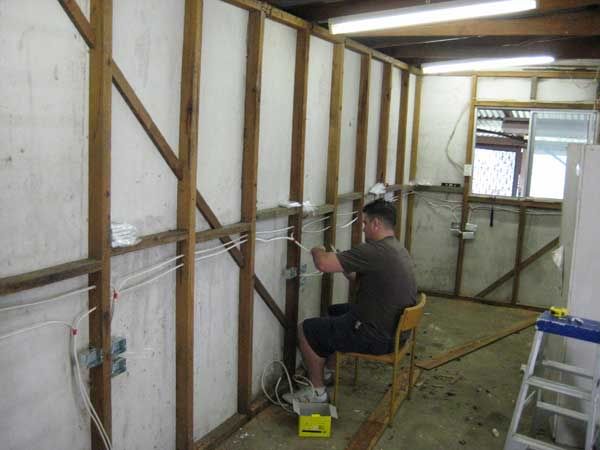
I managed to find about 100 sq metres of second hand insulation. It was used under a factory roof. I got enough to put a double layer in. You can see all the fluoro lights I managed to pick up as well (in the background)
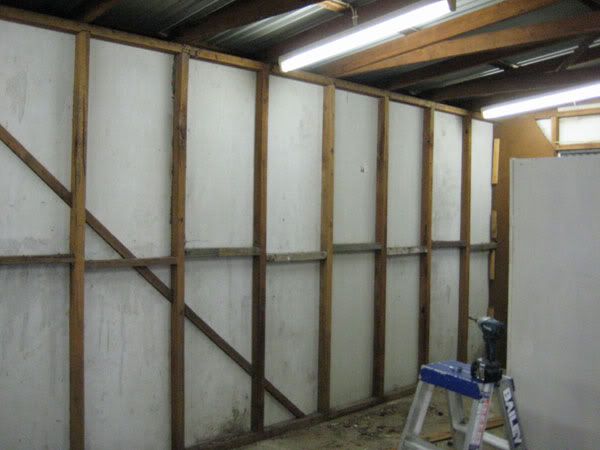
Internal cladding is off.
The friend gets started on wiring the room up
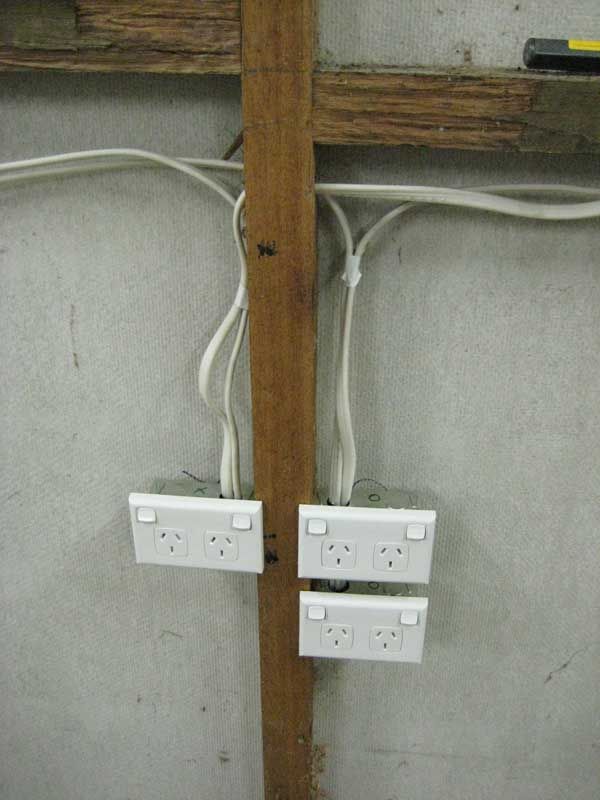
The new power points are all in. He rewired the whole room actually...Much safer I think

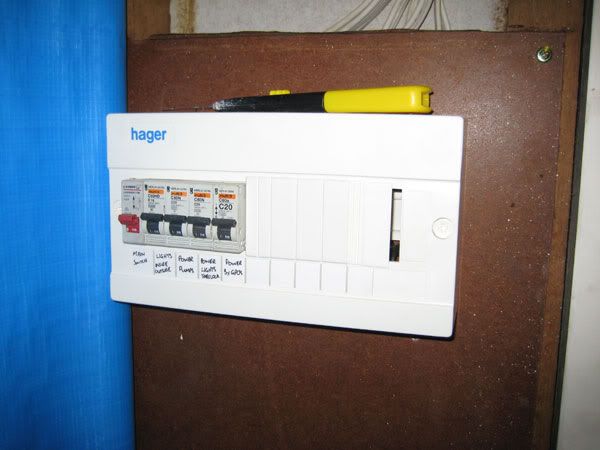
The room is on its own circuit...he popped a new one in for me with breakers rather than fuses. The timer for the lights will be going on here as well soon.
The new power points...all are double. The single one is for the lights and will be timer controlled, the double is for power
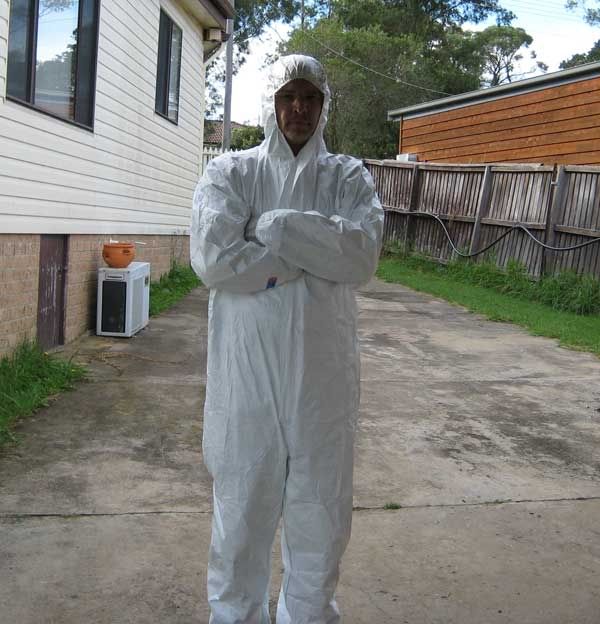
Slim Shady in his sperm suit getting ready to put in the fibreglass. The wife thinks we will be raided by the local police soon. New neighbours mived in, putting in lights and insulation adn dressed in protective gear, looks like Im boiling up something illegla in the shed.
All the insulation batts is in. I had no chance of being able to double it up. Its just too difficult to work with when your doing this by yourself.
and the final layer is on. I used some of the wall/roofing foil to hold the batts in place. Im going to use strapping to help support the batts in the roof space. That job is for later when I have some feeling back in my finger and shoulders.
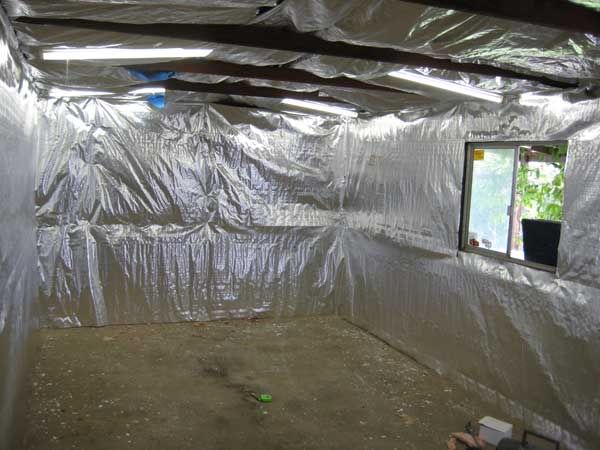
Problems?: so far very few. The weight of the batts is a pain and I really wish the wife could have helped me...Id be happier if I had a double layer up in the roof.
The are some gaps between the edges of the roofing foil and the ceiling. I need to some how closed those gaps. I might have to get some of the foil tape and close the gaps up.
The roller door is still there and not insulated. Thats for another day.
Next job?: in this order really
1. Move the tanks form the old place
2. Pallet racking
3. New tanks
4. New fish
5. Have a nice rest
Mike :buggered:
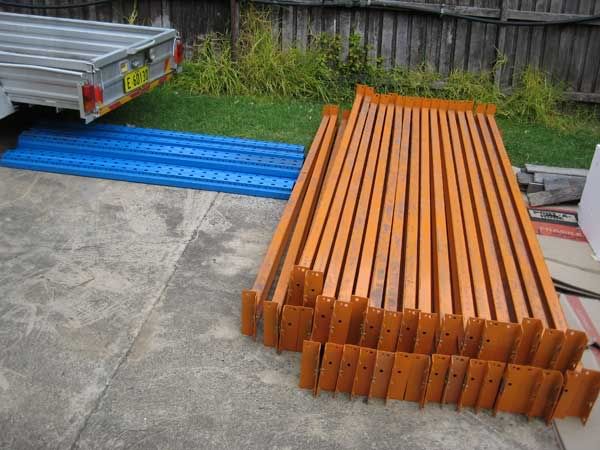
Picked up the pallet racking today. Got a great deal on it and the guy even had it all dismantled and the supports cut so the end frames are 600 mm deep (I want them to be around 2 foot deep for the tanks) for me.....I didnt ask him to do it for me so Im pretty happy with it. It also means that I was able to get all the bits and pieces in one trip.
I ordered all the bulkheads, elbows, tee pieces etc Ill need for most of the tanks yesterday...wow that was a surprise on how expensive it was and I used an online store that had discount prices.
When its all finished Ill probably put up a list of costs for the various bits and pieces....Im not sure I really want to know but some people might be interested.
Next phase:
1. Order the tanks. One of my LFS has the best prices Ive found so far in Sydney so Im lucky (and Ive called them all pretty much
 )
)Regards
Mike
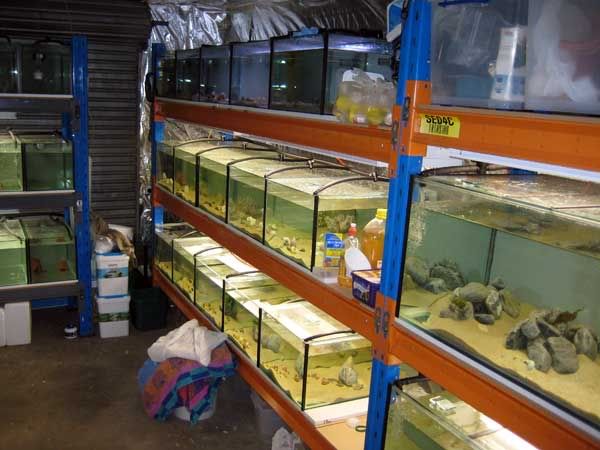
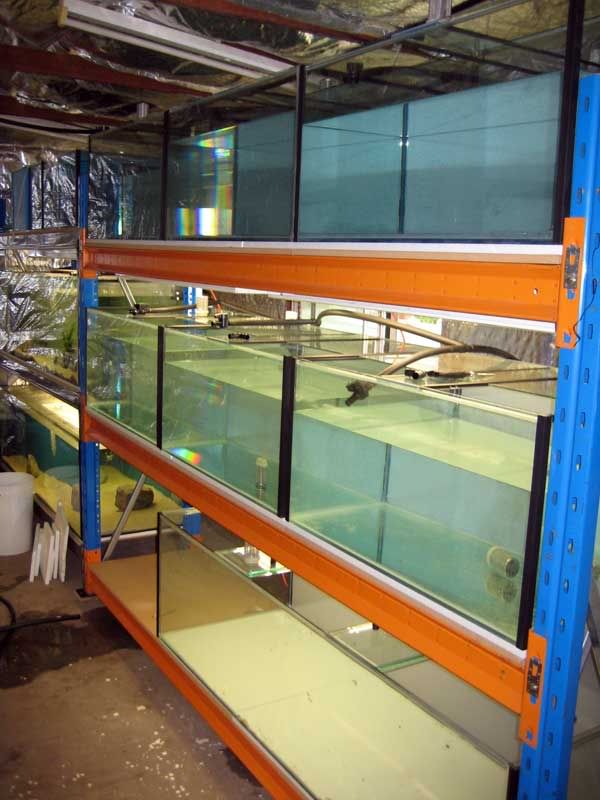
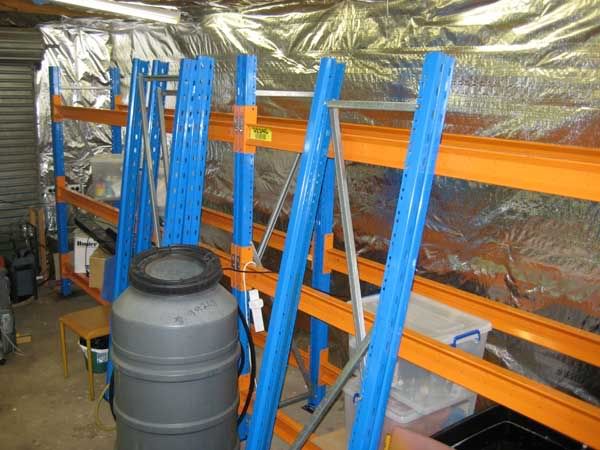
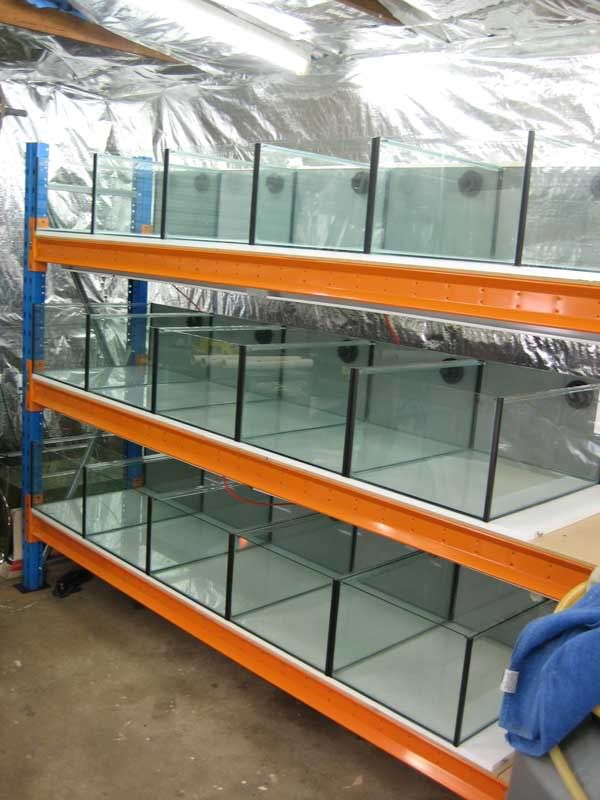
One wall of racks is up, just waiting for the tanks now...once that side is done I can move onto the other side of the room.
I ordered a big box of pumps, filter material etc recently.
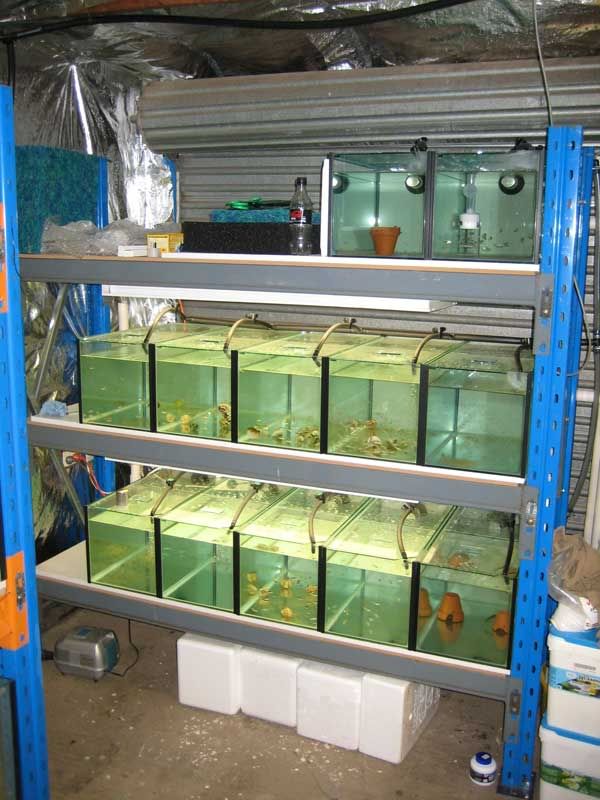
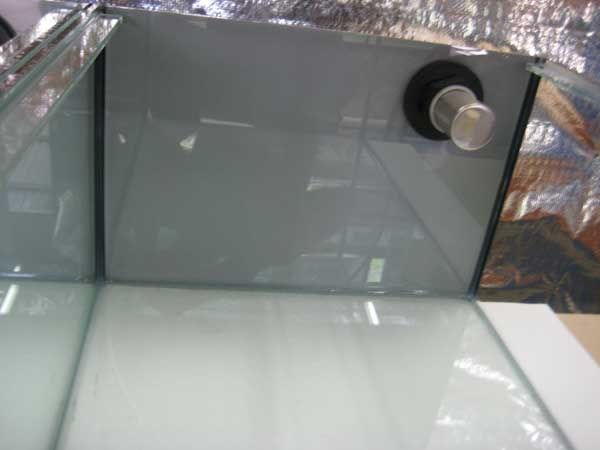
The first lot of tanks were delivered yesterday. Fifteen 24 long x 18 wide by 12 high tanks....theyll be used to house small shelldwellers.
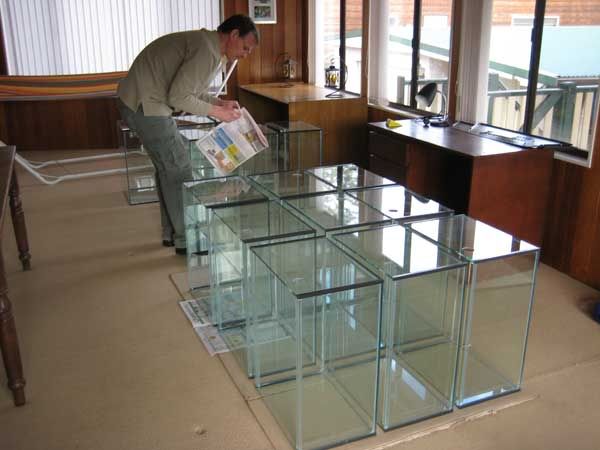
The tanks are drilled at the back right and will have 32 mm bulkheads draining to a common sump.
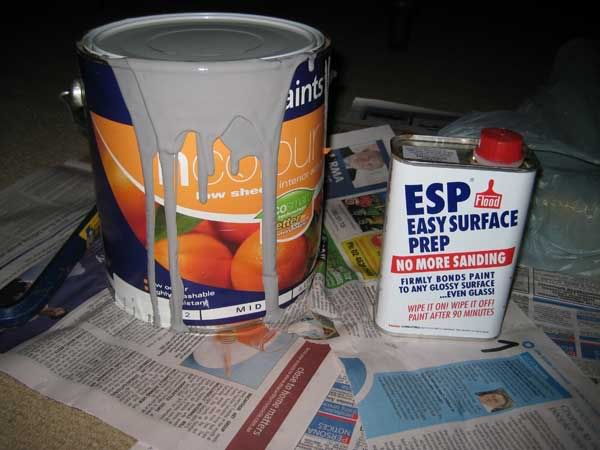
The backs are painted. Prepared by removing as much loose silicon as possible, cleaned with warm water and detergent and then primed with ESP.
Three coats of paint applied with a roller was enough. I left 3 hrs between each coat. The dog in the background was a constant companion.
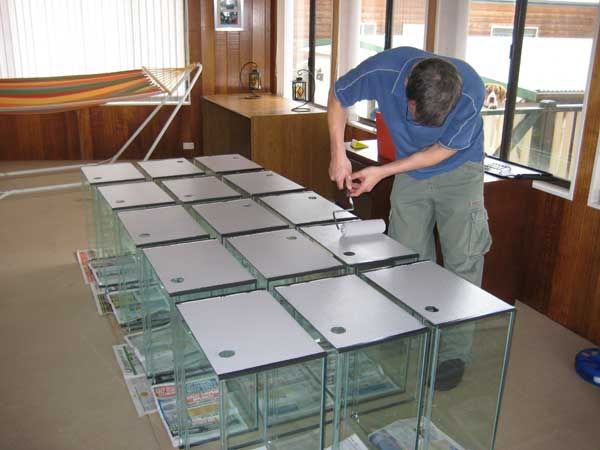
Todays job is to move them down to the fishroom, adjust the pallet racking shelves and start on the plumbing...Im still waiting for the sump to be made
Mike
Ok...I spent the afternoon working on the plumbing...I thought it was going to be difficult but as it turns out it was pretty straight forward. A wise member here once told me to put do the plumbing BEFORE you put the tanks on the shelves so I layed the tanks out, front down, oriented how they would be setup on the rack

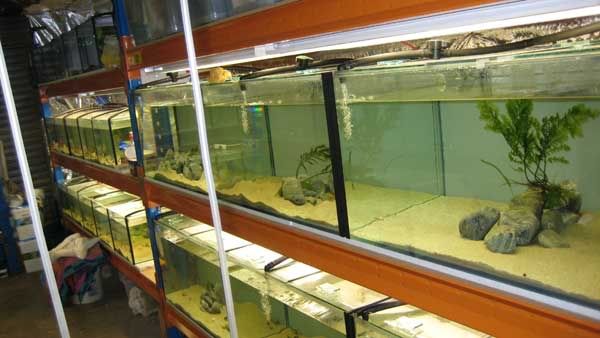
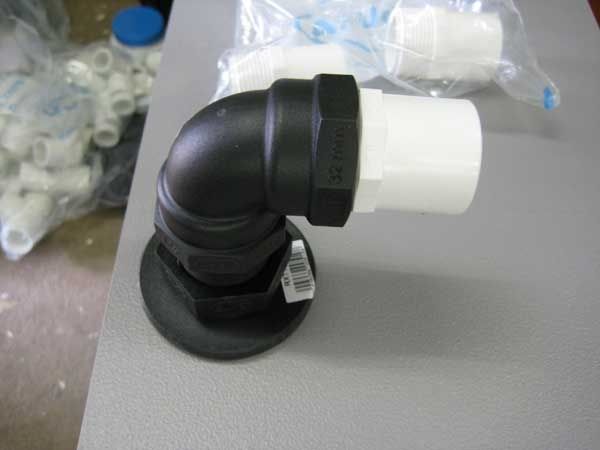
I attached the 32 mm bulkheads Ive gone a bit overboard on the piping, maybe a little too big but my thinking was that if I want, I can reduce the pipes, I cant really increase the pipes if I decided the flow was too slow. I also really wanted to move some water through these tanks. All the smaller tanks have holes drilled for 32 mm bulkheads and plumbing, the larger tanks will have 40 mm bulkheads.

I then screwed on an elbow.
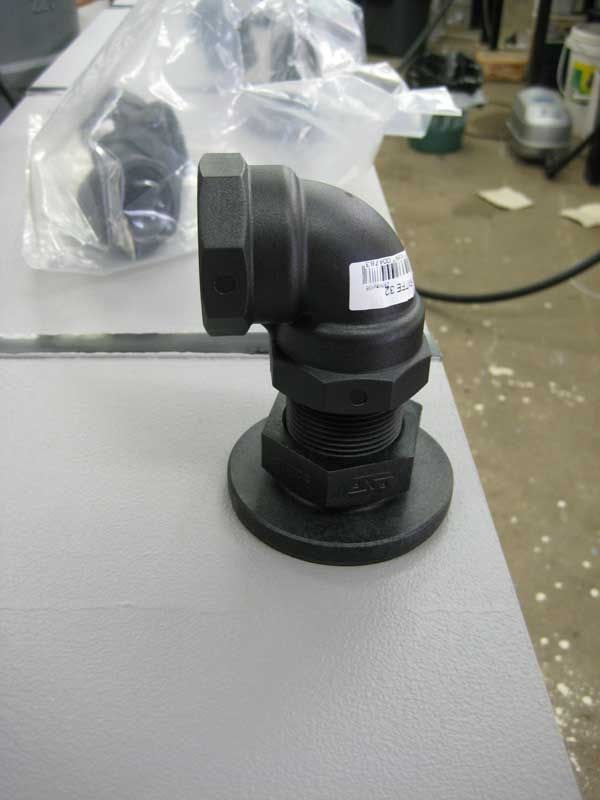
and then a male piece, threaded on one end only
and then either a tee piece or an elbow
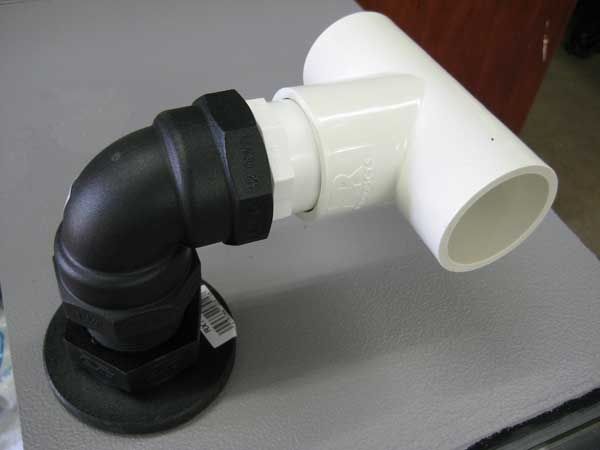
I then simply joined them all up with the correct size pipe
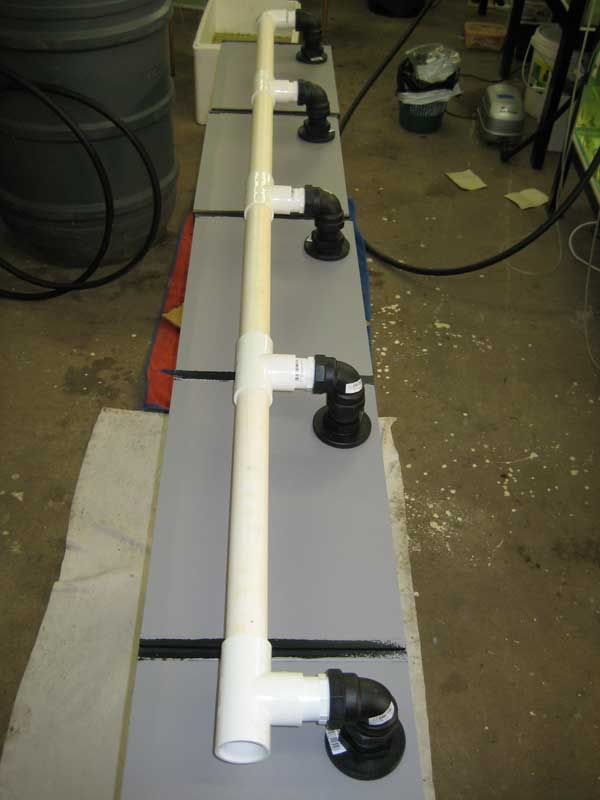
I then pulled off the completed piping, moved the tanks to the rack and then popped the plumbing back on again. I havent glued any of the fittings yet, that will be the last thing I do when Im happy its all going to fit.
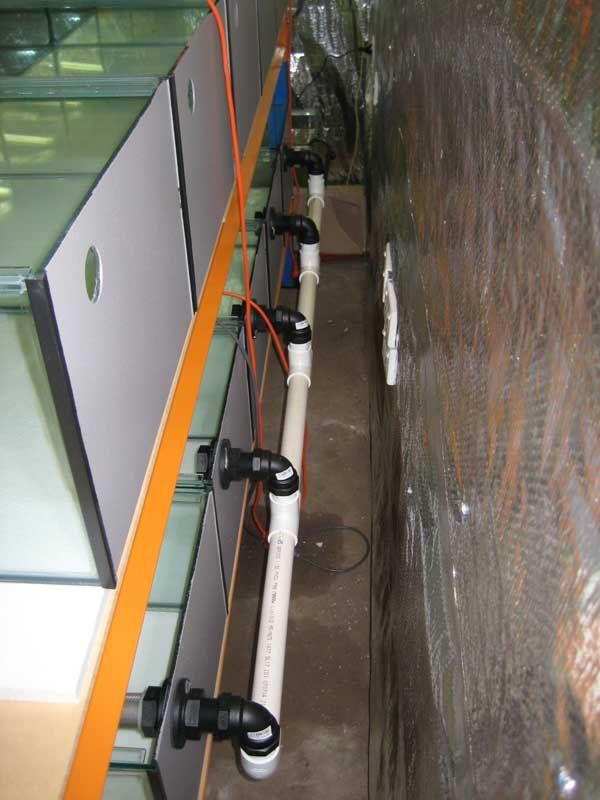
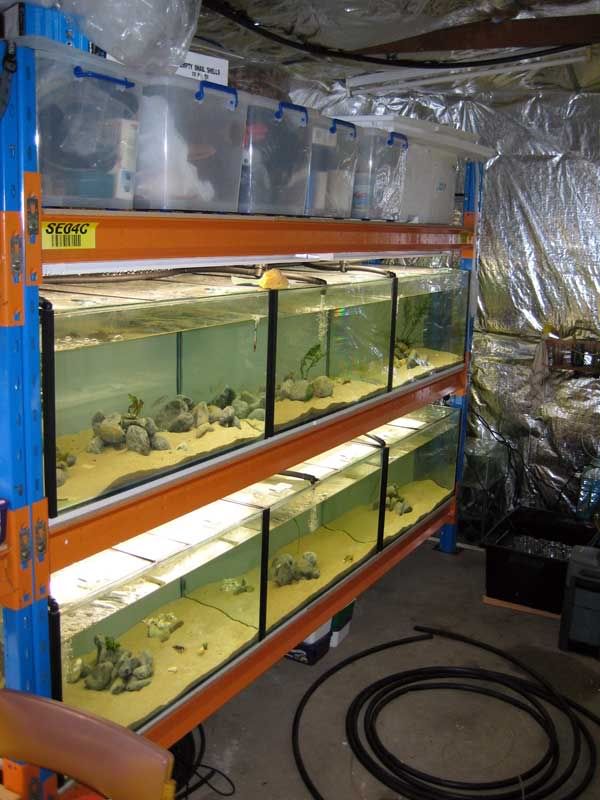
I left about 30 cm or so behind the tanks for me to squeeze into. Im pretty tall, I wish Id left a bit more space as it was difficult getting my arms and legs in there...the wife cant help as she's preg and cant fit behind there at all
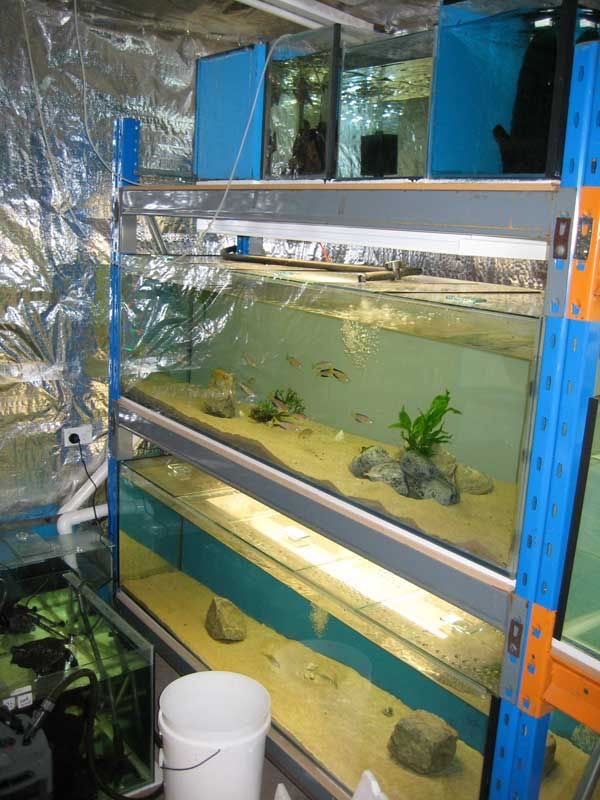
Heres a pic of the inside of one of the tanks...Im using stainless steel bulkhead strainers
And finally of the almost completed rack...Im just waiting for the sump now, it will be going on the ground tpo teh left of the rack. Ive got a little space on the rack on the right hand side, just enough to squeeze in a 16 inch wide tank on each row....
Mike