Jump to content


Posted Image

PCS & Stuart M. Grant - Cichlid Preservation Fund - Details here


Photo

The Bakehouse Fishroom


  • Please log in to reply
57 replies to this topic

#1 humbug

humbug
  • Forum Member
  • Joined: 26-December 12
  • Location: Adelaide, South Australia

Posted 28 May 2015 - 11:43 PM

I’m about to embark on establishing a new fishroom, so thought I’d start a thread chronicling the progress.  I never do anything conventionally, so as this evolves some of the many quirks in this build will be revealed.


As a start, I thought I’d document how I went about acquiring the bulk of the tanks for the room.


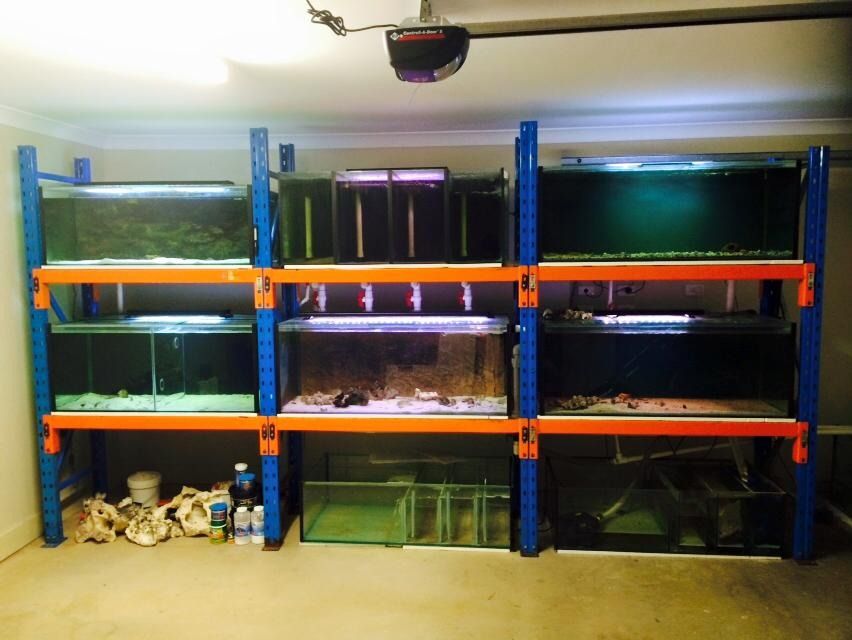
I currently have two small, rather modest fishrooms.  The first one I set up in our cellar, and the second in the partitioned off corner of our shed.  This third room is again pretty modest, but will roughly double the tank volume I’m currently running. 


I like pallet racking for my tanks, so was keen to use it again this time round.  If you’ve ever used pallet racking in an area with limited ceiling height you would understand the limitations it imposes on tank sizes.  Essentially, you get a better result if you have tanks custom built to suit the constraints imposed by the available shelf heights. 


It would have been easy to have tanks built locally, but we have two choices for custom-built tanks here in Adelaide – cheap but poorly built, or well-built but harder on the pocket.  That makes it difficult when you want to fit out a whole fishroom and don’t have an unlimited budget. 


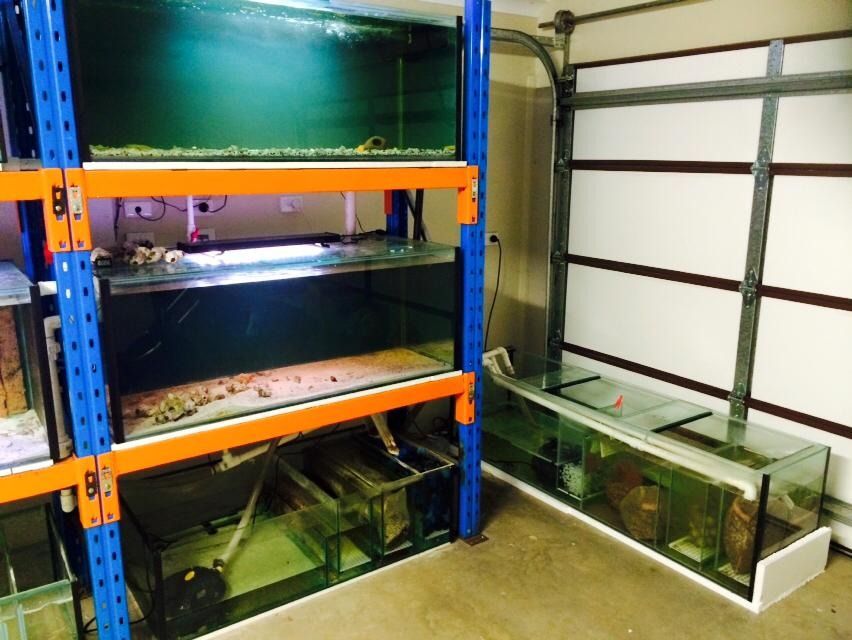
I saw the contents of a small fishroom advertised for sale and realised it would be ideal to form the basis for my new room.  Three bays of pallet racking with tanks of various sizes, all good for what I want to do, plus all of the other gear that goes with keeping fish.  The more I looked at it, the better it appeared.  Only problem was that it was in Sydney – half a continent away.  Never let a tiny problem like that get in the way of a determined woman!!!!  A spent many hours working out how it could be accomplished. 


The economics of hiring a truck and driving over to pick the gear up just didn’t work for that number of tanks.  Talking it over with a number of people it became obvious that the answer was to have additional tanks built in Sydney to add to the secondhand ones.  So an order went in for four 6x2x2’s and one 6x2x20”, all with side-drop filters, plus another 6x2x20” I still needed for the existing fishroom. 


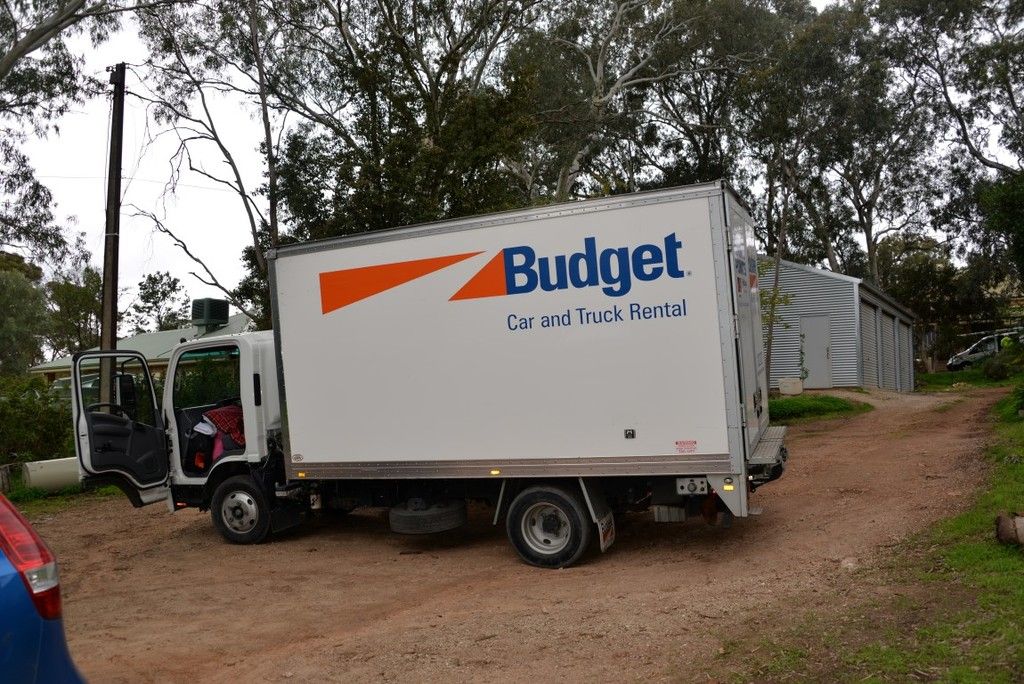
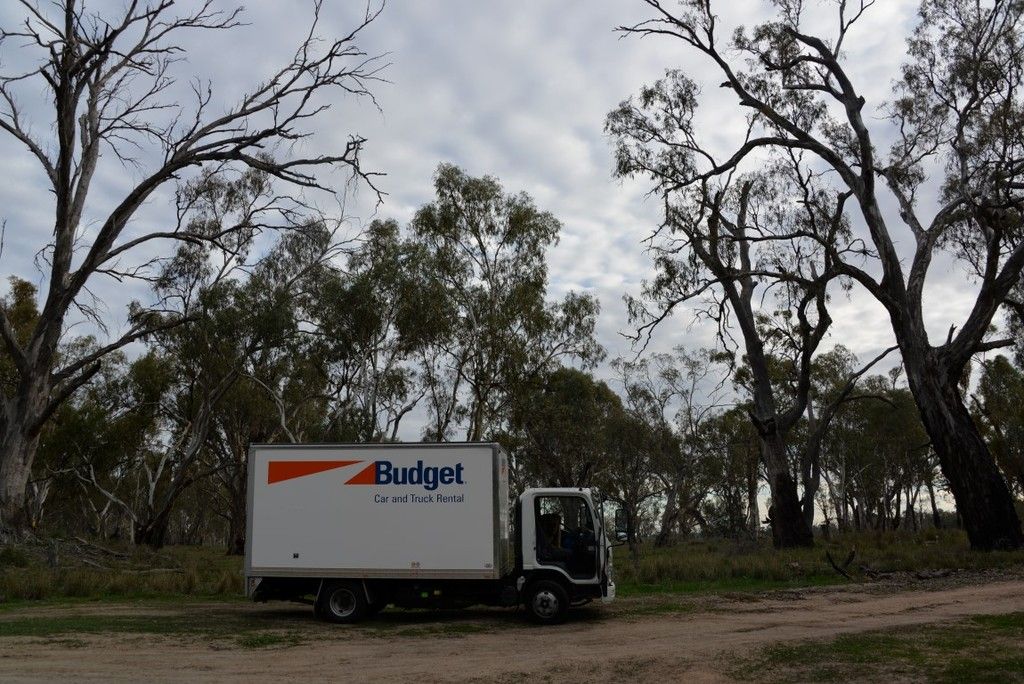
I picked up the truck on Thursday morning and headed home to collect my gear and the packing materials I’d accumulated.


DSC_1027%20Medium_zpsqwm4ryka.jpg


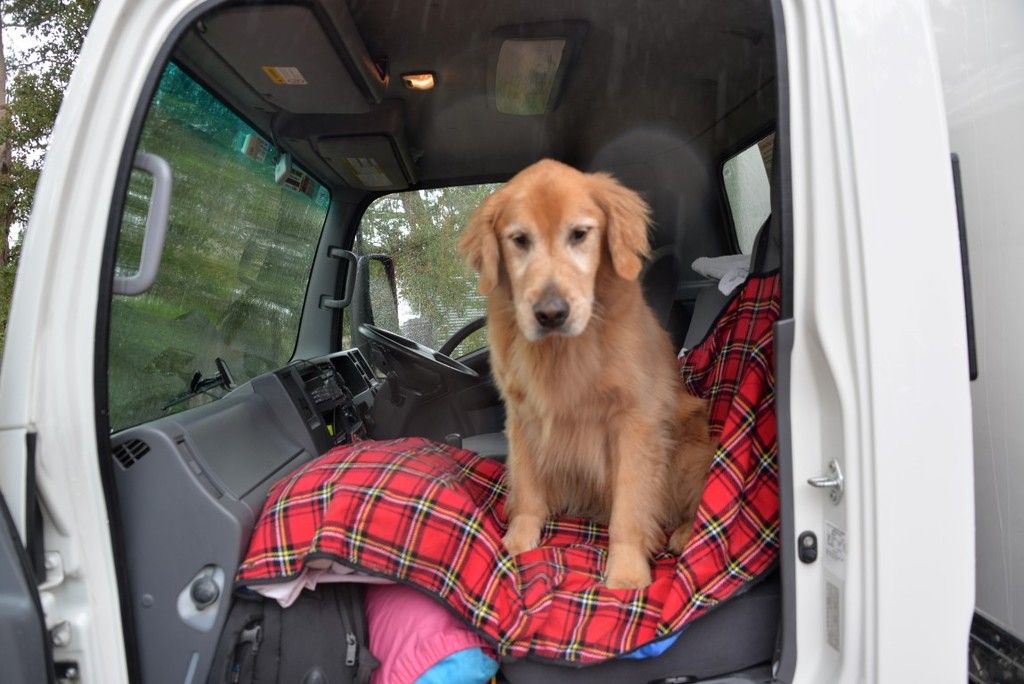
. . . . and Captain, my travelling companion for the trip.


DSC_1029%20Medium_zpszfljmqgi.jpg


Left home at lunch time and drove through the night, stopping every couple of hours for a short break, or to have an hour or two sleep in the cab of the truck in one of the many truck stops along the road.  Arrived at the Camden caravan park in the western suburbs of Sydney mid-afternoon on Friday feeling very tired!


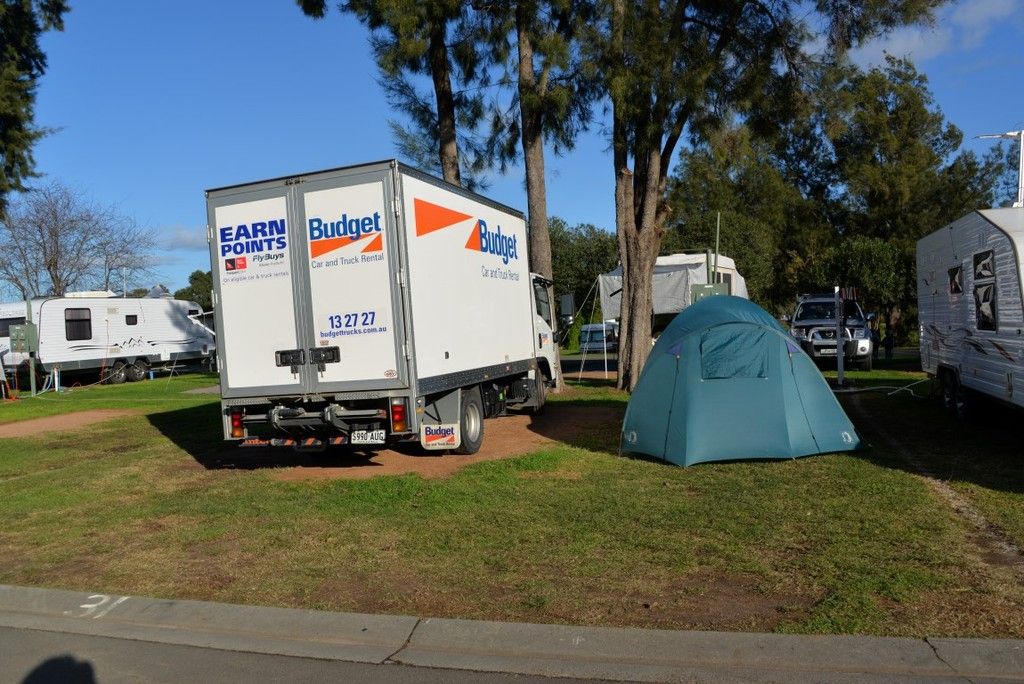
Sydney had put on the weather for my arrival – it was blowing a gale and there was a weather warning in place. L  By evening the wind had dropped, so I pitched the tent, but still decided to sleep in the back of the truck overnight.


DSC_1043%20Medium_zpsjzi8w7oe.jpg


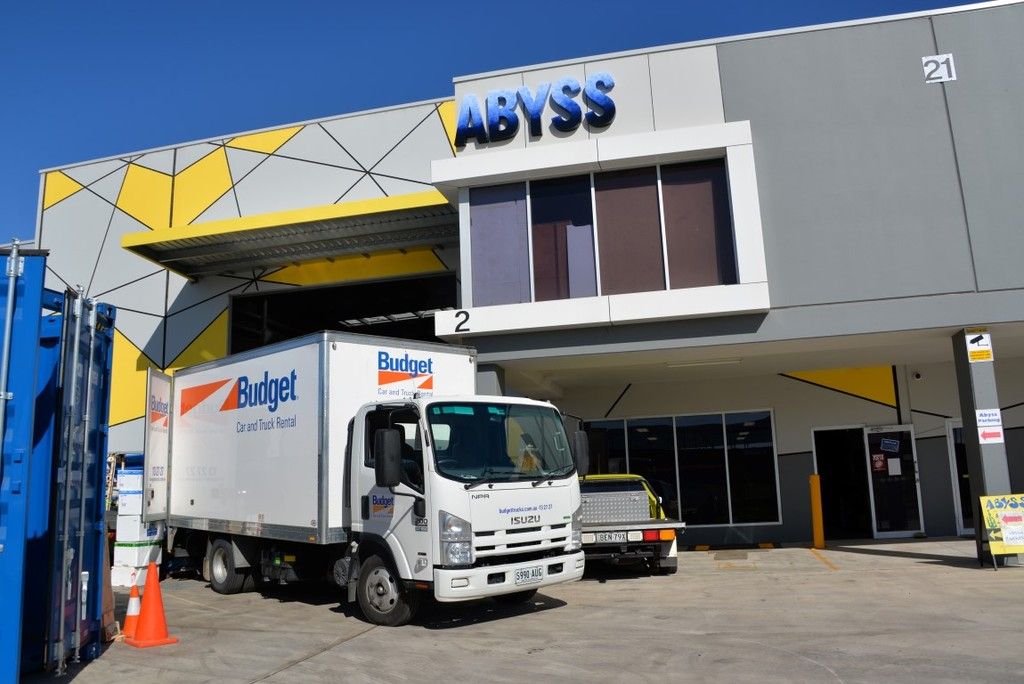
Saturday morning it was off to Abyss Aquariums to pick up the custom tanks they had built.  This company is very impressive with what they have achieved in a relatively short space of time.  They are a retail aquarium shop, but also manufacture tanks on site. 


I admit I was relieved to see the tanks completed.  Even as I was driving over I received a message from Ben which included a photo of the glass in a stack on the bench still waiting to be siliconed together.  Nothing like cutting things fine!!!

DSC_1049%20Medium_zpsl8udv3kc.jpg


Being at Abyss has the feel of a kid-in-a-lollyshop about it.  I was pretty excited to see my nice brand spanking new tanks sitting on the benches, but they were absolutely dwarfed by some of the other tanks currently under construction.  Ben showed me the glass sitting there waiting to be turned into the big shark tank which will form the front façade of the shop.  The glass is 30mm thick.  Makes my 10mm thick glass look positively flimsy!!!!


DSC_1045%20Medium_zpsnswslitx.jpg


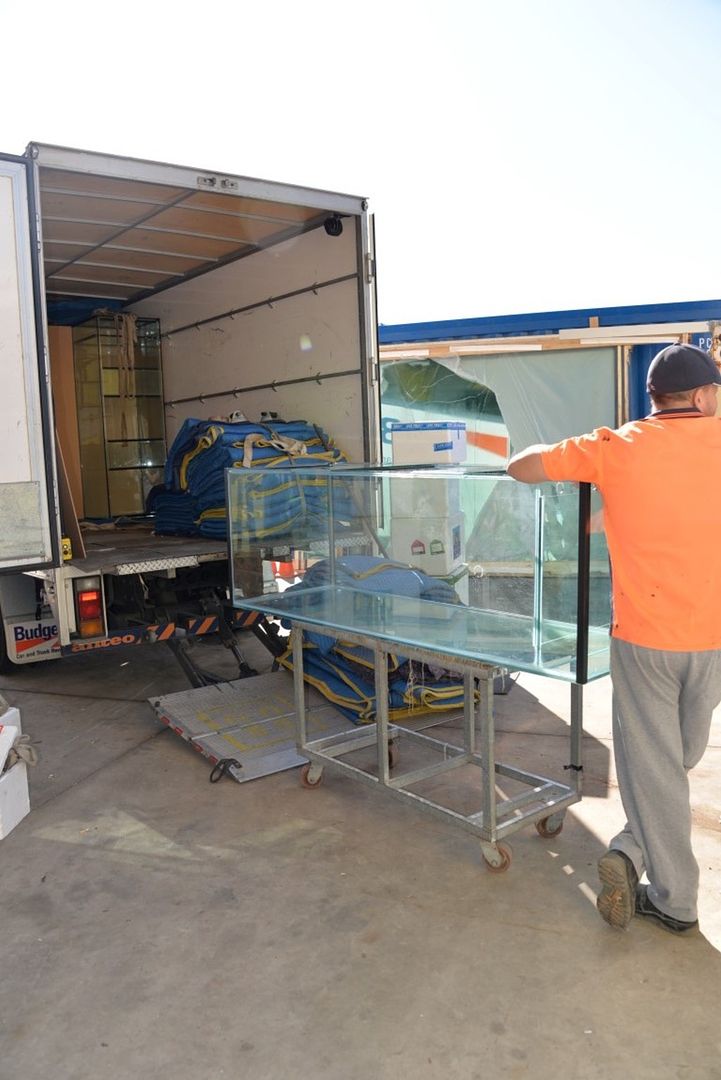
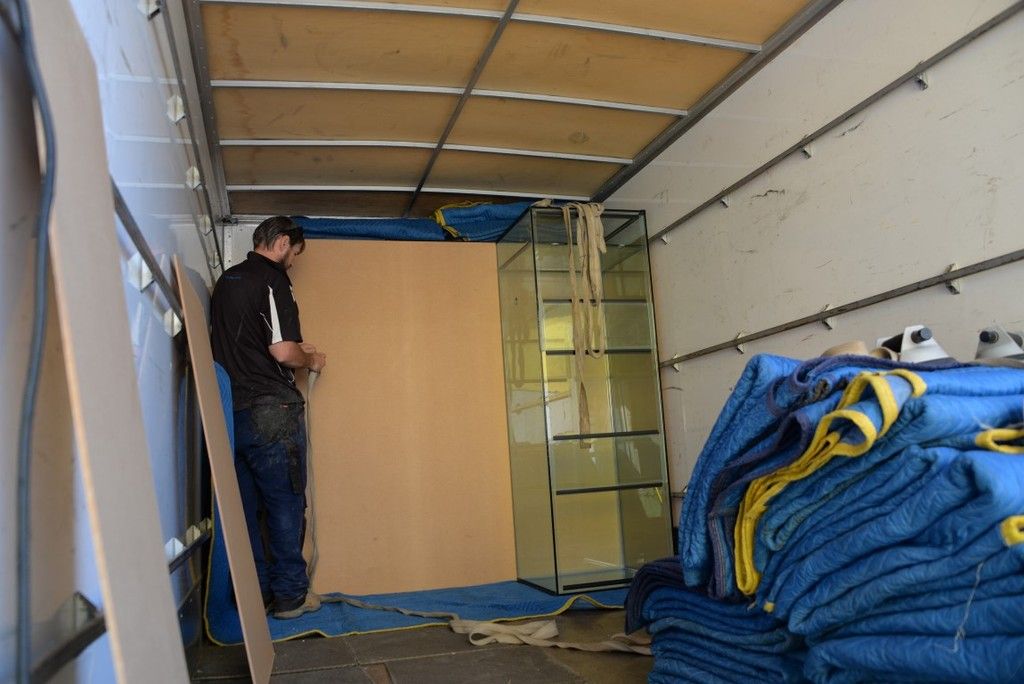
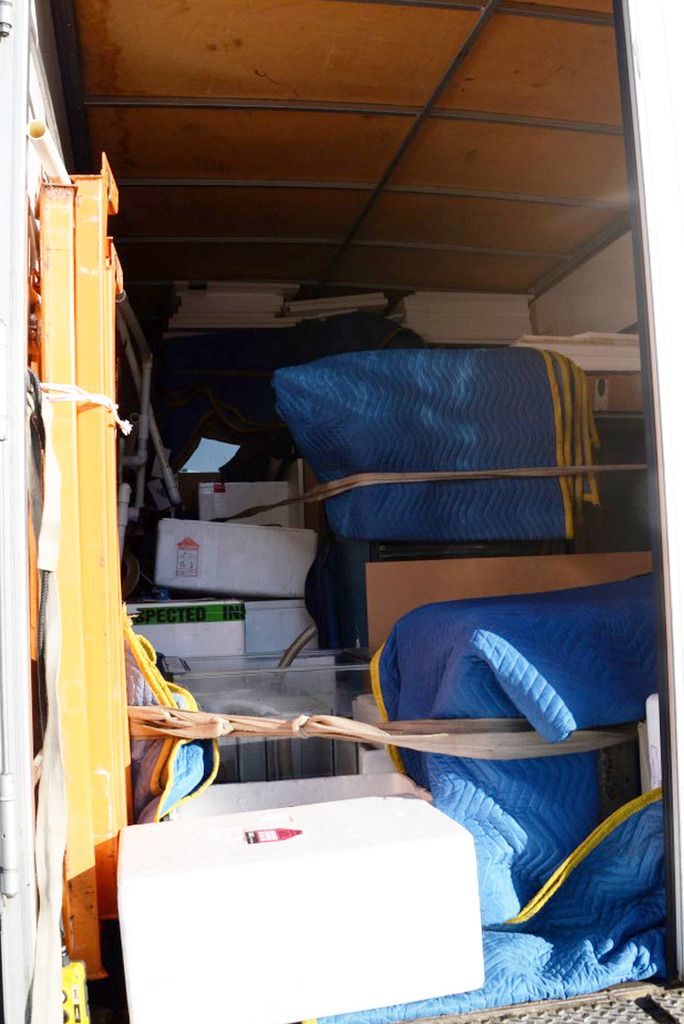
The guys were advising me to pack the truck without padding between the tanks.  The theory is that if they can move due to “give” in the material around them, then they will move during transit, and that can cause breakage.  Packing blankets were laid on the floor of the truck, and the tanks were loaded standing on their ends with nothing other than thin boards between them to stop any direct glass-to-glass contact.  They were packed in tightly with no gaps between them, and the six tanks were secured using a single webbing strap under only a moderate amount of tension.  I’m rather sceptical, but I take the advice of the guys with the experience . . . . . .


DSC_1047%20Medium_zpslduzva9b.jpg


Edited by humbug, 28 May 2015 - 11:46 PM.


#2 humbug

humbug
  • Forum Member
  • Joined: 26-December 12
  • Location: Adelaide, South Australia

Posted 28 May 2015 - 11:49 PM

Once loaded, it was a short drive to a neighbouring suburb to collect the secondhand gear.  Nine tanks of various sizes, racking, three sumps, plumbing, lights, pumps, rocks, sand, rocks, shells, food, conditioners etc, etc, etc. 

11081176_10152720793917267_7791175615194


11075291_10152720793987267_6473365351322


It took three of us 5+ hours to pull it all down, pack it into boxes and load it all on to the truck.  Disaster struck as one of the tanks was being hosed out on the front lawn.  The end panel of the tank got broken – even before the tank got anywhere near the truck.  The boys at Abyss cut me a replacement panel and offered to repair it for me, but I elected to just load the tank and repair it in slow time at home.


At times during the loading I was wondered if it was all going to fit, but it did with a little space to spare.  A very tiring but satisfying day!


DSC_1051a%20Medium_zpsi7sheekc.jpg


Now I had a fully loaded truck, I had no option but to sleep in the tent.  At least the wind had dropped, but with a clear sky it was VERY cold!!!  Ever heard the expression “two dog night”?  I only had one, and we were both cold!!!


Packed up camp next morning, and after a long dog walk by the river, and a short stop at Abyss, it was off to my favourite haunt in Sydney - Labyrinth Aquarium.  I spent several thoroughly enjoyable hours sitting out the front chatting with a group of the regulars.  Too much time talking – I barely spent any time looking at the fish.


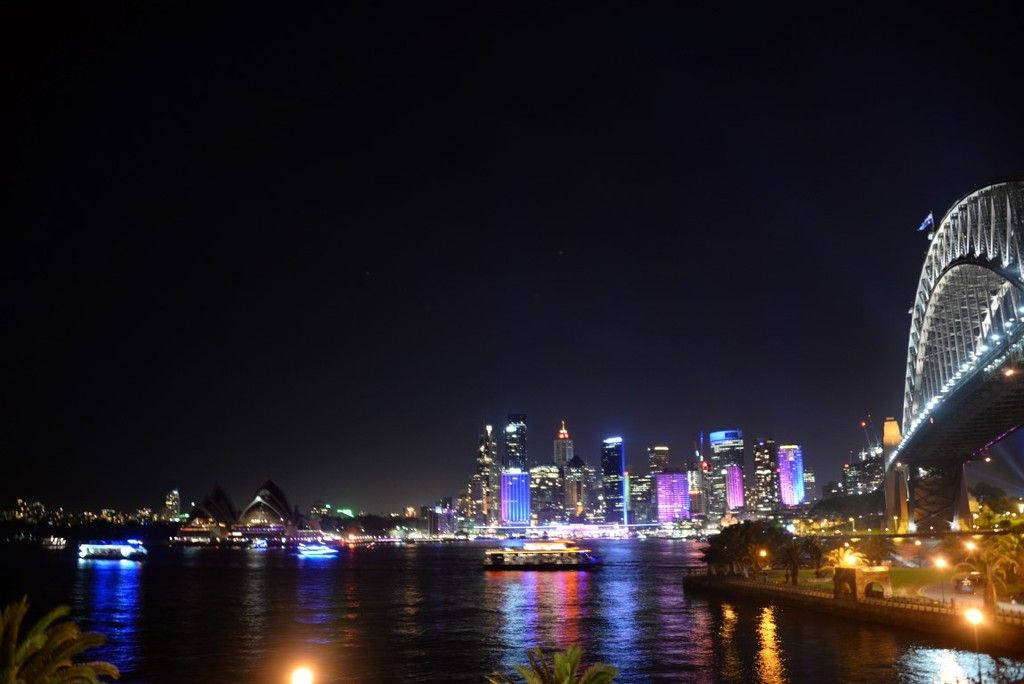
Overnight at my favourite hotel in Kirribilli, a couple of doors down from the Prime Minister’s Sydney residence.  This is rather a contrast to the previous night roughing it in my tent!!!!  The only parking spot nearby large enough for a truck was at the carpark looking out over the harbour.  Just happened that “Vivid Sydney” was on, and the place was crowded with sightseers down to see the lightshow projected on the Opera House, Harbour Bridge and surrounding buildings. 

DSC_1055%20Medium_zpsnjcu2uyq.jpg


Edited by humbug, 28 May 2015 - 11:51 PM.

#3 MrLeifBeaver

MrLeifBeaver
  • PCS Club Member
  • Joined: 08-January 13
  • Location:Langford
  • Location: "Ruby Gardens Estate"

Posted 28 May 2015 - 11:52 PM

Oh this is awesome! A road trip for fish tanks, what could be better than that! That fish place looks amazing!

In one photo you can see a massive chunk of glass broken, wow.

Did you get any photos of the manufacturing of the tanks?


Ok keep this coming. You should enter this in the Aquascaping contest.... :P


#4 humbug

humbug
  • Forum Member
  • Joined: 26-December 12
  • Location: Adelaide, South Australia

Posted 28 May 2015 - 11:56 PM

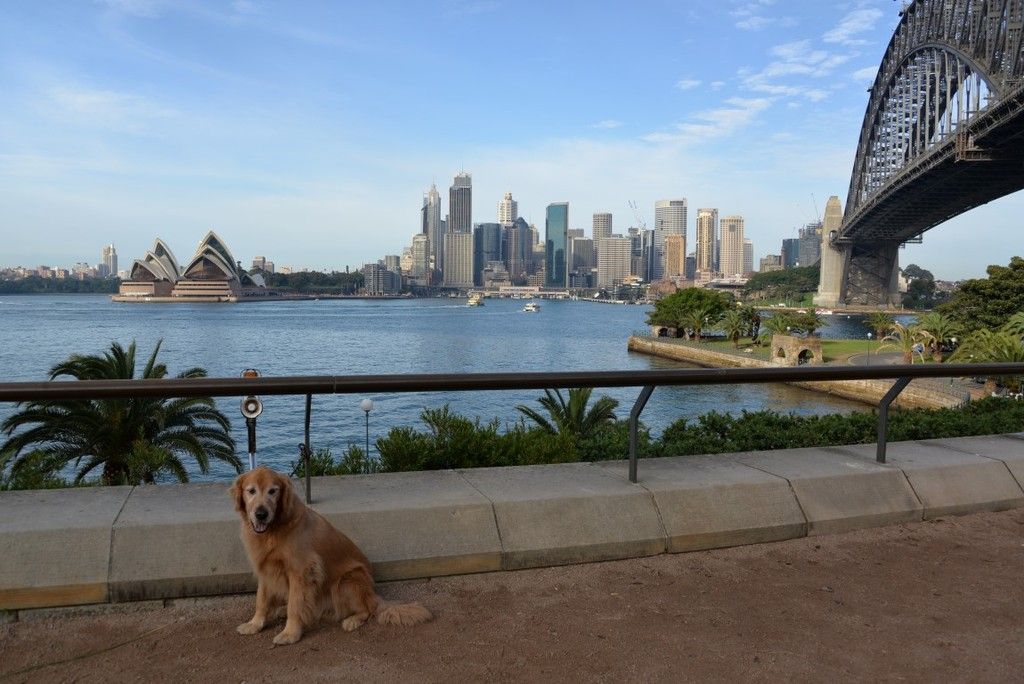
Things were a bit quieter in the morning.  I had to get a tourist shot with the dog to show we had been there J


DSC_1065%20Medium_zpszx7w4cv2.jpg


I spent Monday at Labyrinth as well.  Driving the truck through Sydney peak hour traffic to get there was SCARY!!! Managed to get a few photos of fish in the shop tanks in the afternoon, but I was feeling pretty lazy, so the camera barely got an airing.  Headed off at closing time and made a start at the return journey, stopping for the night at a hotel in Goulburn. 


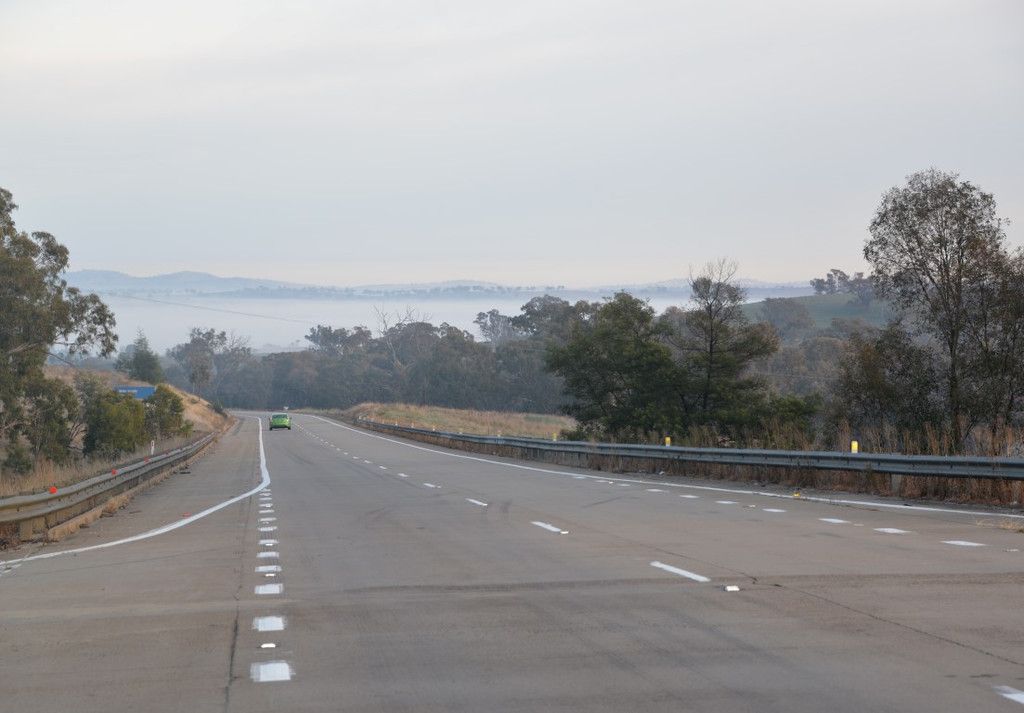
Up early and hit the road before 6am.  Very cold, with ice forming on the truck as I drive, and thick fog through stretches until the sun was up far enough to burn it off. 


DSC_1141a%20Medium_zpsnccbye35.jpg


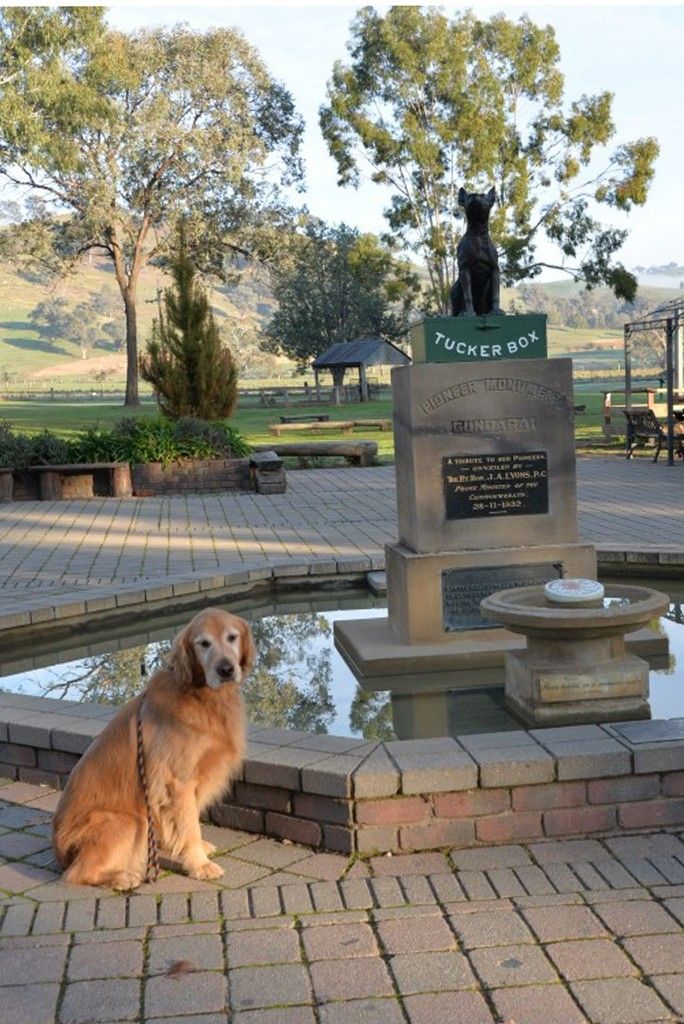
Stopped at Gundagai to get a photo of Captain at the Tuckerbox (how could I not!!!!) . . . . . .


DSC_1151aMedium_zpsco4fkqjm.jpg


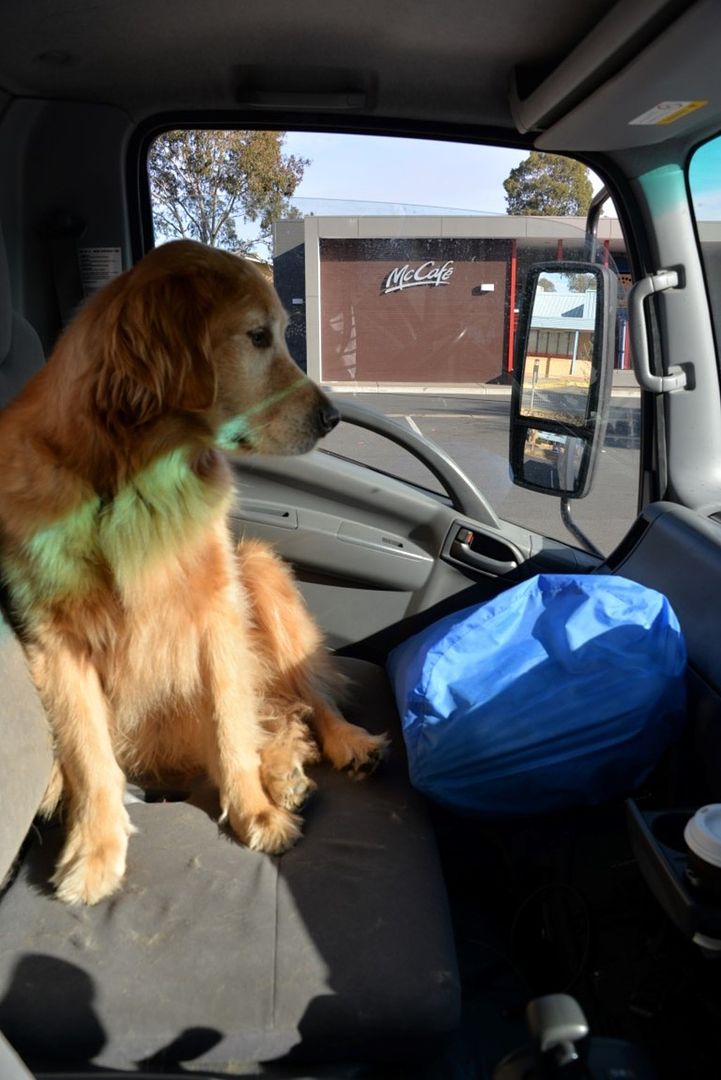
. . . . . . and at a few spots for fuel and strong coffee, . . . .


DSC_1156%20Medium_zps7vf46mkp.jpg


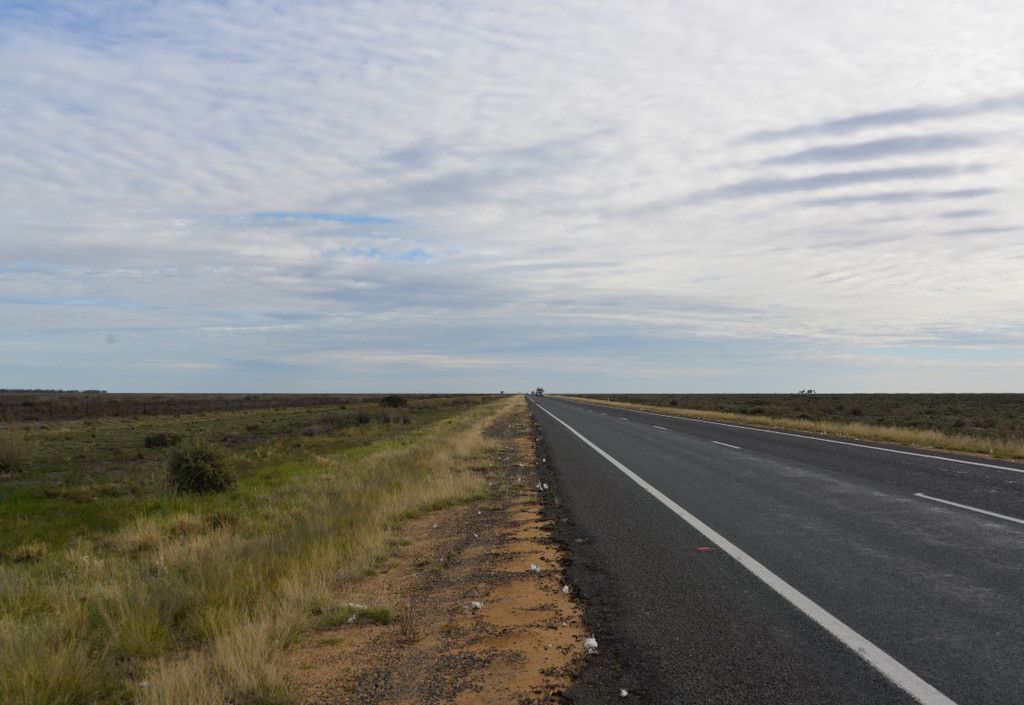
. . . . . . . endured the Hay Plain with this scenery in every direction for km after km, . . . . . .


DSC_1163a%20Medium_zpsyfyb2um9.jpg


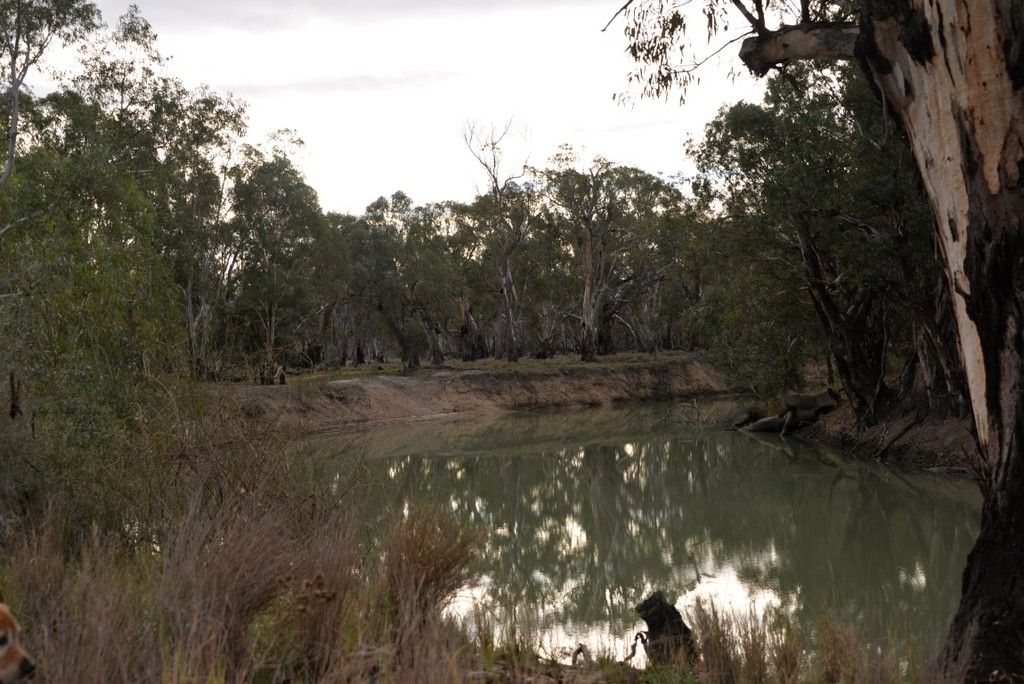
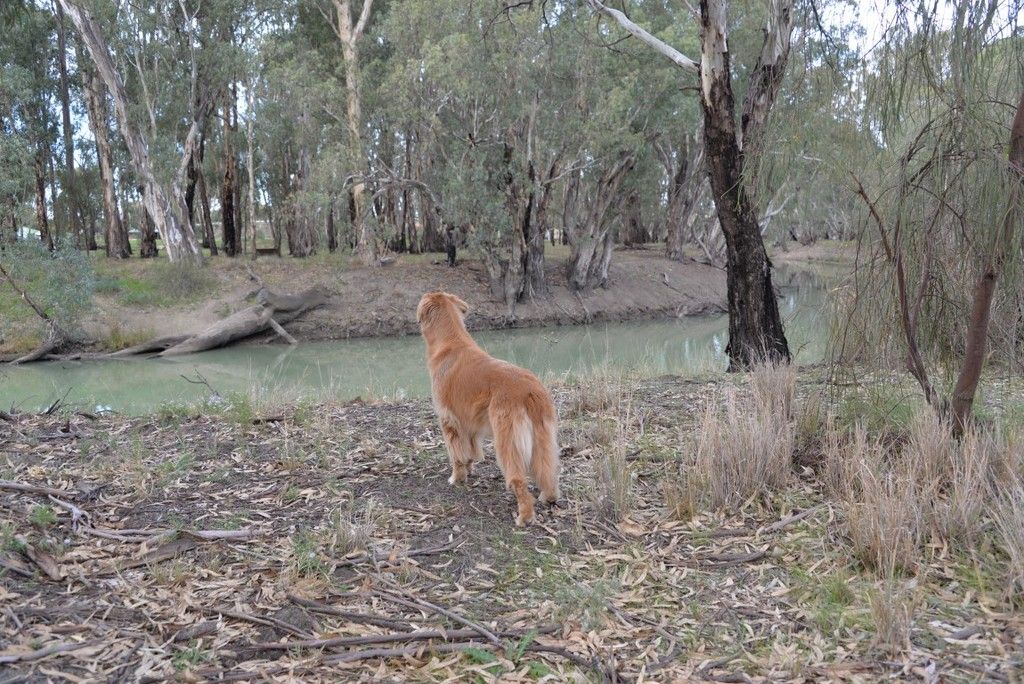
. . . . . . . and stopped for a decent dog walk along the banks of the Murray River at Euston . . . . . . . .


DSC_1169%20Medium_zpsu8a1ogai.jpg


DSC_1171%20Medium_zpsy8wxo3v9.jpg


DSC_1176%20Medium_zpsaskufkx8.jpg


. . . . . . . before finally arriving home at 10pm.  Captain, who had been an absolute angel and the perfect travelling companion, was over the moon to be home!!!!!


The drive was pretty uneventful until I was within 1km of home and I hit a big bump. It lifted me well off the seat and brought odds and ends in the overhead storage compartment of the cab crashing down around my ears. I went to bed feeling a bit dubious about the fate of the tanks.


Exhausted after a very hectic week and the looooooong trip home, I was still up at the crack of dawn the following day with the prospect of a truck full of gear needing to be unloaded. 


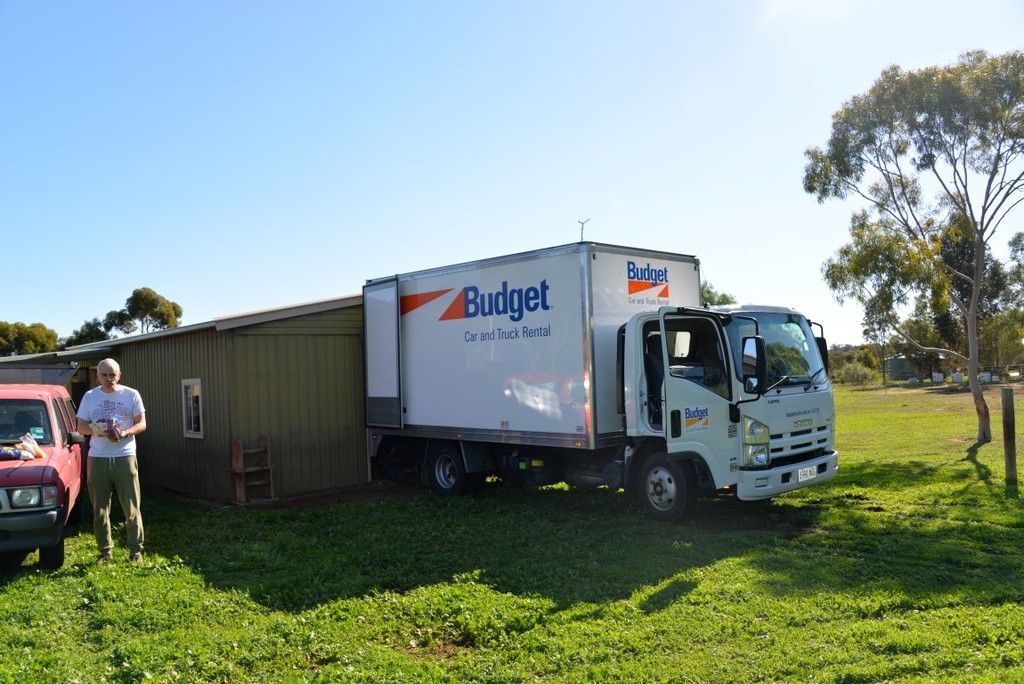
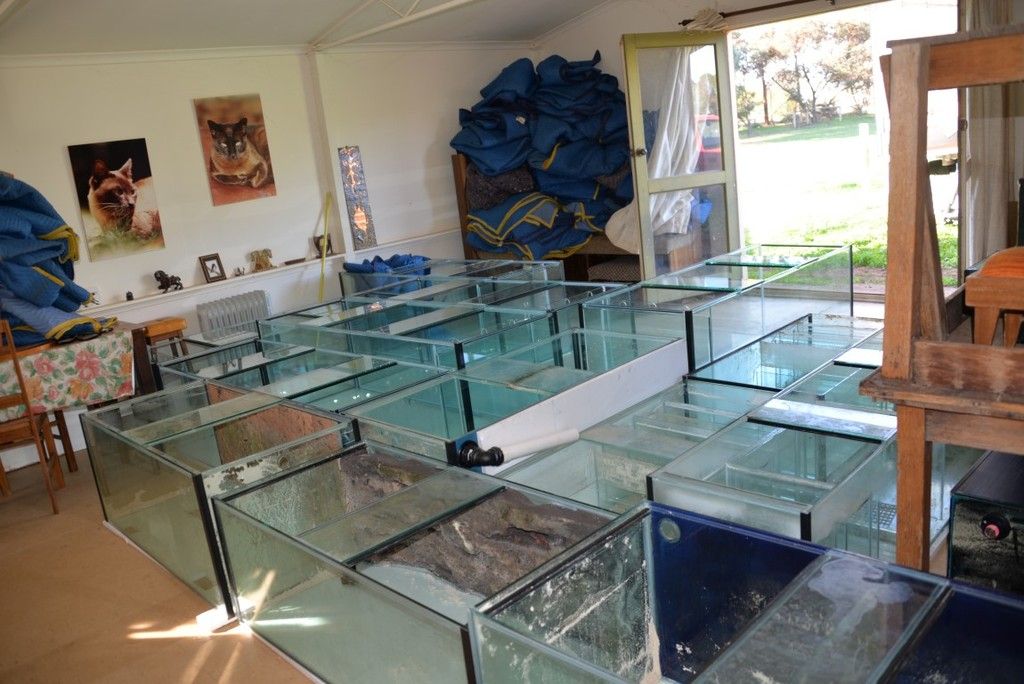
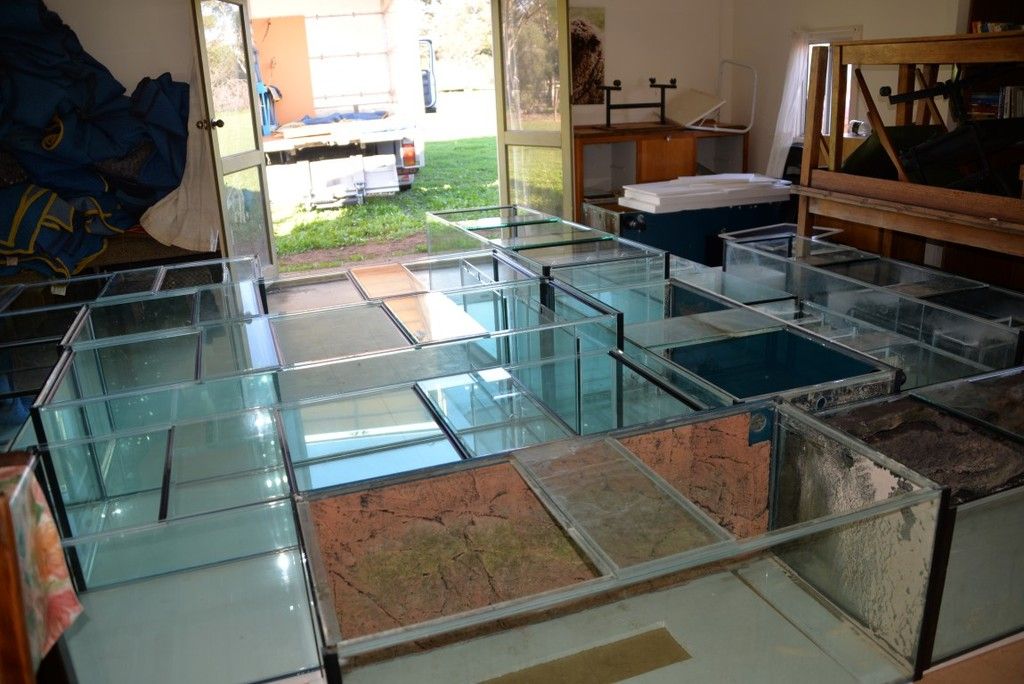
All of the smaller stuff was unloaded at home, but because there is still a hell of a lot of work required on the building that will become the fishroom, the tanks have had to go into temporary storage.  Luckily my parents were happy for them to be stored in the shed on their hobby farm for the time being. 


DSC_1179%20Medium_zpsohzm0kfa.jpg


It took 7 ½ hours for my husband and me to offload all the gear.  What a wonderful sight the back wall of the truck was once we had all the tanks out!!!!  Best of all, absolutely no further damage to any of the other tanks or gear. In fact the only thing that moved from where it was packed were a few polystyrene sheets that were sitting on top of the larger tanks.  They moved a few inches.


DSC_1184%20Medium_zpsxpulqlyu.jpg


DSC_1185%20Medium_zpsfra3gvje.jpg


That was yesterday.  I returned the truck early this morning.  As I drove into the yard at the hire company the trip meter clocked over exactly 3,000 km for the trip :rolleyes:  

I’ve spent all of today trying to sort out the multitude of boxes that came back with me.  I didn’t personally pack all of the boxes over in Sydney, so plenty of wonderful surprises are surfacing as I’m unpacking them. 


Once things have settled down a bit here, and I’ve caught up with all of the long-overdue water changes, I’ll post some shots of the work we are doing on my slightly unconventional fishroom, and some details of my plans going forward. 


Edited by humbug, 29 May 2015 - 12:18 AM.


#5 humbug

humbug
  • Forum Member
  • Joined: 26-December 12
  • Location: Adelaide, South Australia

Posted 29 May 2015 - 12:04 AM

Oh this is awesome! A road trip for fish tanks, what could be better than that! That fish place looks amazing!

In one photo you can see a massive chunk of glass broken, wow.

Did you get any photos of the manufacturing of the tanks?


Ok keep this coming. You should enter this in the Aquascaping contest.... :P

This is just the beginning - the fun will start when we get going on the fishroom :)  

Abyss is an amazing place.  I didn't get many photos this time around as all efforts were focused on loading tanks, but I have shots from a previous visit I'll dig out when I get a chance.  There are shots about of that broken glass, too.  A large pallet of huge sheets of 6mm glass broken in transit.  I'll post them up too when I get an opportunity. 


#6 dicky7

dicky7
  • Forum Member
  • Joined: 25-October 13
  • Location:Perth
  • Location: Noranda

Posted 29 May 2015 - 07:29 AM

Well Kathy you have done it again what a fantastic journal


looking forward to future updates with your progress thankyou


#7 25GTT

25GTT
  • Forum Member
  • Joined: 23-October 10
  • Location: Tapping

Posted 29 May 2015 - 09:53 AM

I don't know who you are or what you do...... but you are inspirational! That is truly a love for the hobby when you drive interstate and pitch up a tent to pick up the tanks yourself! amazing work.


Can wait to see pics of your fish room once all completed!


#8 Peckoltia

Peckoltia
  • Forum Member
  • Joined: 15-October 04
  • Location: Dianella

Posted 29 May 2015 - 10:25 AM

Great thread, I enjoyed reading that. Thanks for sharing!


#9 Voodoo

Voodoo
  • Forum Member
  • Joined: 30-April 14
  • Location: Morley

Posted 29 May 2015 - 10:34 AM

definitely going to get me a golden retriever one day - such nice dogs


#10 Androo

Androo
  • Forum Member
  • Joined: 24-November 12
  • Location: Thornlie

Posted 29 May 2015 - 12:04 PM

Wow dog on the tucker box has changed, wasn't paved from my memory, got caught in a vicious vine while relieving my bladder at that place.

#11 humbug

humbug
  • Forum Member
  • Joined: 26-December 12
  • Location: Adelaide, South Australia

Posted 29 May 2015 - 04:36 PM

Now to the fishroom itself. 


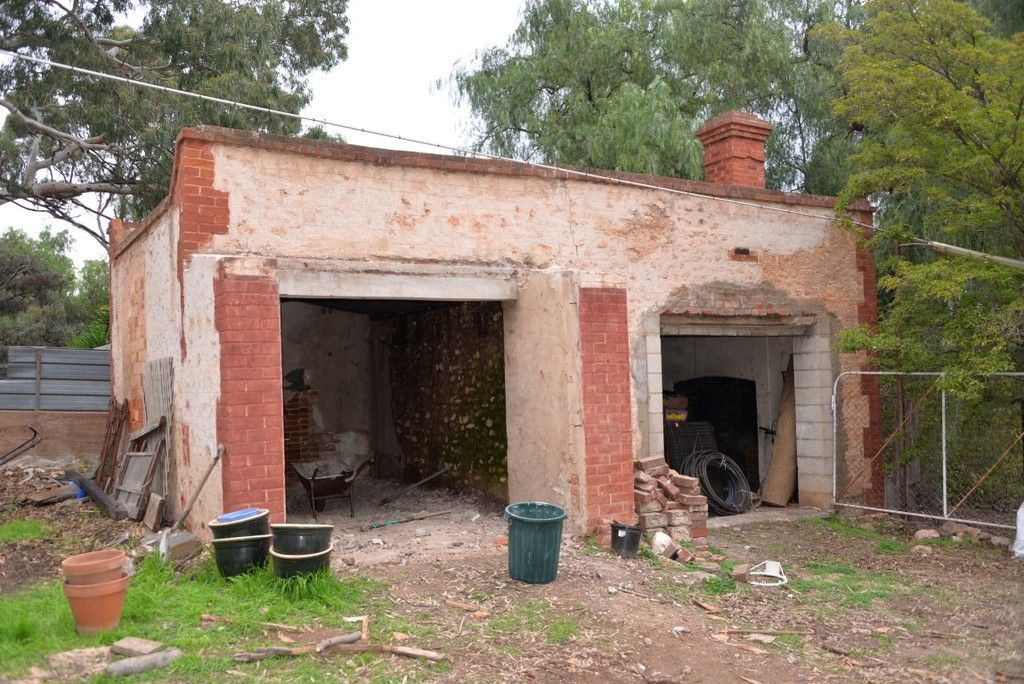
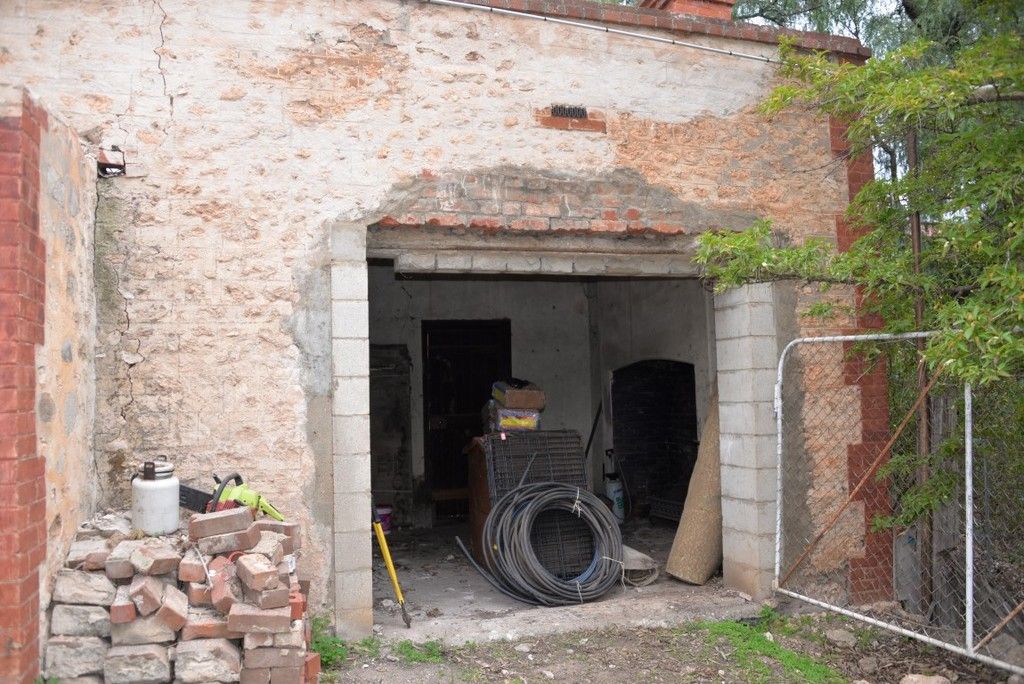
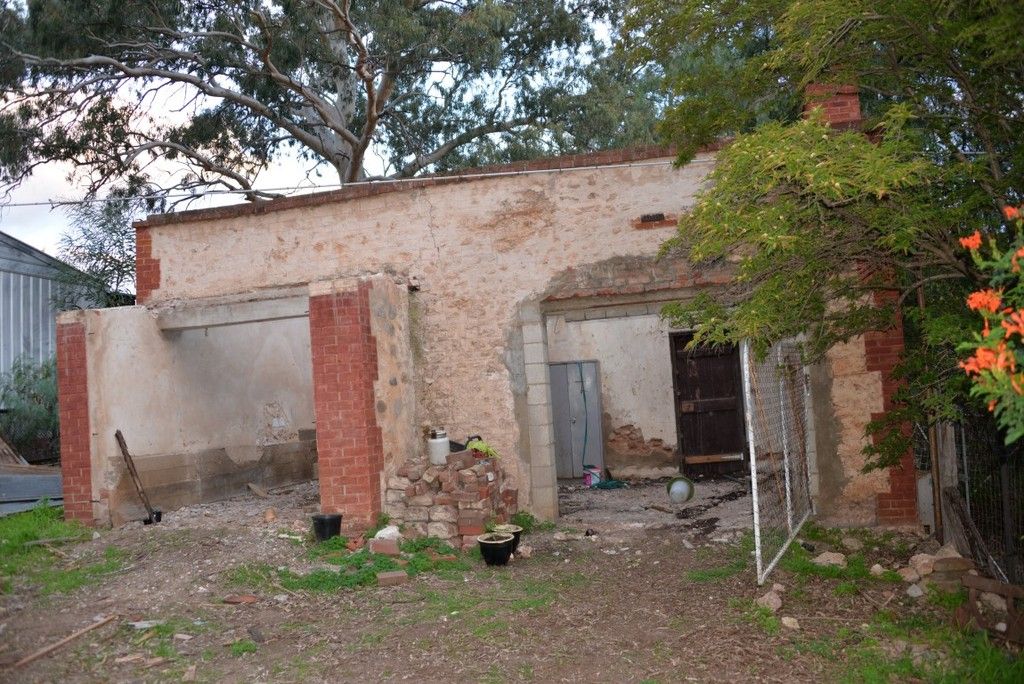
We live in an old house which celebrates its 150th birthday in February of next year.  The original kitchen, and possibly the laundry, were in a separate stone building situated a bit of a distance from the house.  Perhaps the title of this thread might make a little more sense now.  We refer to this building as "the bakehouse", a name we inherited from the previous owners. 


The building has a chequered history.  With the changes to property boundaries the original doors now face on to the fence.  At some time in the past large holes have been knocked in the opposite wall so that it could be used for car parking. A couple of external stub walls had been built at some stage to lengthen one section.


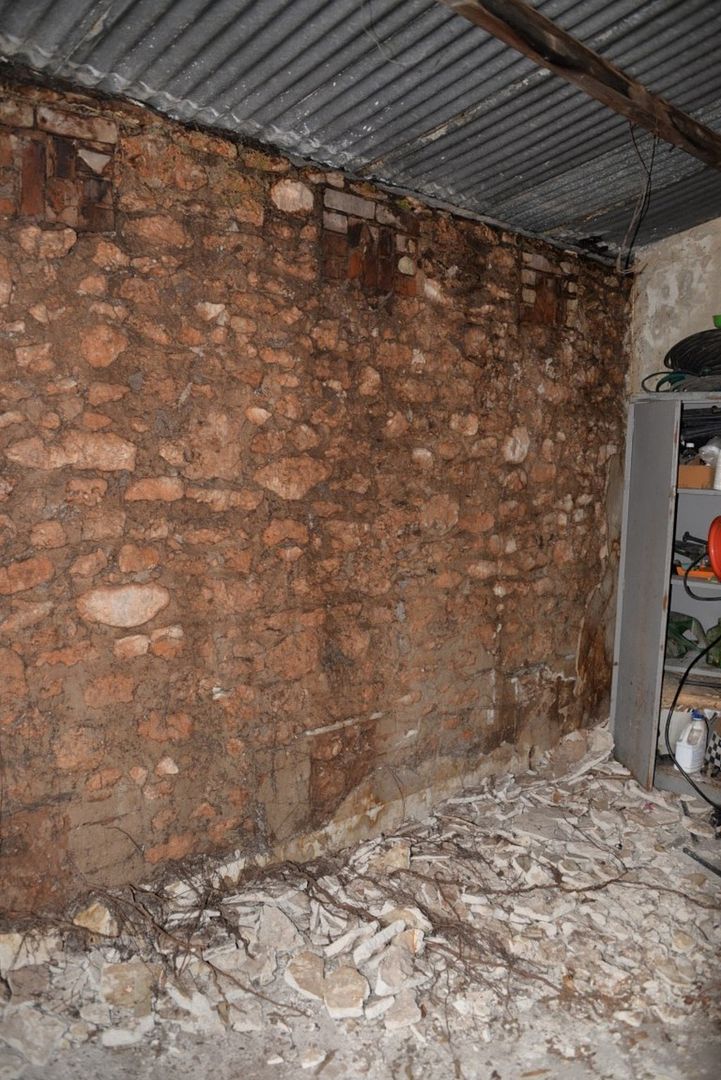
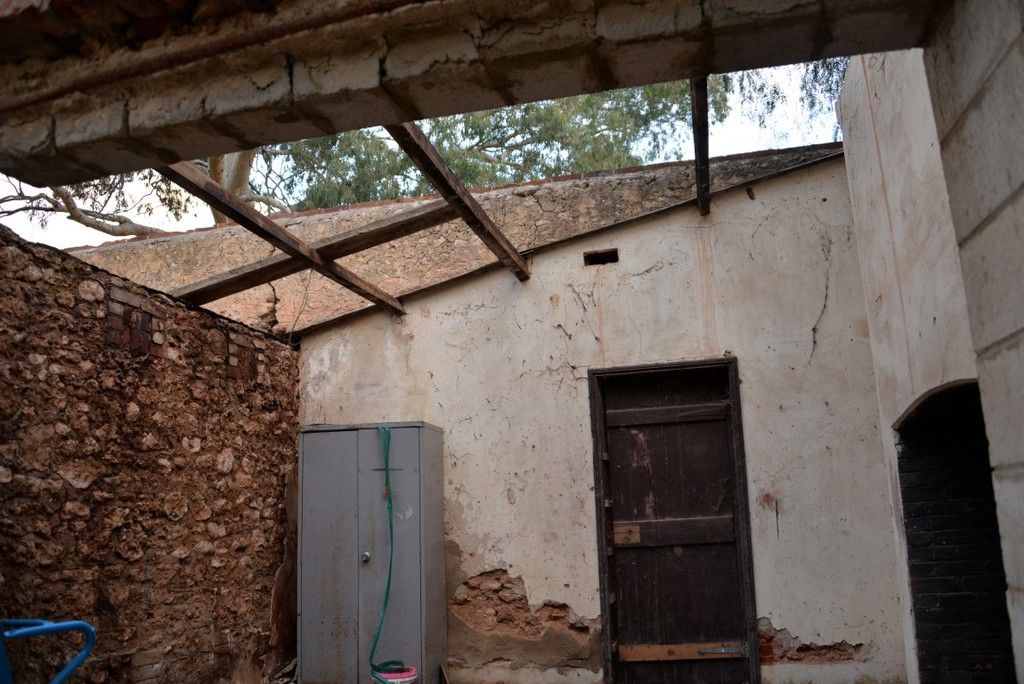
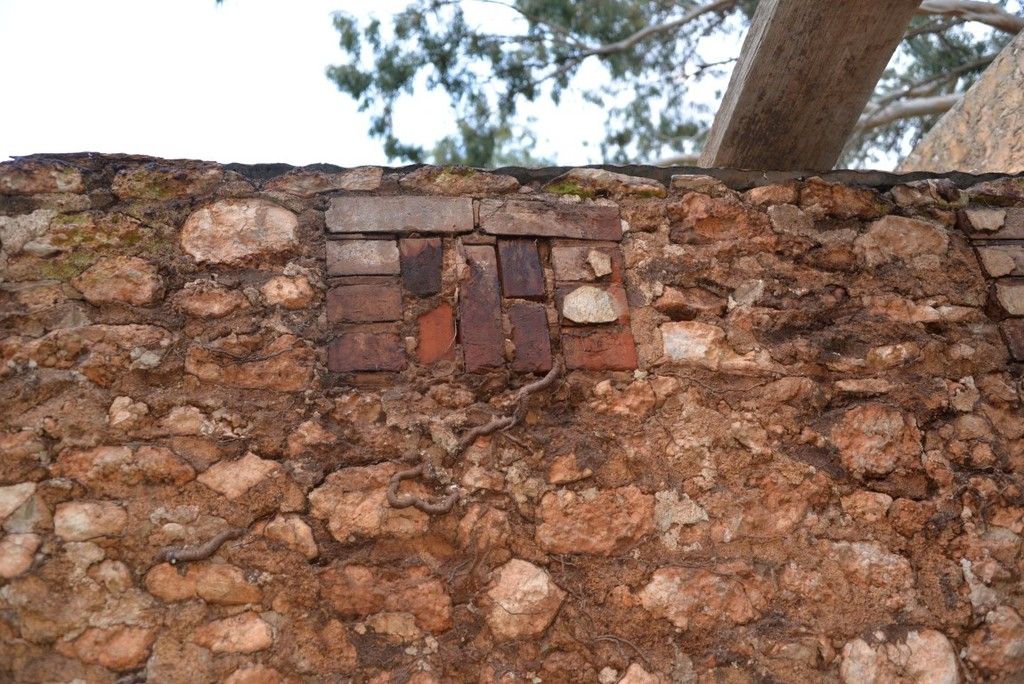
In more recent times it’s just been used as a storage shed.  The roof leaked badly, and an internal gutter had corroded away meaning that any rain hitting the roof ended up running down the internal wall.  The rendering on that wall had all but separated from the stonework, and quite sizable tree roots had embedded themselves in the mortar and grown up well above head height. 


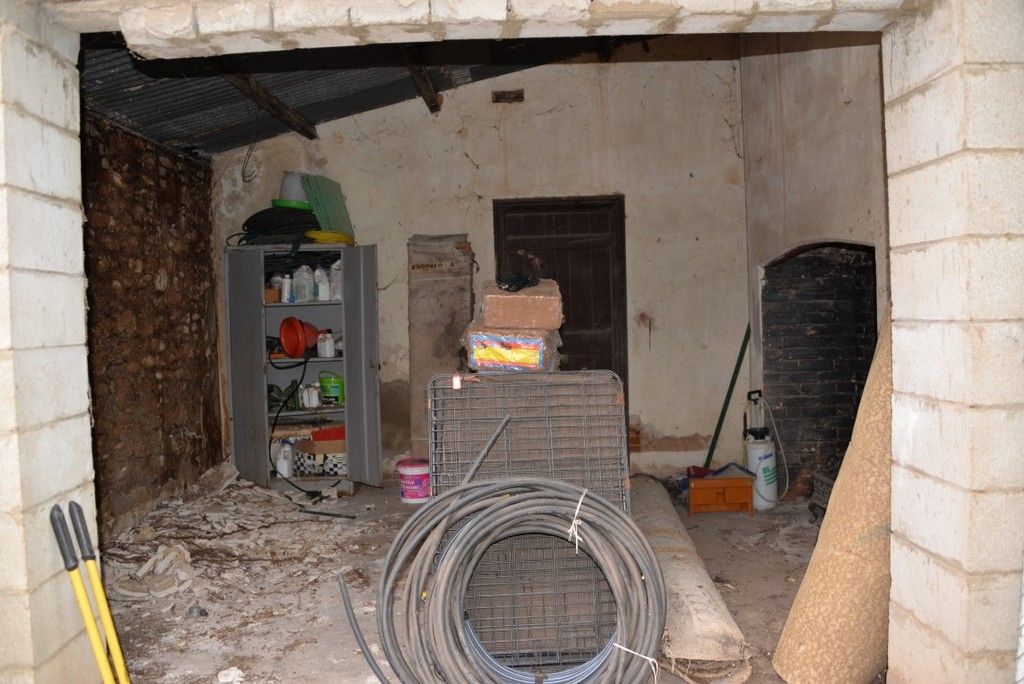
The building is separated into two parts by the internal wall.  I’m looking to use the larger section on the right hand side as my fishroom, and the smaller section will revert to being a storage shed, albeit with a decent roof, floor, lighting and lockable door.


Photos probably make it look more dilapidated than it actually is, particularly now we have got stuck into it.  The walls are basically sound but rather untidy.  I’d have some shots somewhere of it before we started work. If I can find them later I’ll edit this thread and insert them here.  But these shots were taken a couple of weeks ago when work had already commenced.


 DSC_0949%20Medium_zps4y2ainy1.jpg


DSC_0947%20Medium_zpscgvt0ll4.jpg


Here’s a shot through the opening before we removed all of the junk.  This gives you an idea of the slope of the ceiling and shows the original door which will be blocked off and insulated. 


DSC_0946%20Medium_zpsydmdv4p8.jpg


Here is a shot of the internal wall once the rendering had been removed, but still waterlogged.


DSC_0944%20Medium_zpsdudhmpac.jpg


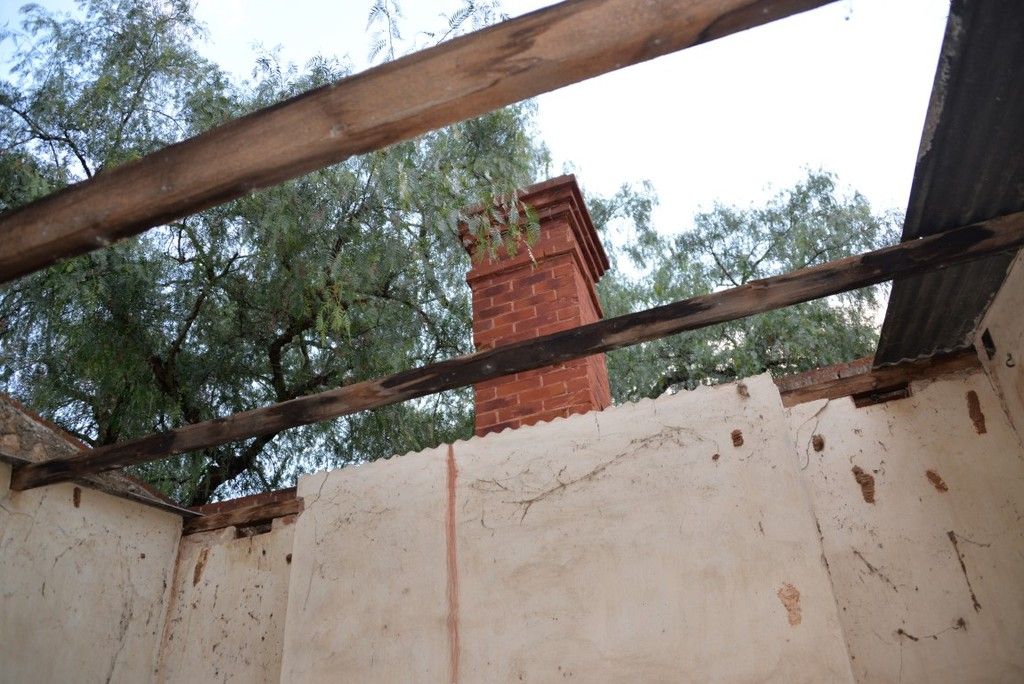
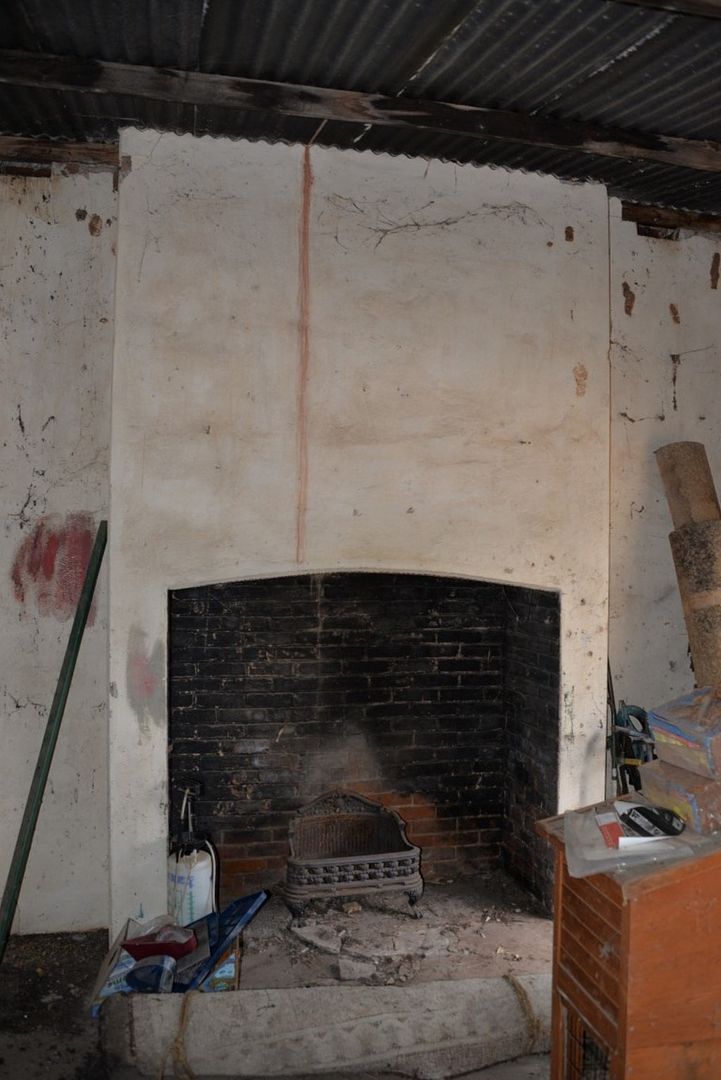
What every good fishroom needs – a huge fireplace almost 6 foot wide!!!


DSC_0945%20Medium_zpsz4c3x7no.jpg


First step was to clear out the accumulated junk from inside.  Multiple trips to the tip with trailer loads of junk, and finding alternative storage for the stuff of value, and we had it basically cleared.


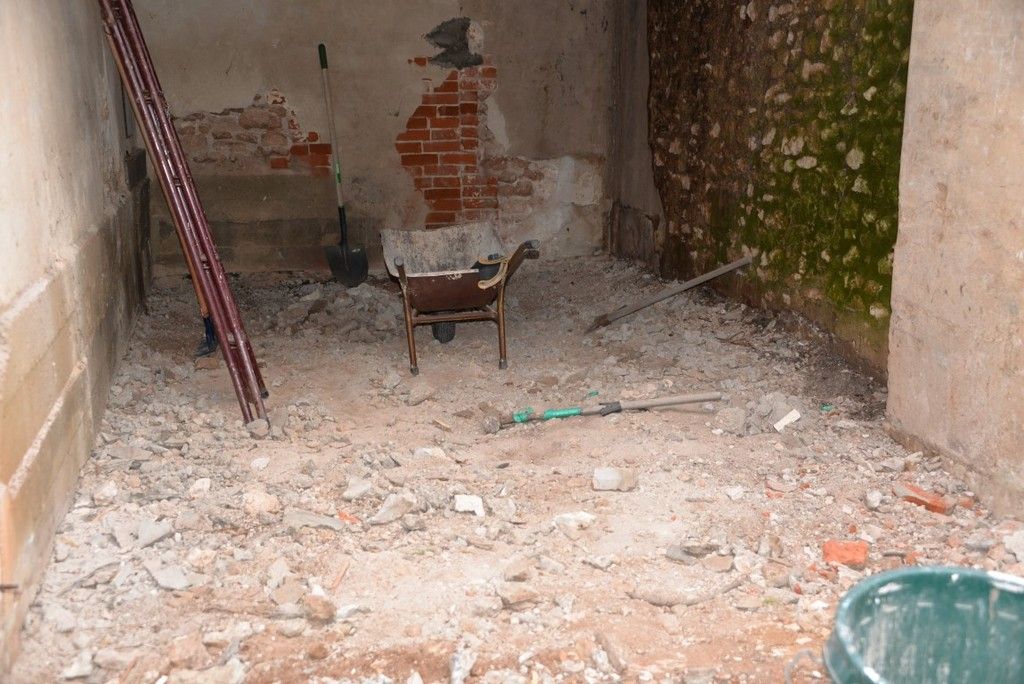
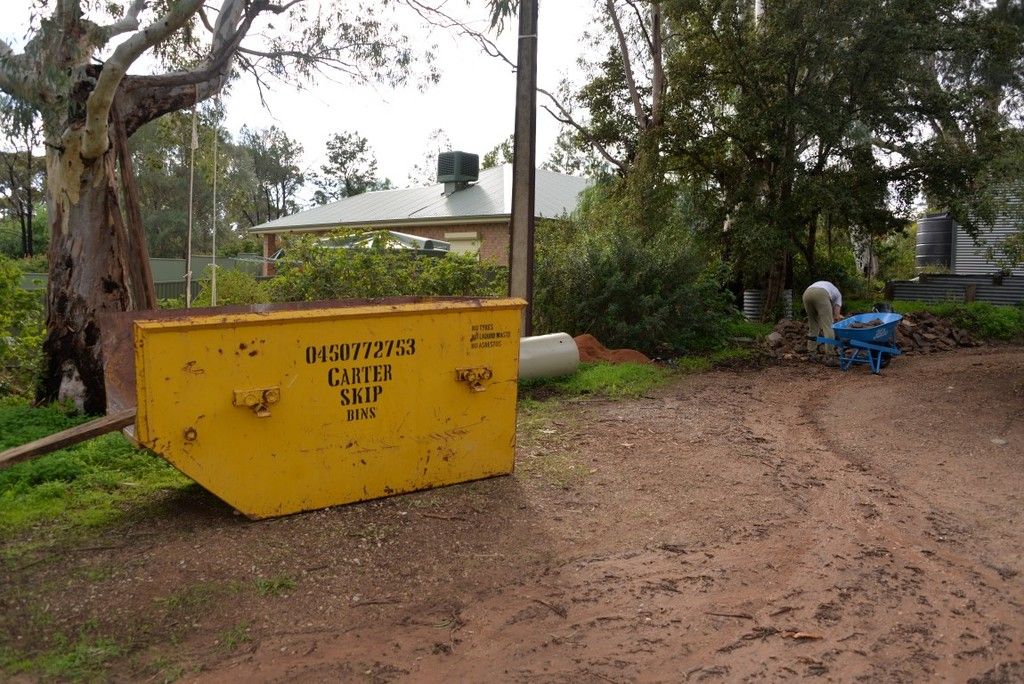
My husband then got stuck into removing the thin screed of cement that served as a floor, and the loose rendering from the walls.  We brought in a skip for the rubble but it wasn’t big enough!


DSC_0950%20Medium_zpsth5nwcbr.jpg


DSC_1026%20Medium_zpsgrlowijj.jpg


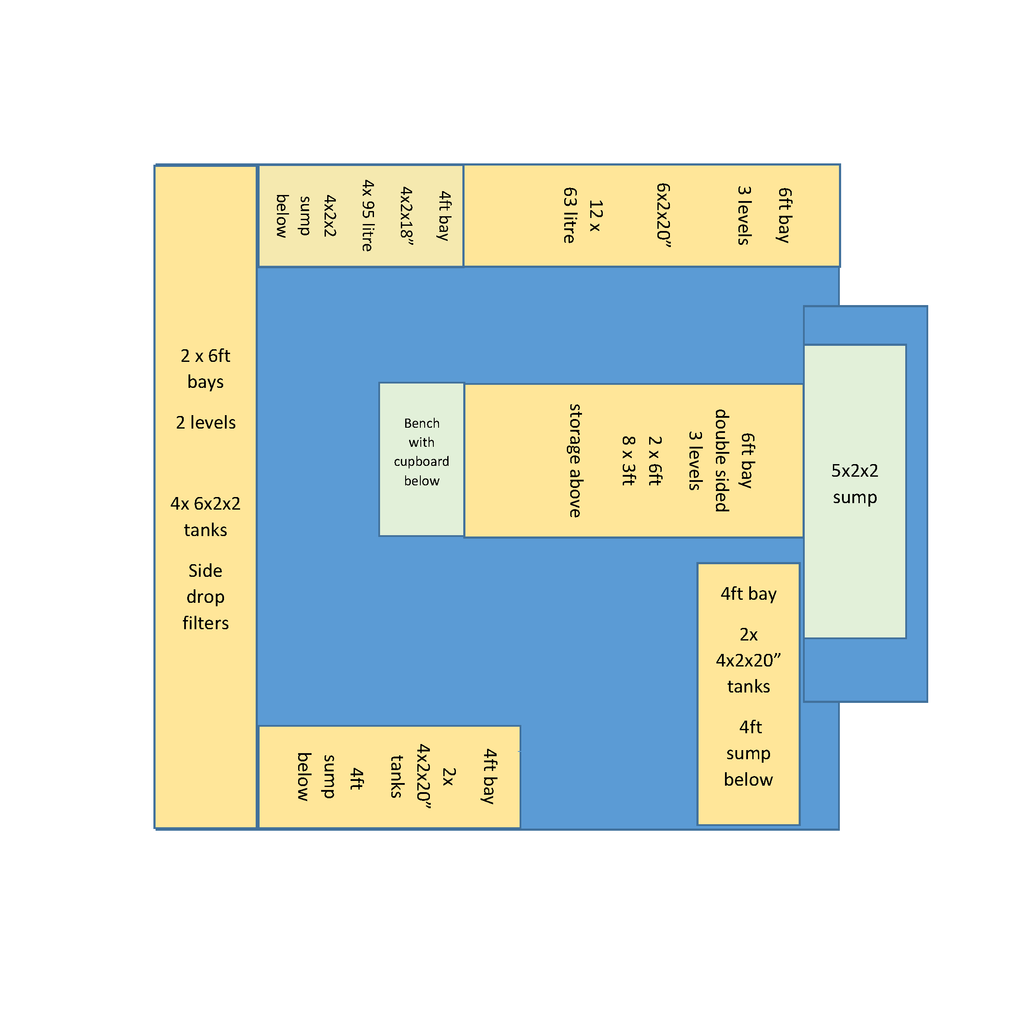
The room isn’t big.  It’s roughly 4.1m x 3.95m.  The ceiling is sloped, with a head height of around 2.4m at one end, rising to 3.4m at the other.  The fireplace juts into the room adding a little bit of complexity to the planning for tanks.


This is the current plan for rack/tank placement.  I’m using the “wasted” space in the fireplace to house a large sump to filter the central bank of tanks.  There should be ample space each side of that racking to still be able to get in to maintain the sump. 


file-page1_zpsv6m6qowm.png


I’ll be using pallet racking throughout, and I now have pretty much all of the tanks that I need other than a 5x2x2 to use as a sump plus one standard 6 footer.  I’m hoping I’ll be able to find those secondhand sometime in the next few months. 


In the previous fishroom I set up I used a lot of air driven filtration as well as a couple of sumps for the larger tanks.  But I suffer from arthritis in my hands and I’m finding the constant cleaning of sponge filters to be a real problem.  The intention is to get all of the smaller tanks into the new room and on to a sump in an effort to reduce maintenance and simplify water changing.  All of the tanks in this room will either be on sumps or side drop filters.


I will still have a large pump feeding an air ring-main around the entire room in the same way I set up my previous room.  All tanks will be connected to a drain which will allow draining any tank of 50% of the water simply by opening a valve.  I will have running water plumbed to the room. 


We will be installing a reverse cycle air-conditioned to combat heat in summer and help with heating in winter.  Space constraints mean that insulating the walls is difficult if not impossible, so I’m looking at heavily insulating backs and side of tanks and possibly doing some heating via heaters in the lower level tanks.  Time will tell what’s required for those coldest winter days.  Solar panels are about to be installed on the roof of the adjacent shed to help with power bills.


Edited by humbug, 29 May 2015 - 04:38 PM.

#12 humbug

humbug
  • Forum Member
  • Joined: 26-December 12
  • Location: Adelaide, South Australia

Posted 29 May 2015 - 04:43 PM

While I was away on my jaunt to Sydney, my husband removed all of the old roofing iron.  Still a little bit of cleaning up to do, but we are pretty close to being able to start some restoration work.


Some shots taken today


DSC_1190%20Medium_zpsbjc4qk8h.jpg


Internal shots with roof removed. 


DSC_1186%20Medium_zpsoxtvaul4.jpg


DSC_1188%20Medium_zpsoybme8kx.jpg


A shot showing some of the tree roots in the internal wall, well over 2 metres above ground level!


DSC_1187%20Medium_zpsmbuuvieb.jpg


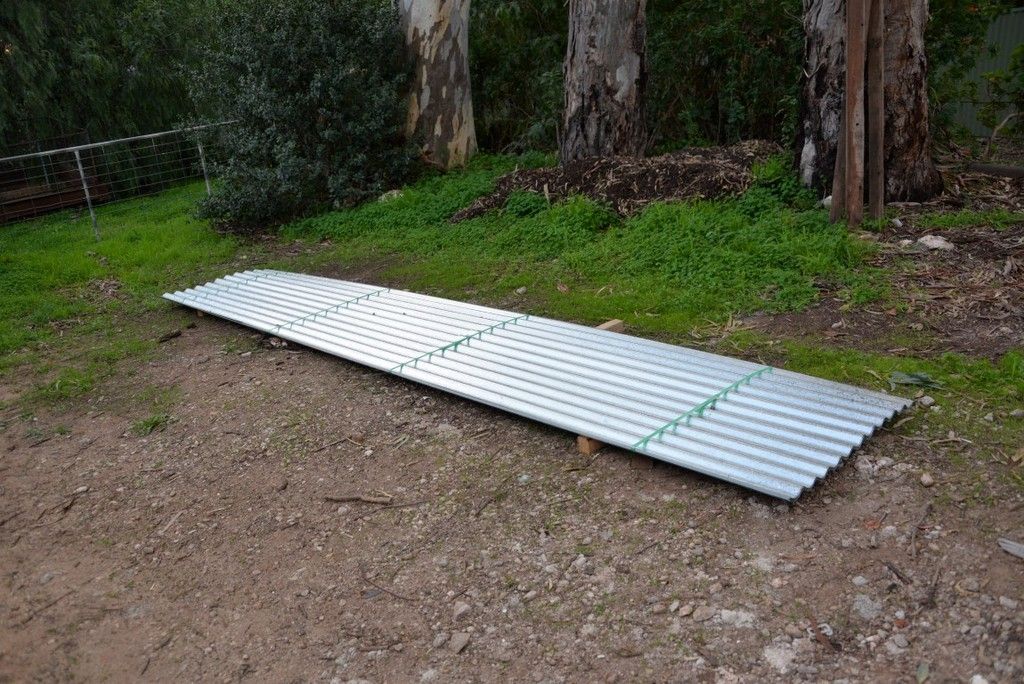
The new roofing iron was delivered on Wednesday.


DSC_1189%20Medium_zps6shfln5g.jpg


We are now waiting for the stonemason to start work repairing the front wall.  The two stub walls protruding from the front will be demolished, the old lintels for the openings will be removed, and two brick quoined doorways will be built into the openings.  The opening on the left will be a single doorway to the storage shed, while the opening on the right will become a double doorway into the fishroom.  The stonemason will also repair a couple of cracks and re-render the walls where required.


Once the stonework is sorted, there are a couple of roofing beams which need replacing, then the iron can be renewed over heavy insulation material.  A new reinforced cement floor will be installed, the chimney will be closed off and insulated to help retain warmth, and power and lighting will be installed.  The addition of a decent well insulated door will hopefully make for a nice snug room.


So at the moment we are in a bit of a holding pattern.  As I was typing this up I got a call from the stonemason, and he’s coming on Sunday to have another look and discuss the job.  We are hoping he will start work soon.  In the meantime we will continue with roof repairs, researching and sourcing materials, and gnashing our teeth with impatience


#13 sandgroper

sandgroper
  • Forum Member
  • Joined: 24-April 06
  • Location: Near Malaga

Posted 29 May 2015 - 11:57 PM

Wow Humbug you have got the fish bug real bad and great dedication there. Great write up on your road trip :goodjob: :welldone: nothing beats a nice little getaway from it all when your on a budget. Looking forward to your progress and end result.       cheers  Steve


                                        p.s Your hubby must be one in a million.


#14 humbug

humbug
  • Forum Member
  • Joined: 26-December 12
  • Location: Adelaide, South Australia

Posted 31 May 2015 - 09:27 AM

While we are at a bit of a standstill with the renovations, my thoughts turn to procuring the materials I need for the fishroom. 


While is Sydney last week I picked up two large boxes of Marine Pure balls which I intend to use as my main biological media in my sumps and side-drop filters.  A fortnight ago I received a large delivery of sponge in three different grades, also for the filters.  Now I’m starting to design the plumbing so I can order the components.


I’m hoping to put a stack of fry tanks on a single sump system.  I currently run sponge filters in my fry tanks.  I find that one of the real advantages of sponges is that food collects on the surface of the sponge and the fry feed off that food between feeds, meaning they have an almost constant food source.  I can see an issue with using a sump is that any food not eaten immediately will end up in the sump where it’s of no use to the fish.  Obviously I also need to keep the fry in the tanks rather than the sump!


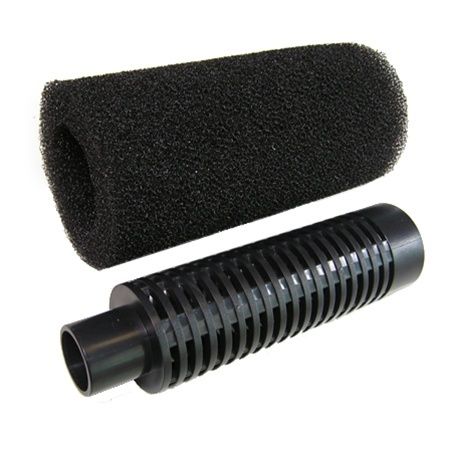
Placing a block of sponge over a bulkhead strainer has the potential to lead to a flooded fishroom if the sponge becomes blocked.  I’m thinking that something along these lines is potentially the answer. 


46033-2_zpsaipr4bep.jpg


The sponge on this setup is 8 inches long (200mm), so should take quite some time to block.  If I had a second set of sponges it would just be a matter of removing all the old ones and replacing them with the alternate set at each water change, then clean the old ones in slow time ready for next water change.  I could also set up the plumbing so that there was a backup overflow on each tank to avert potential disaster.


So – a couple of questions.  I can find these things for sale in the US, but shipping costs are very high.  Has anyone seen this type of arrangement available in Australia? (I always try to support local businesses when I can)


What other options have people used successfully for fry tanks running on a sump?


Edited by humbug, 31 May 2015 - 09:28 AM.

#15 DFishkeeper

DFishkeeper
  • Forum Member
  • Joined: 21-October 02
  • Location: Gold Coast, Qld

Posted 31 May 2015 - 09:33 AM

Hi Kathy,


I'm looking forward to following this fishroom build, quite a project :)


I use stainless steel strainers myself on my fry tanks (see link below) and have never had an issue with blockage and overflowing, or with fry getting through strainers. The mesh is quite fine on them and works well in fry tanks, and they screw straight into standard bulkhead fittings. Dural do free delivery Australia wide, so you can get a couple first and have a play with them before committing to a large order :)
 

http://www.duralirri...-Strainers.html


Cheers, Doug


Edited by DFishkeeper, 31 May 2015 - 09:36 AM.


#16 humbug

humbug
  • Forum Member
  • Joined: 26-December 12
  • Location: Adelaide, South Australia

Posted 31 May 2015 - 09:44 AM

Thanks for that Doug.  I actually use them on a number of my current tanks.  I use finely crushed flake with my smaller fry and I suspect it will either get through the mesh or clog on the surface which is why I'm hunting for potential alternatives.  Even the sponge in the photo I posted might be too coarse for what I need. And it may well be that I'm hunting for a solution to a problem that isn't actually a problem :)


My fry tanks need to be drilled anyway.  I'm thinking that I might drill a few of them and set them up running on a small sump I have here and try out a few options to see what works and what doesn't.  That way I can work out what I want before committing to buying a heap of parts. 


Plumbing bits are all pretty cheap individually, but gee the costs mount up when you plumb a few tanks :o


#17 silverscreen

silverscreen
  • Forum Member
  • Joined: 04-October 12
  • Location: bennett springs

Posted 31 May 2015 - 10:12 AM

hey humbug...as always great read.


as for the plumbing into the sumps...i never really solved this issue,


i have all my breeder tanks plumped to a sump and because of the flow rate i have running most of my food ends up in the sump ...so the habit i have gotten into is i turn the pump of and feed all my none plumbed tanks first and while i am doing this the flow stops and then i feed the tanks that are plumbed...i have tried tucking sponge inside the overflow boxes but yes you are right after a while the flow slows down and the pump doesn't so the water has to go somewhere.


i will be watching your thread closely as i am also planing my fry setup to be plumbed...also i am using marinepure...but still have the sponge filters running in the breeders tanks as-well...just as a back up.


rgds

john.


#18 shayne

shayne
  • Forum Member
  • Joined: 09-August 13
  • Location: yangebup

Posted 31 May 2015 - 11:52 AM

WOW!! What a great read, Humbug and a very exciting project. Love that Bakehouse, nice bit of history and a fabulous feature to have in your backyard, am trying hard not to be envious. Bummer about the arthritis mate, im a sufferer to. A life time of pain and fatigue that few can understand. Hope that you have it under some sort of control. Methotrexate and prednisilone have been my new best friends for about 12 years now. Good luck with your project! :welldone:  :goodjob:  


#19 humbug

humbug
  • Forum Member
  • Joined: 26-December 12
  • Location: Adelaide, South Australia

Posted 31 May 2015 - 06:32 PM

Thanks for your kind words, guys. Its fun to be able to share.

We had the stonemason here today. He was impressed with the progress made since his last visit. We need to get moving and get doorframes built so he can build the openings around them. We have decided to focus just on tidying up the front wall and then doing the minimum repairs beyond that to keep costs managable. Would be lovely to have all the walls repointed but that will have to wait for now.

Im soooooooo impatient!! I want to get in and start setting up tanks!!!

#20 dazzabozza

dazzabozza

    Life Member

  • Admin
  • Joined: 16-March 07
  • Location: Beeliar, Perth WA

Posted 31 May 2015 - 07:37 PM

Fantastic journal Humbug!

Hopefully spurs more people into setting up their own fish rooms.


0 user(s) are reading this topic

0 members, 0 guests, 0 anonymous users