Loach Tank Renovation
#1
Posted 02 October 2012 - 02:30 PM
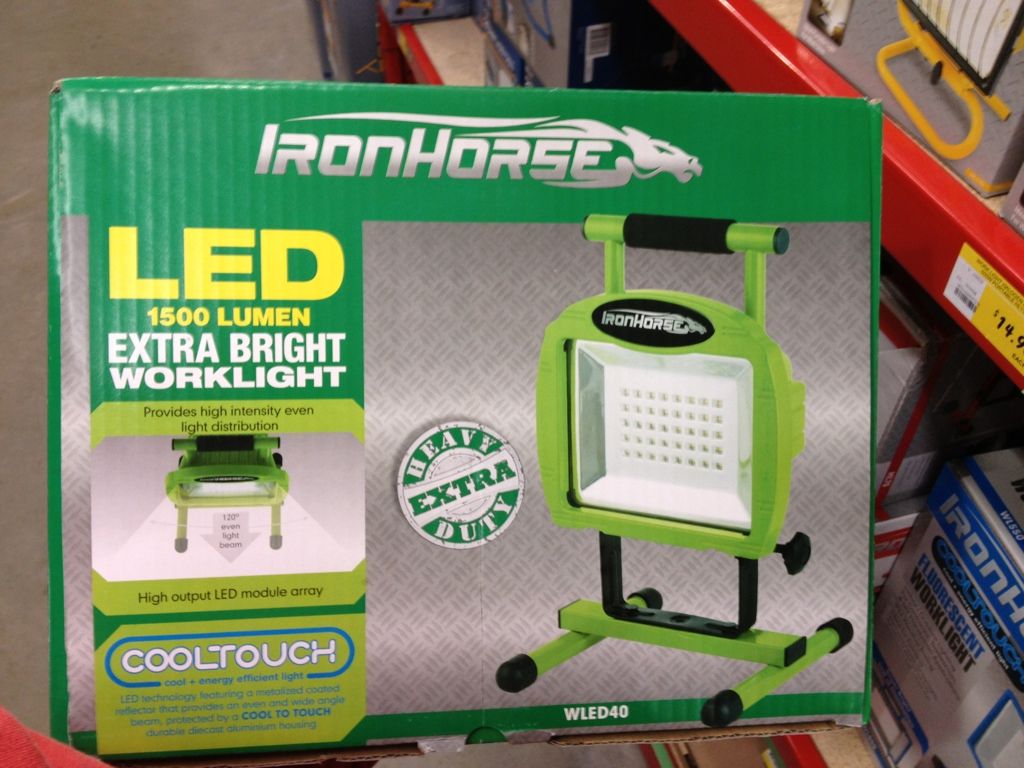
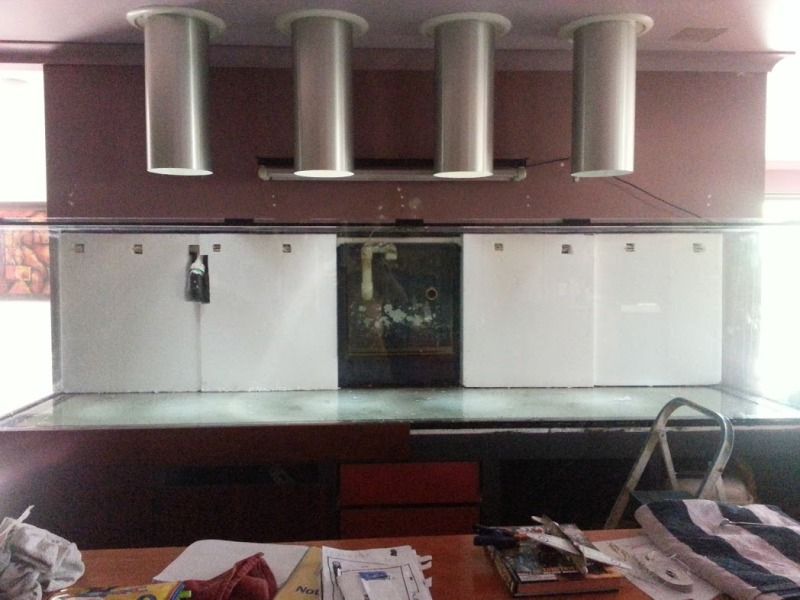
I recently had to pull down the solar tubes due to mould growth, so needed a new source of light. I bought these from a LED store in Victoria through Ebay, and mounted them level with the ceiling to shine down through the existing solartubes. They are 50w LED floodlights.
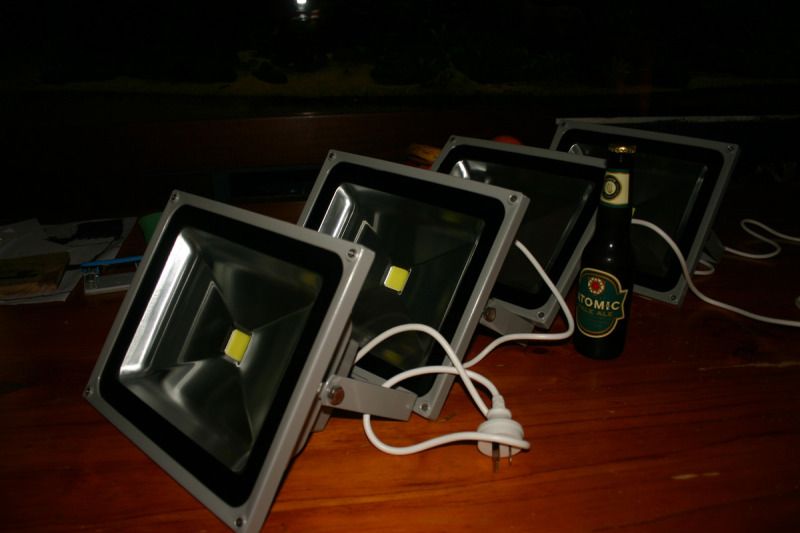
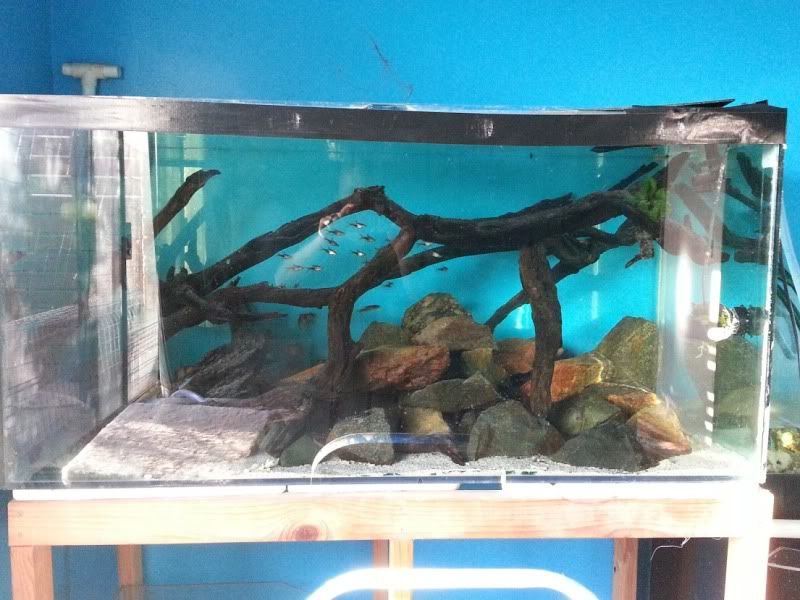
The result
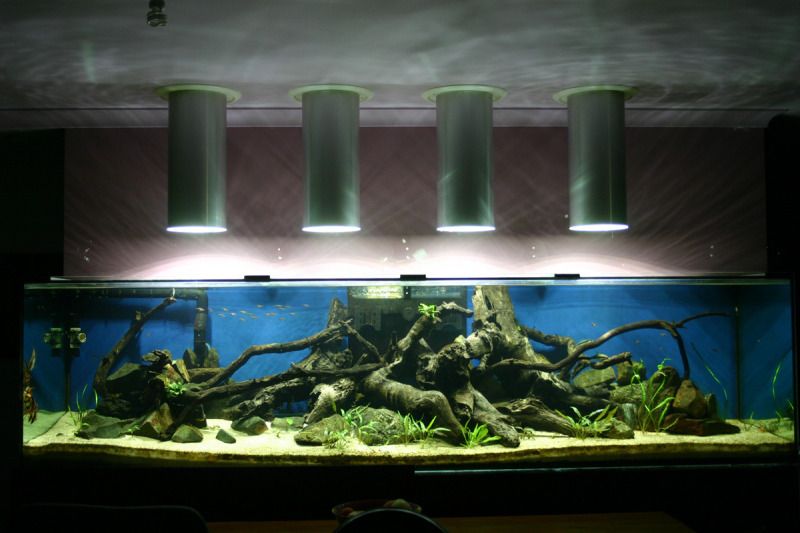
Pretty happy with the quantity of light output. The plants have been growing very nicely as well, but as luck would have it, all 4 of the LED floodlights have been faulty 
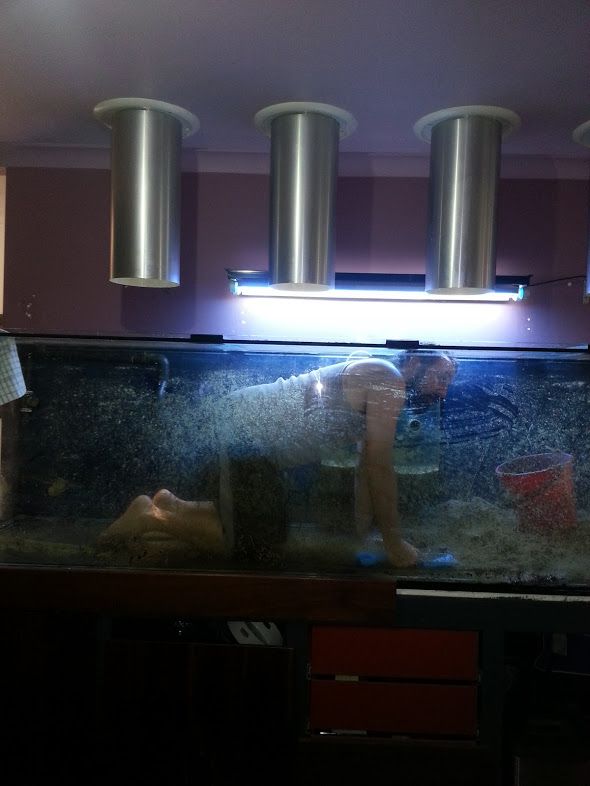
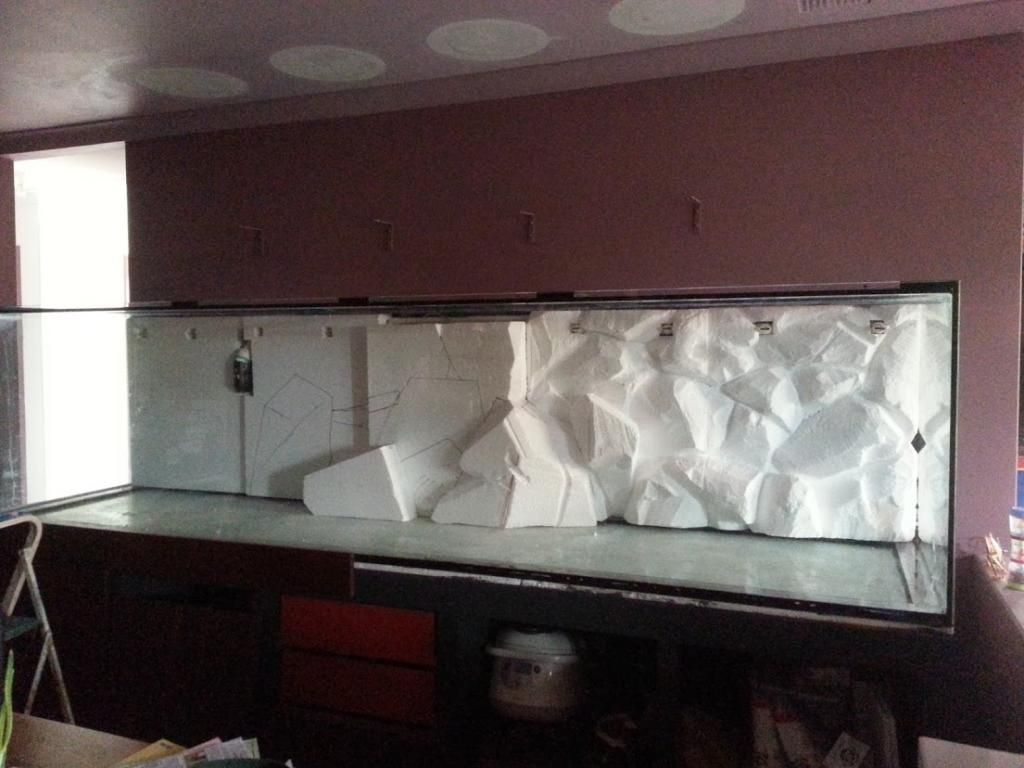
and today I have just removed them ready to post back for replacement. With no lights I need to remove my plants to another tank as it may be a few weeks till I get the replacements. This leaves me in a unique situation of being able to, and having permission to, Renovate!
What I want to do:
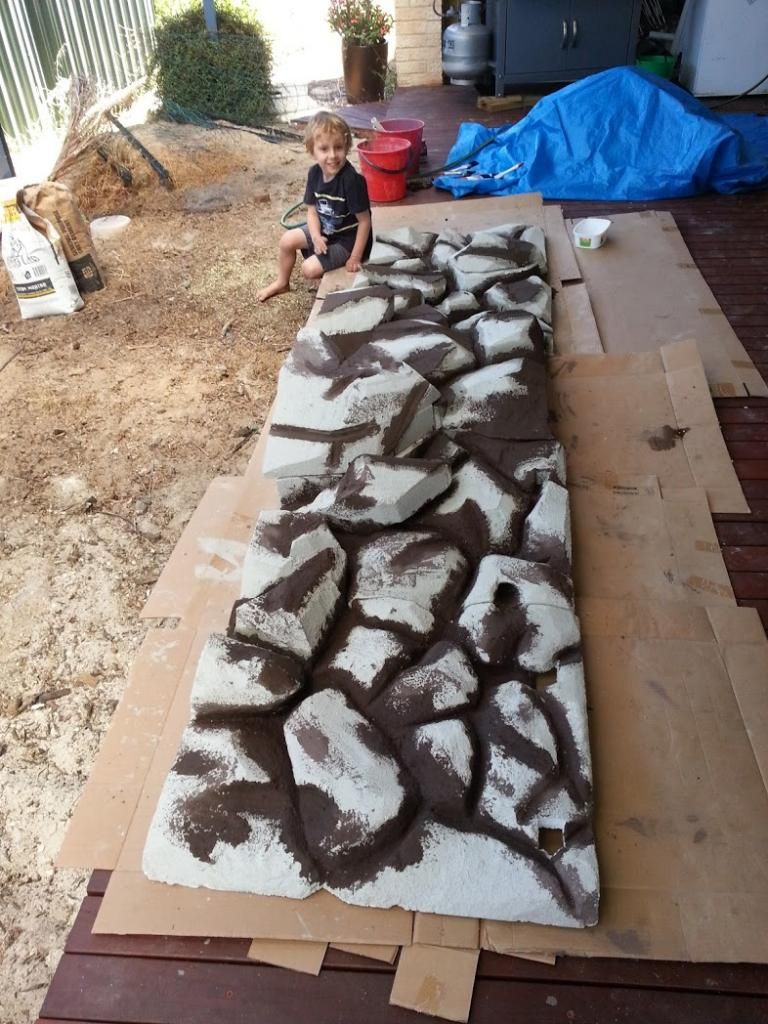
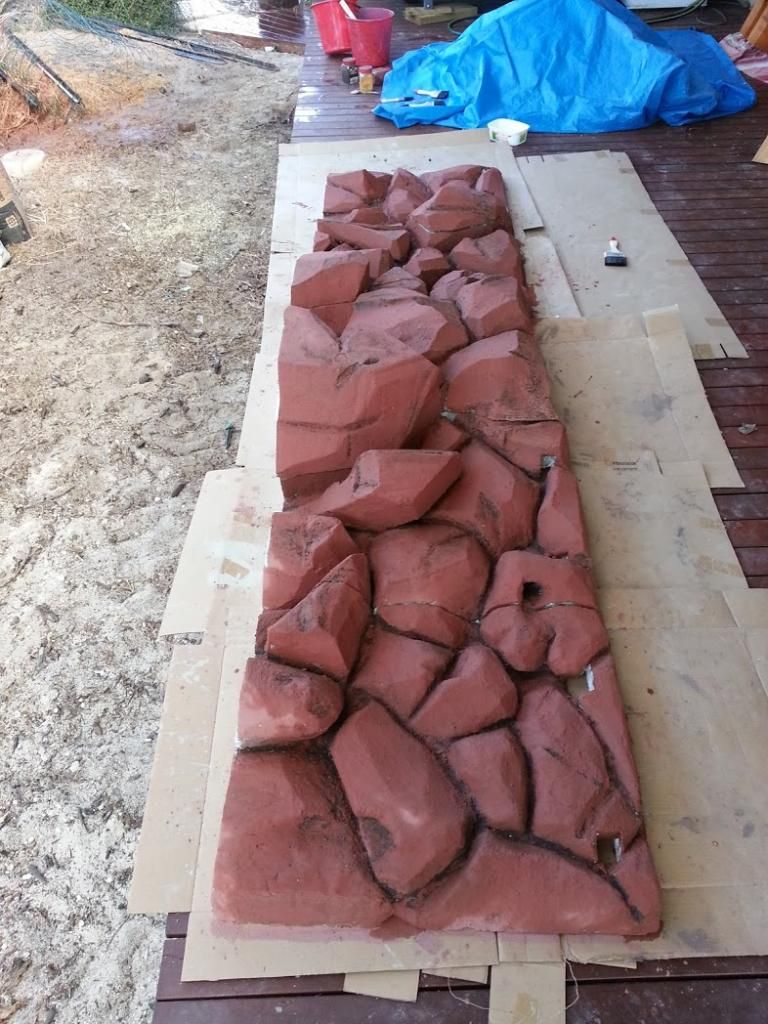
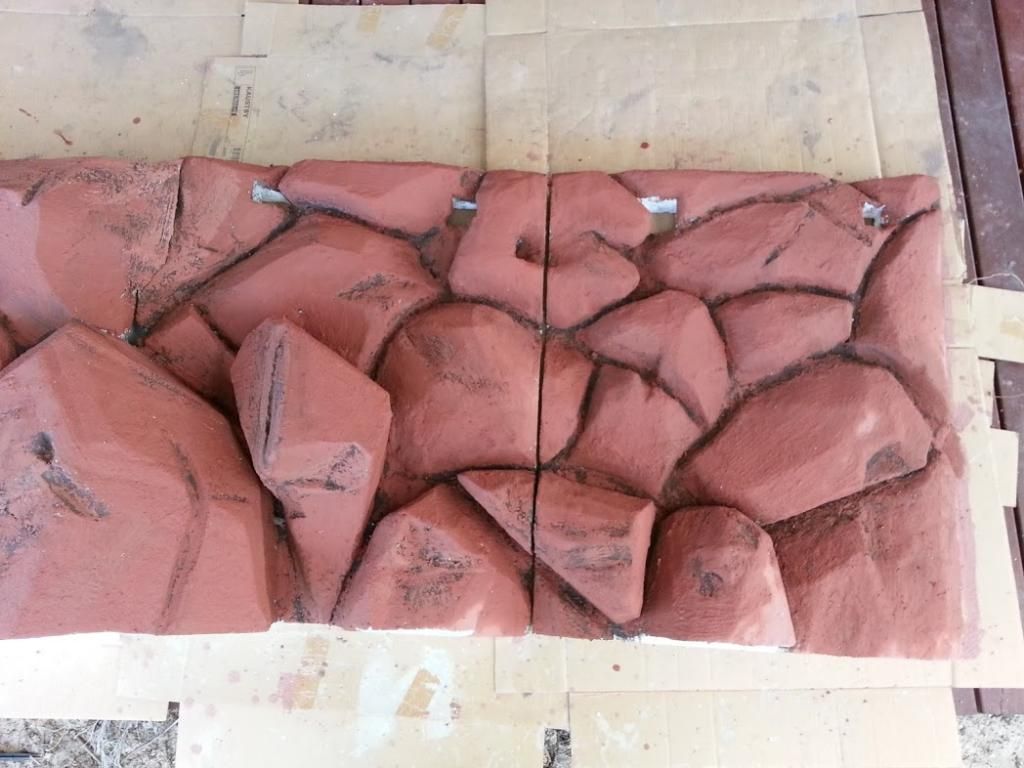
* Install a DIY background simillar to 
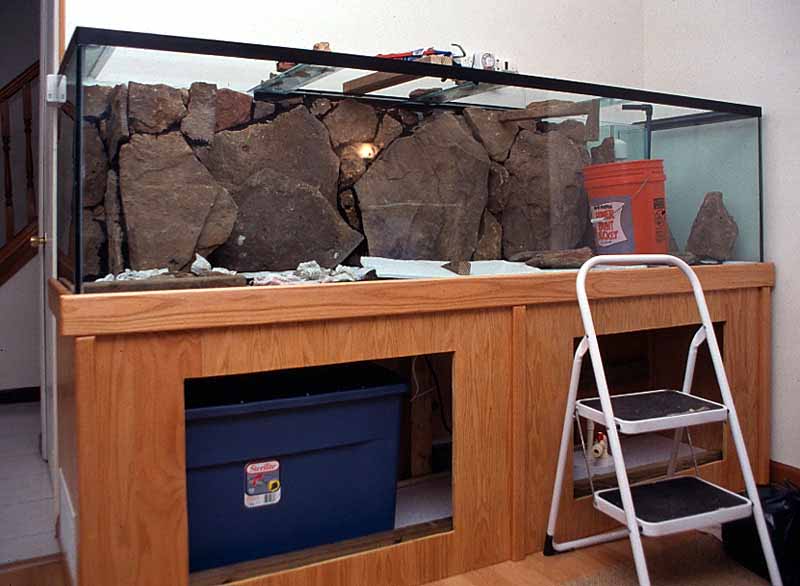
made from polystyrene and cement. Picture from http://www.fmueller....ons/background/
* Redo the water return pipe to be hidden behind the background and to output water evenly across the tank. The current solution is frankly butt ugly.
* Fix the overflow box and pipes. Its too noisy.
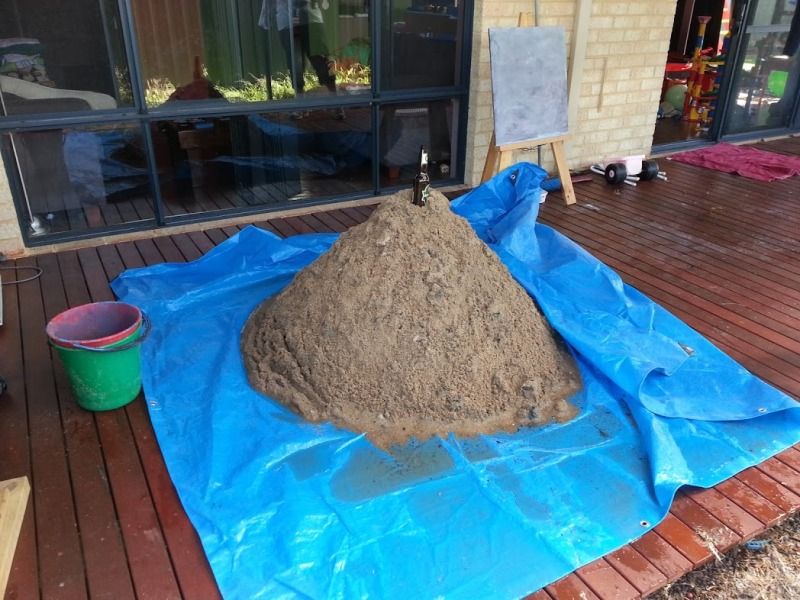
* Redo the substrate with peat moss/marble chips/blood and bone/laterite for better plant growth.
* Reduce the amount of driftwood and rocks in the mid to foreground.
* and finally finish the damn cabinet!
I have an empty 4x2x2 in the fish room that will house the fish, I need to clean it as its full of old salt/sand/gunk and get a pump to utilise the same sump as the big tank. This way I can move the fish without acclimatising and the less stress on the clown loaches the better.
Will post photo's of it all as it happens. Planning for about a six week turnover.
- Clownz!! likes this
#2
Posted 02 October 2012 - 02:58 PM
Do the floods draw 50w, or are they 50w equivalents?
Keep us posted
#3
Posted 02 October 2012 - 03:36 PM
#4
Posted 02 October 2012 - 03:40 PM
1500 lumens isn't very bright. The 50W LED flood lights have 3000+ lumens.
Plus, the light in your pics is made up of many individual LEDs, whereas the flood lights are a single LED (much more direct and intense).
#5
Posted 02 October 2012 - 06:30 PM
#6
Posted 17 October 2012 - 03:50 PM
The tank is near empty, I just have a few litres of water and the sand bed to remove. All fish are squeezed into a 4x2x2 with about 80kg of granite rock. The driftwood is in a 500L pond outside and the remaining 120kg of rock is in the garage...
I'll post pics tomorrow after draining the sand and water.
#7
Posted 23 October 2012 - 01:58 AM
All fish in the 4x2, they don't like it...
Digging out the sand. Don't want to do that again. Kids were in stitches at the 'fat daddy fish'. Thanks kids, love you too...
Sand from the tank with celebratory stubby for scale.
Poly rough cut for fit over plumbing. Still have to finish the middle piece.
After the rough cut is finished the fun part begins!
Edited by Niz, 23 October 2012 - 02:03 AM.
#8
Posted 23 October 2012 - 09:57 AM
How did your knees pull up after that in-tank effort?
#9
Posted 23 October 2012 - 10:41 AM
#10
Posted 28 October 2012 - 05:24 PM
#11
Posted 23 November 2012 - 09:20 PM
Where has time gone? Totally blown my time budget. 6 weeks my rear end...
I've removed the Solartubes, patched the ceiling, and patched/painted the wall. Just need some more paint for the ceiling.
A bit less than half way through carving the Poly. Its taking way longer than I thought, but hopefully the outcome will speak for itself
Also picked up Stevie the blind clown loach from Aquotix, thanks guys
#12
Posted 29 November 2012 - 10:47 PM
Reckon the mould was caused by the tubes being open at one (restricting air flow) end versus being sealed? Is a shame as power saving mods is a big plus these days. Mind you your LEDs prob won't be too hungry.
Daz
#13
Posted 30 November 2012 - 01:18 AM
#14
Posted 30 November 2012 - 12:07 PM
Carving it up in the garage. The mess it makes is unbelievable.
Definitely. They have a breathing vent at the top aswell, however on mine this was quickly blocked. After numerous years of use out of them I am pretty sure it came out about even money wise compared to running 250W or 400W metal halides as a reef tank.
#15
Posted 17 December 2012 - 11:44 PM
The poly carving is complete. Here is my helpers cleaning up for me. I had to finish a few of the pieces in the tank so I could see how it all fitted together.
And a few days ago I managed to get the first coat of cement on. Just the plain grey so no photos taken.
Today we slapped on 2 coats of coloured cement. A dark brown for the holes and gaps,
and a red brown for the main undercoat,
detail,
Pretty happy already.
Needs maybe 1 more thick coat of colour then I will maybe get it glued in before xmas hits if time permits. Once it is glued in I'll patch the holes and seams with expanding foam and cement.
#16
Posted 18 December 2012 - 06:18 AM
#17
Posted 18 December 2012 - 08:24 AM
#18
Posted 18 December 2012 - 11:26 AM
#19
Posted 18 December 2012 - 03:50 PM
#20
Posted 18 December 2012 - 05:40 PM
Well practiced dry brusher here! That will happen after the next coat of thick solid colour.
1 user(s) are reading this topic
0 members, 1 guests, 0 anonymous users