Built In 6 X 2 X 2 Malawi Display Tank Pic Heavy
#1
Posted 07 June 2011 - 10:07 PM
I masked up the end of the room and installed plastic from floor to ceiling so that I could get grinding!
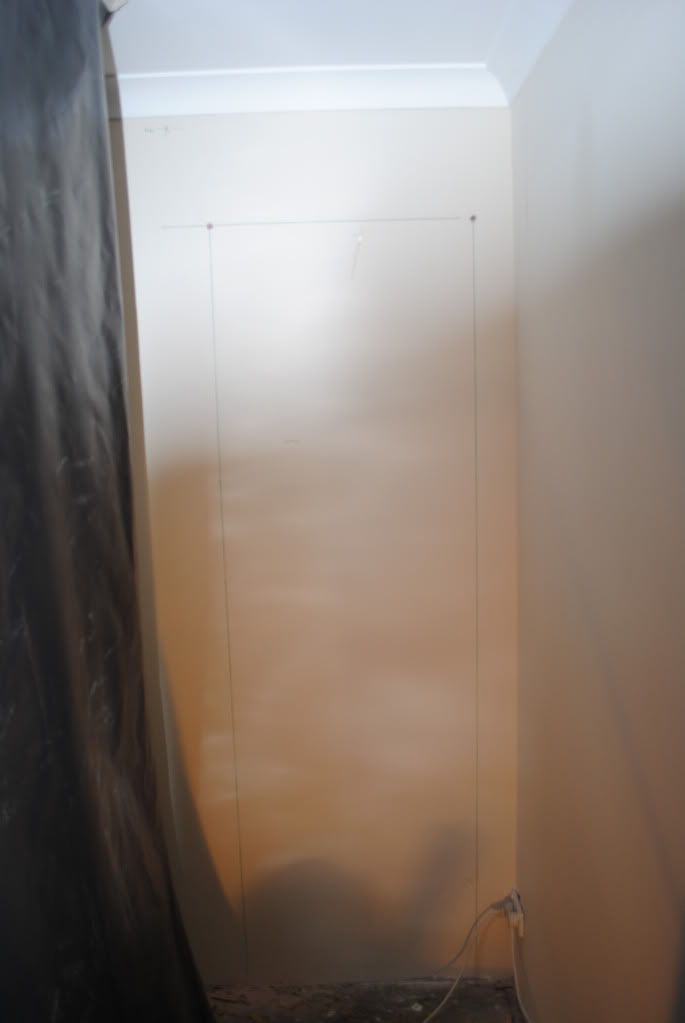
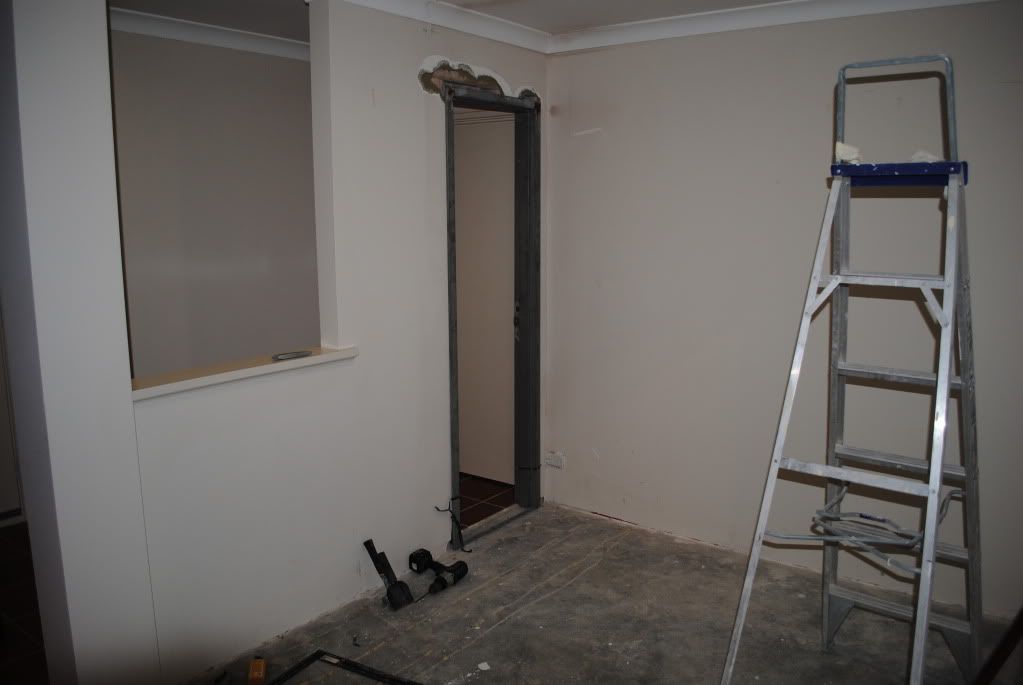
Marked out the wall to be cut for the new door frame and drilled the top corners so I can mark out on the other side.
I cut the wall out with a 9 inch grinder with a diamond disc and kept vacuuming all the dust after letting it settle for 20 minutes or so. It was a painful process and next time, I will probably use a 13 inch demolition wet saw.
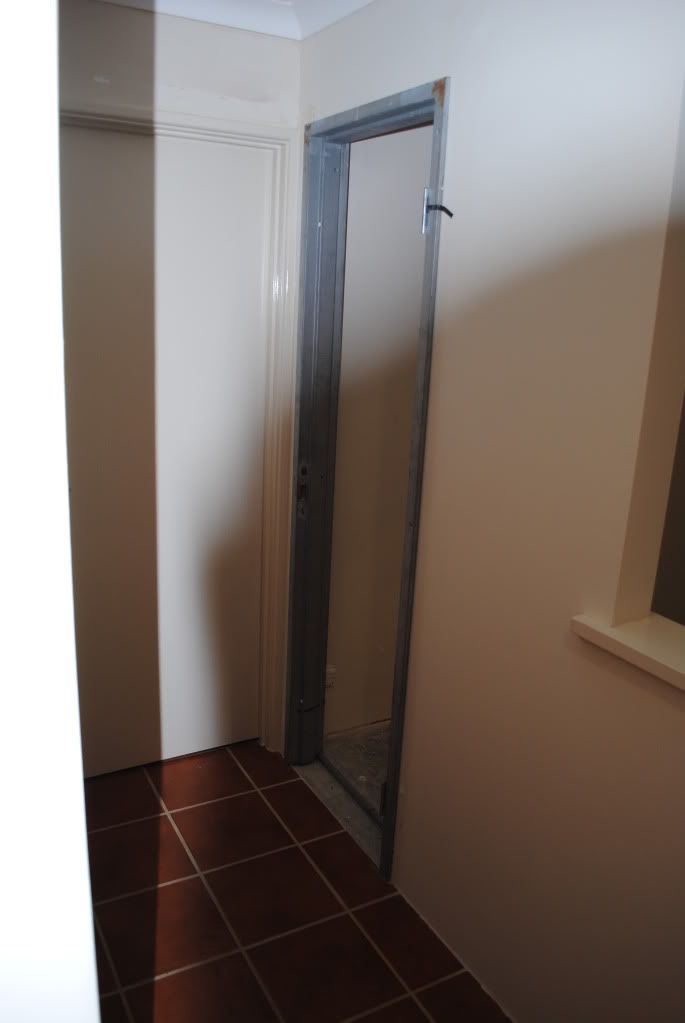
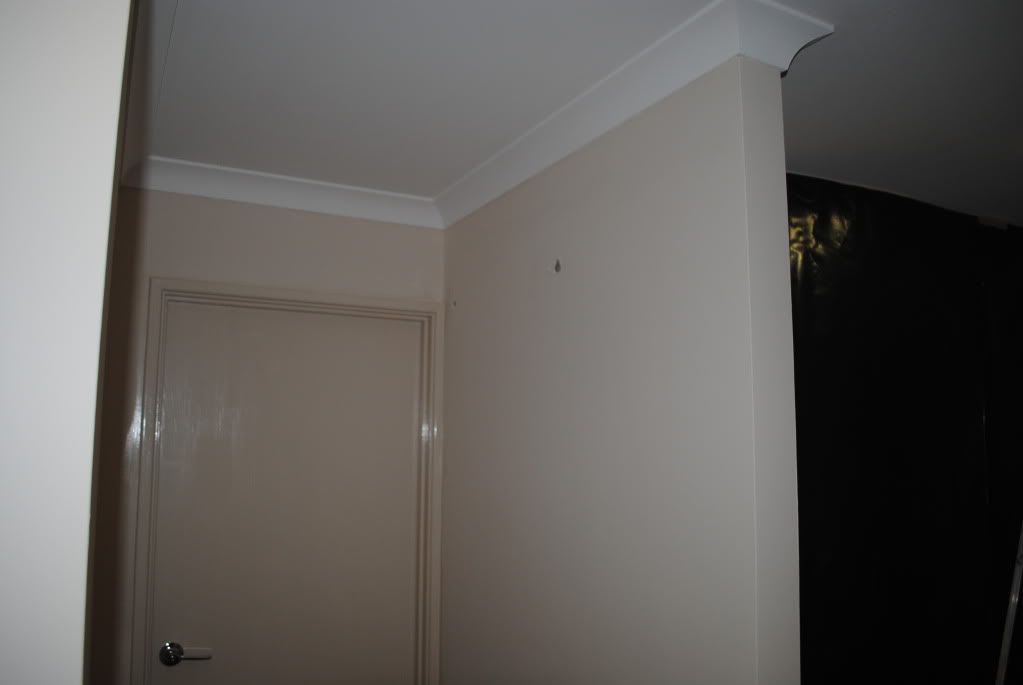
door frame installed
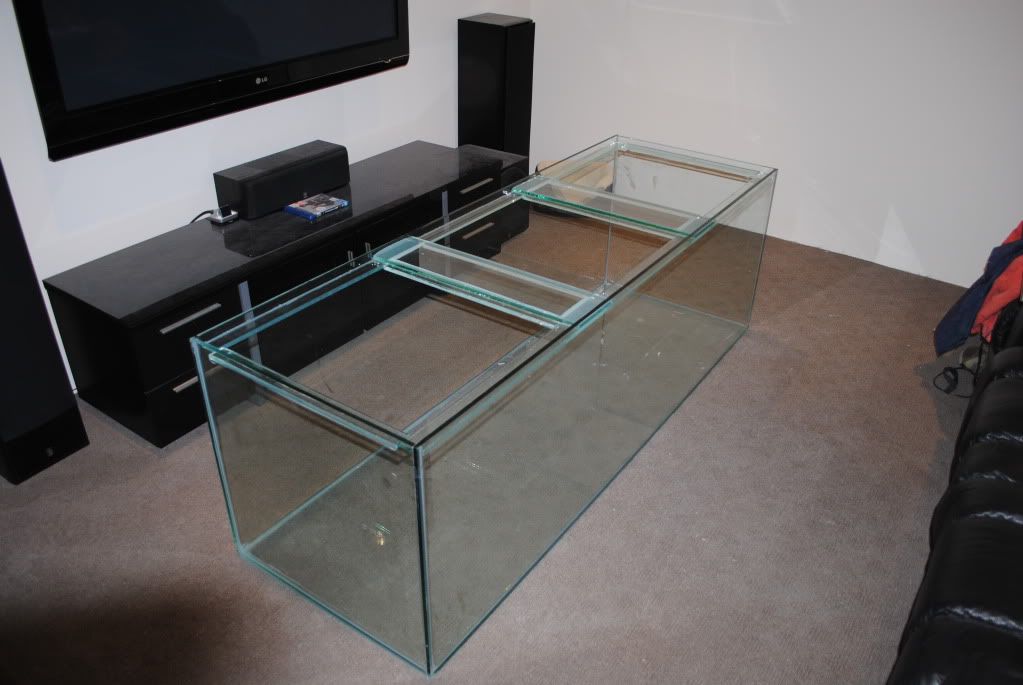
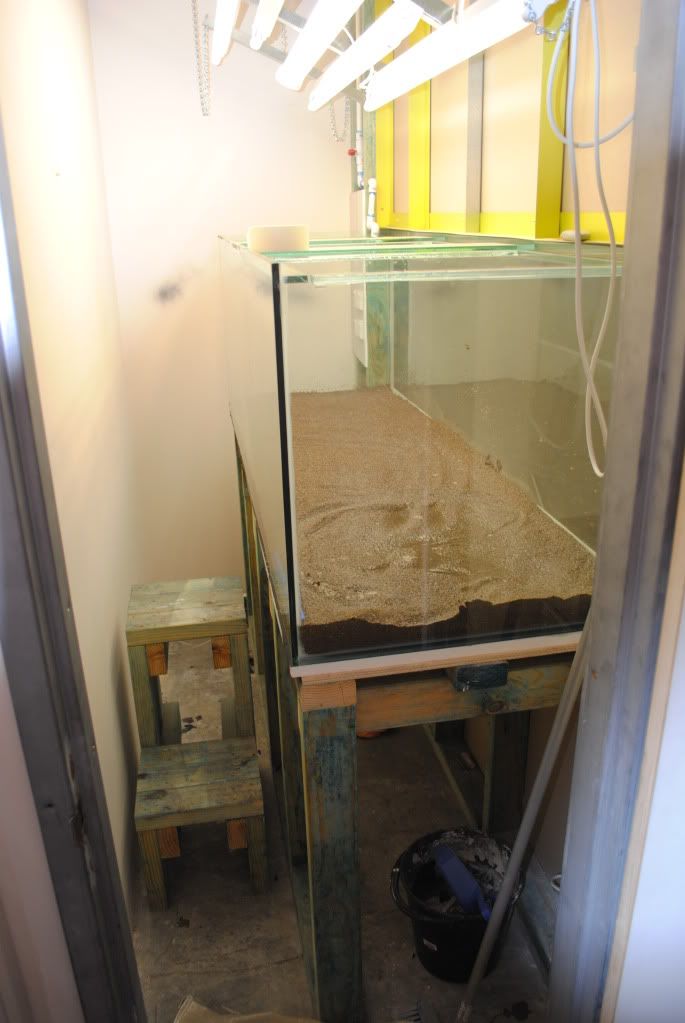
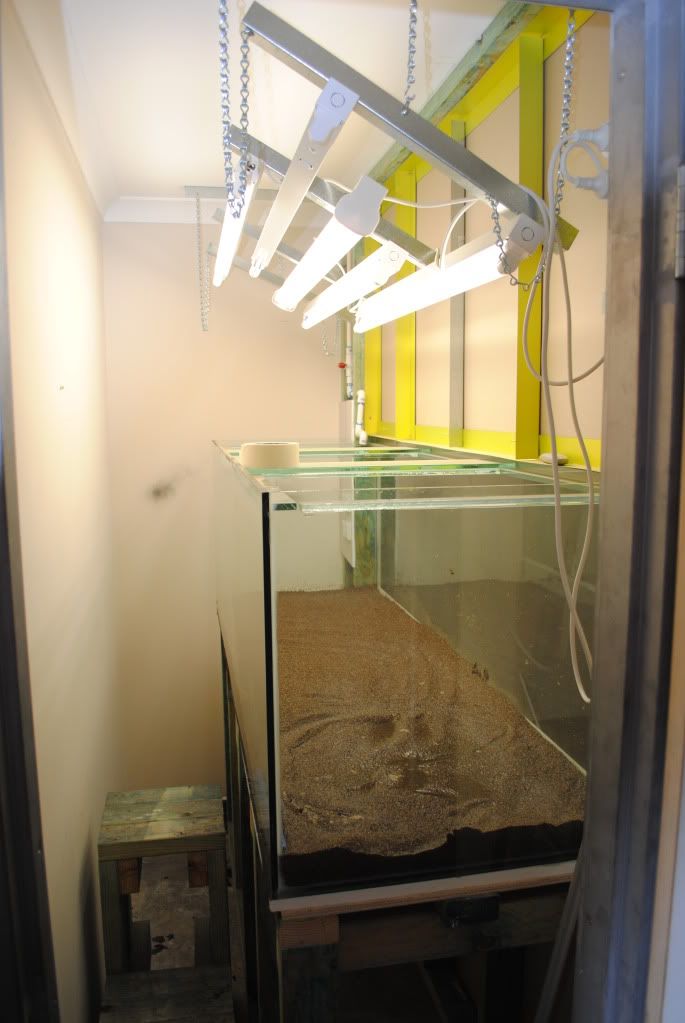
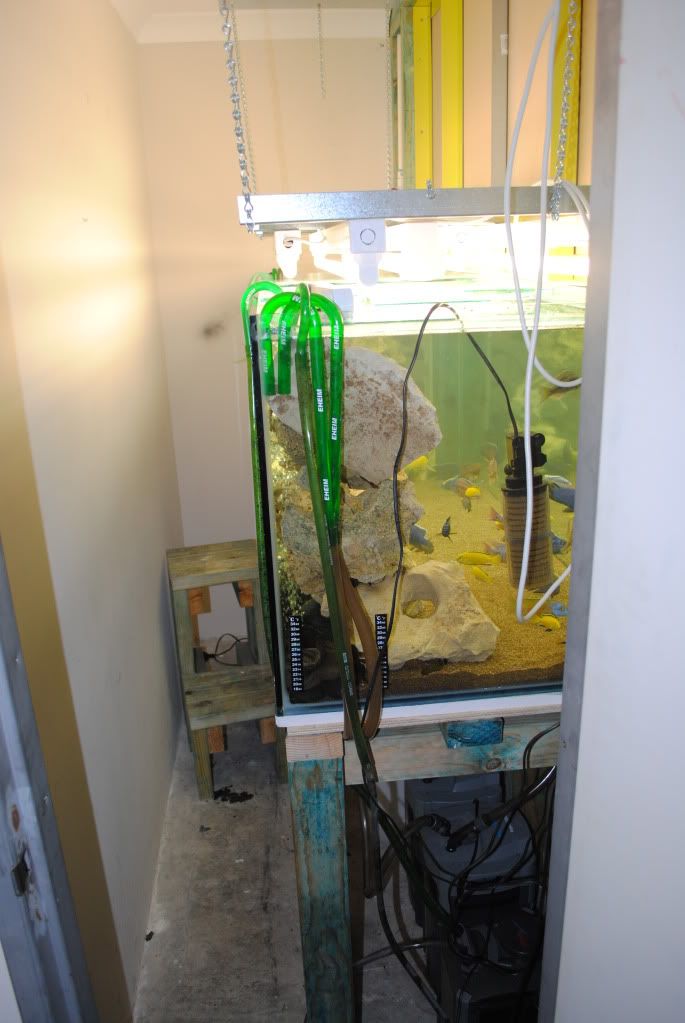
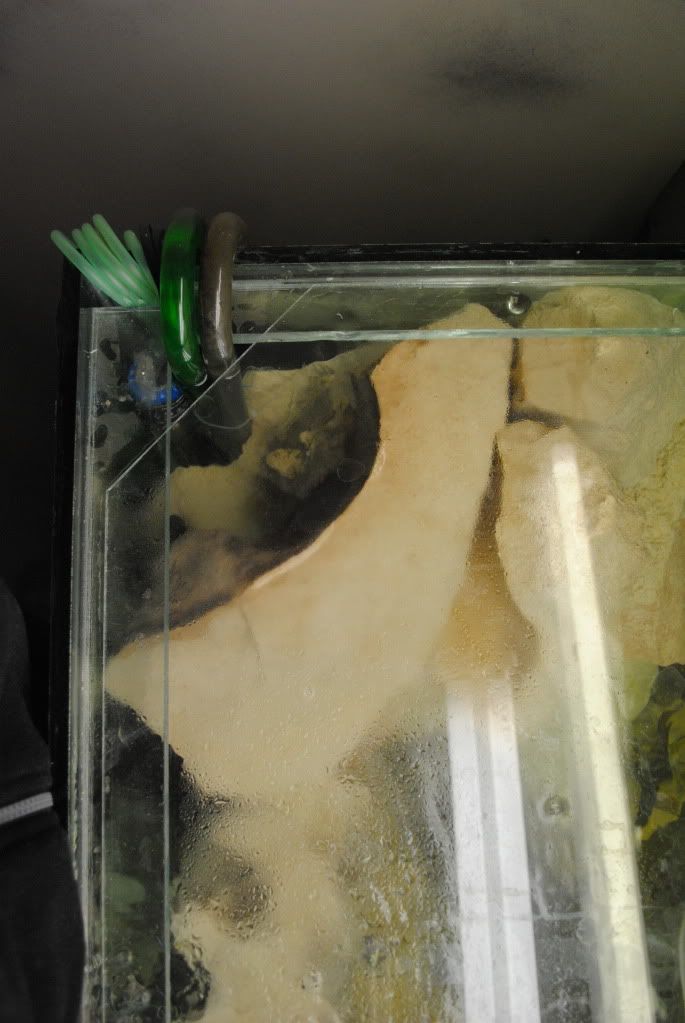
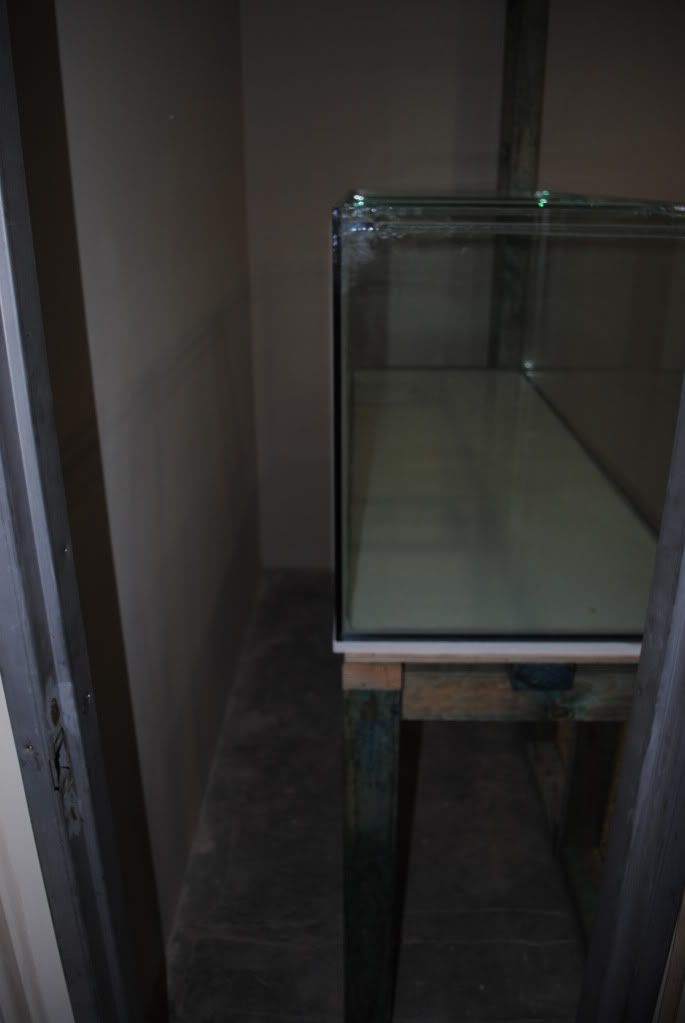
tank ready to go in
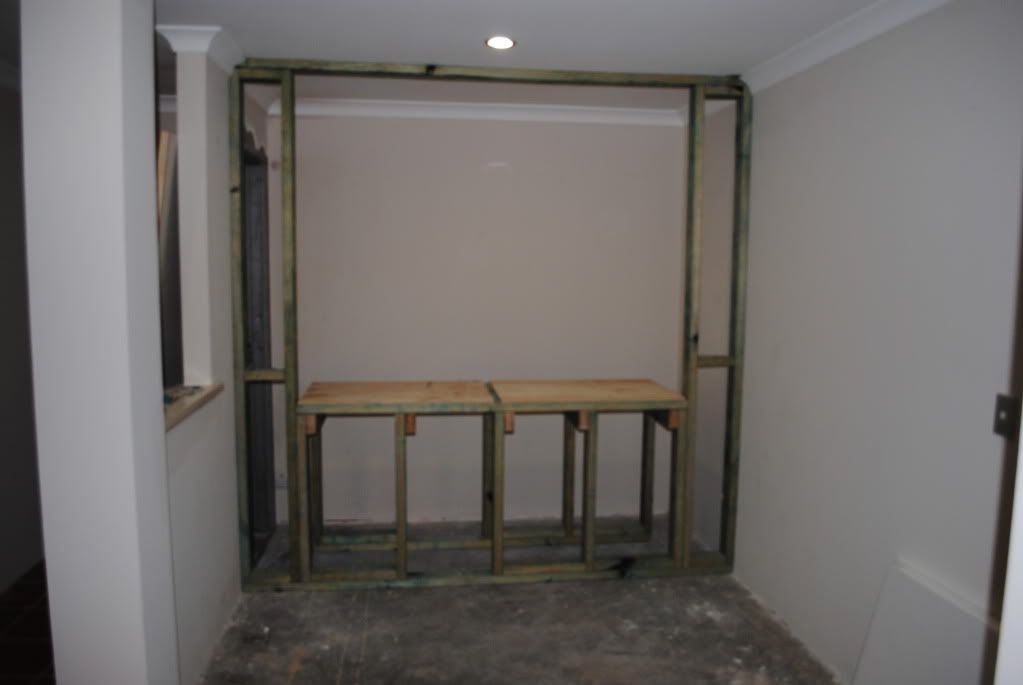
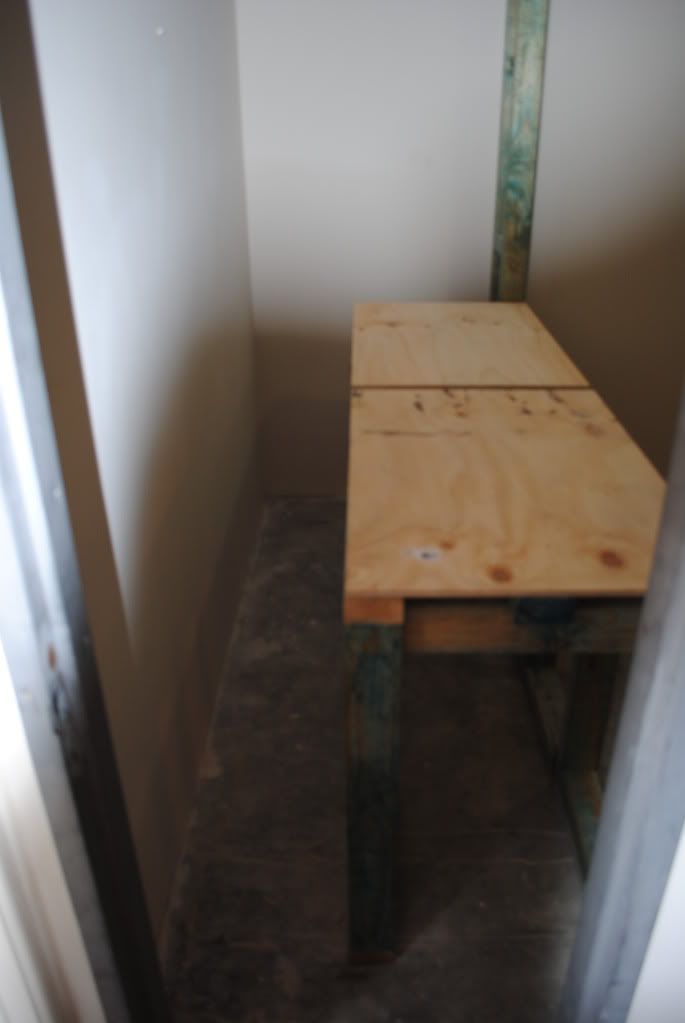
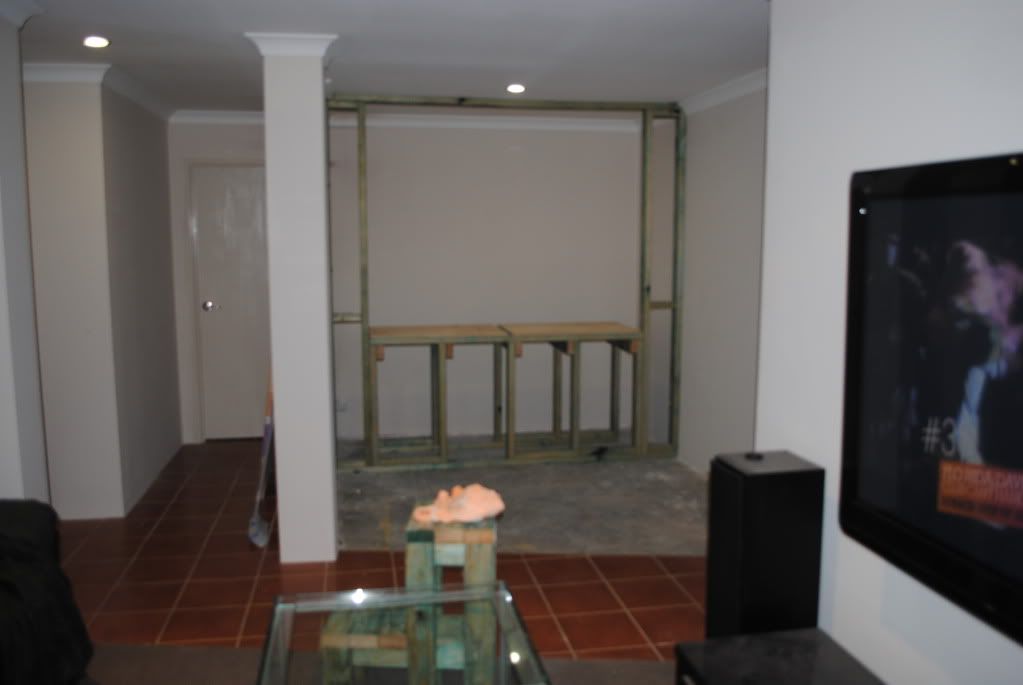
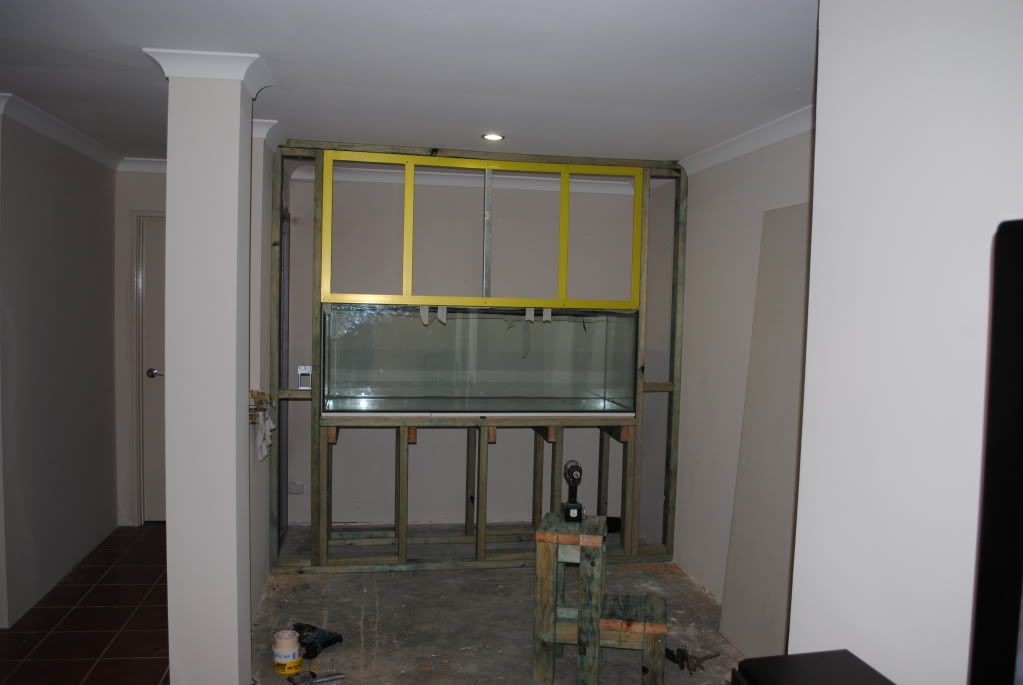
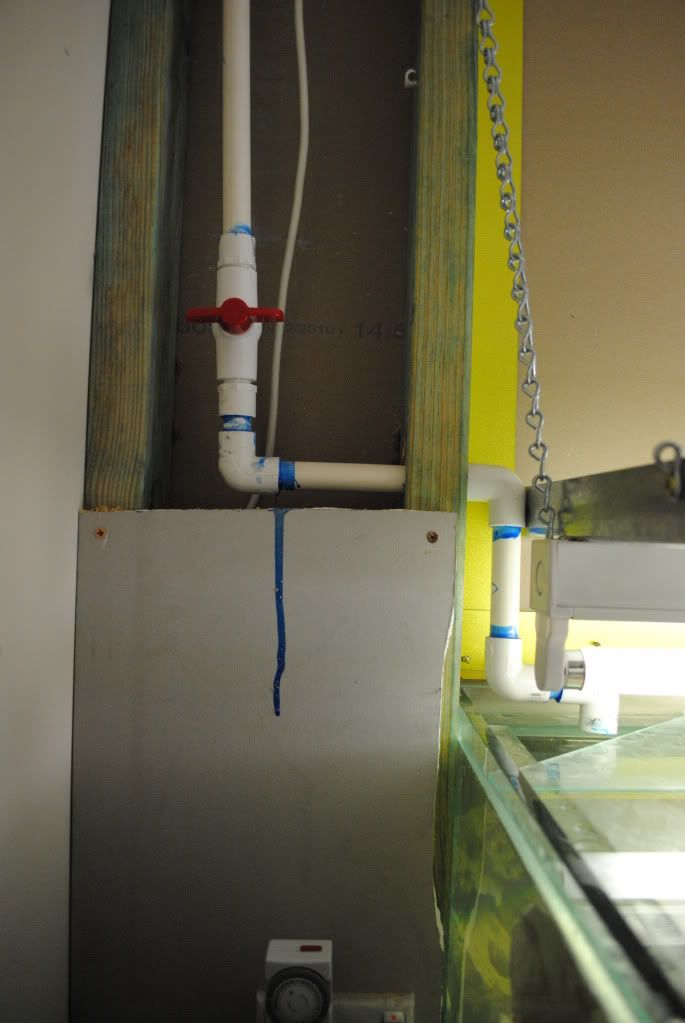
stud framing and aquarium stand installed. My old man is a carpenter- joiner so gave me a hand with this.
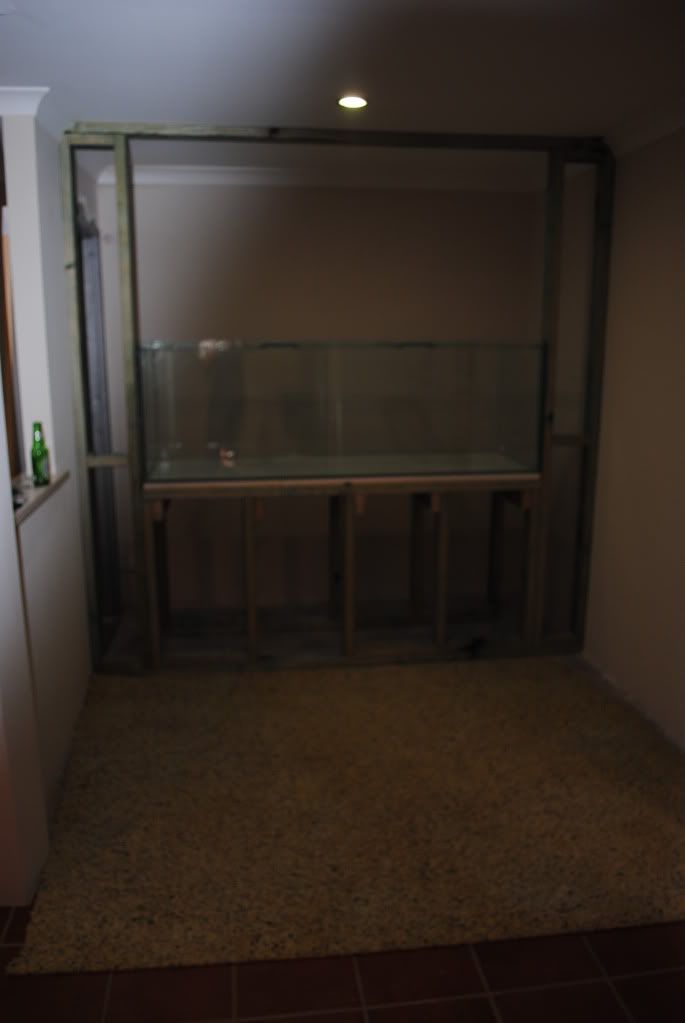
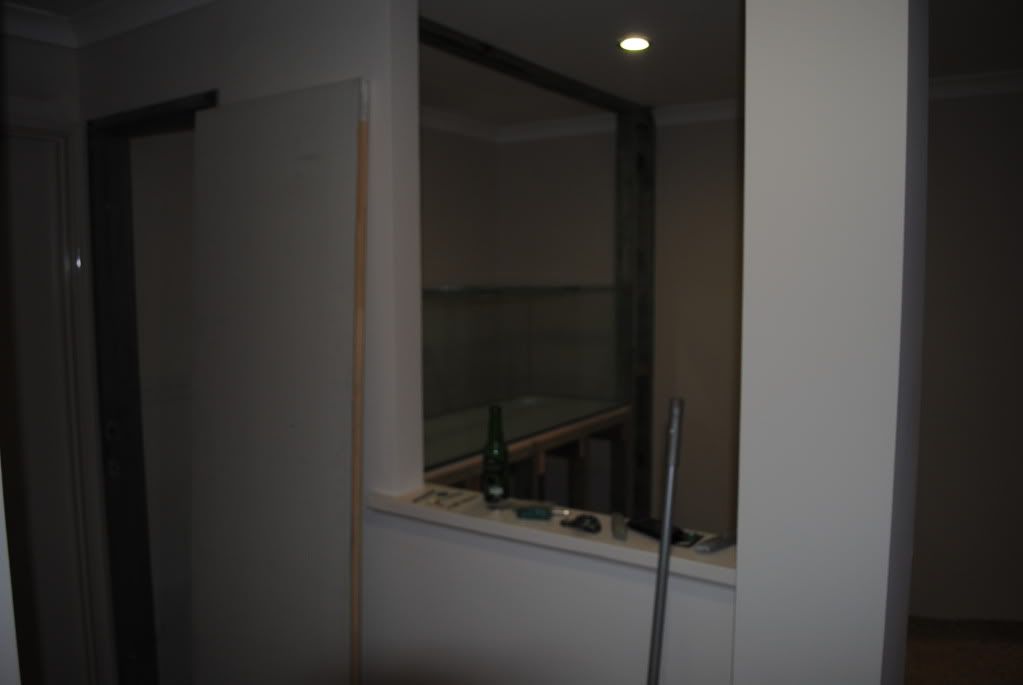
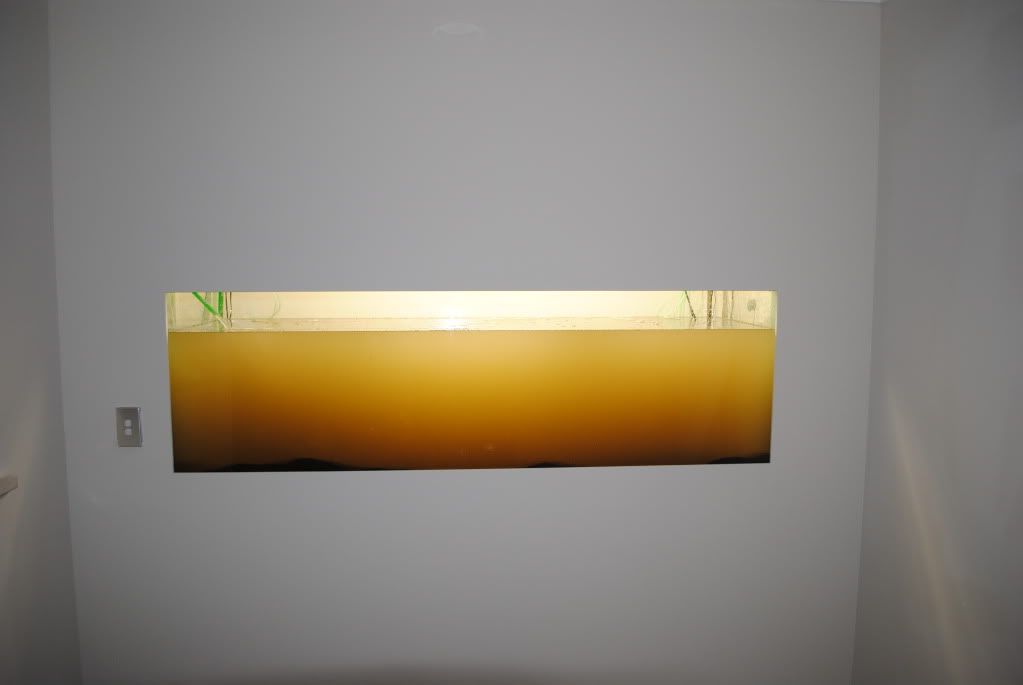
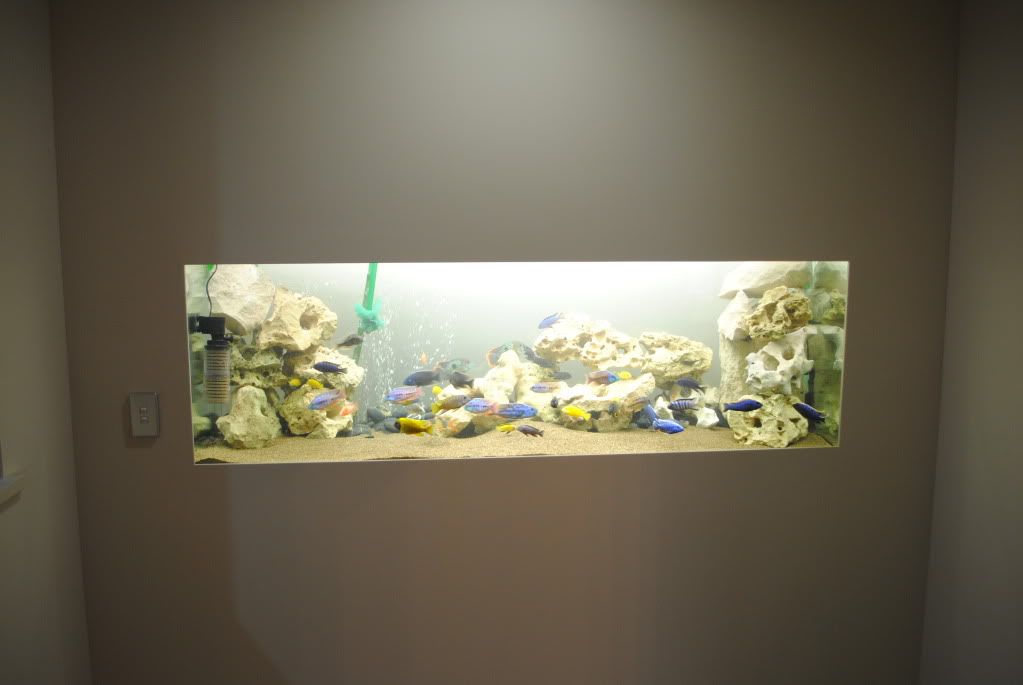
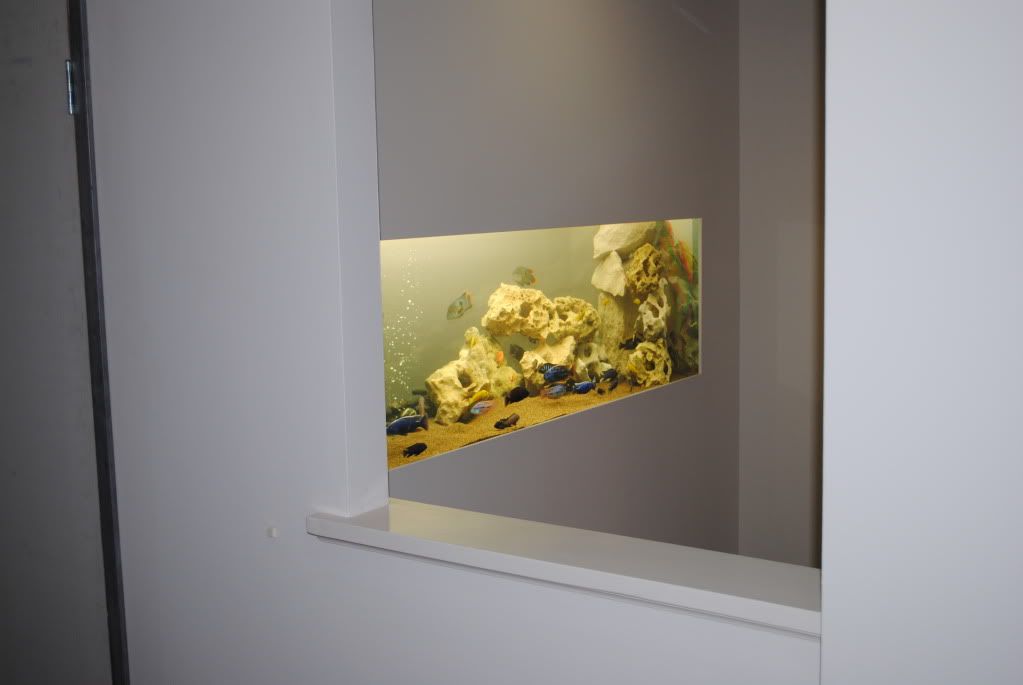
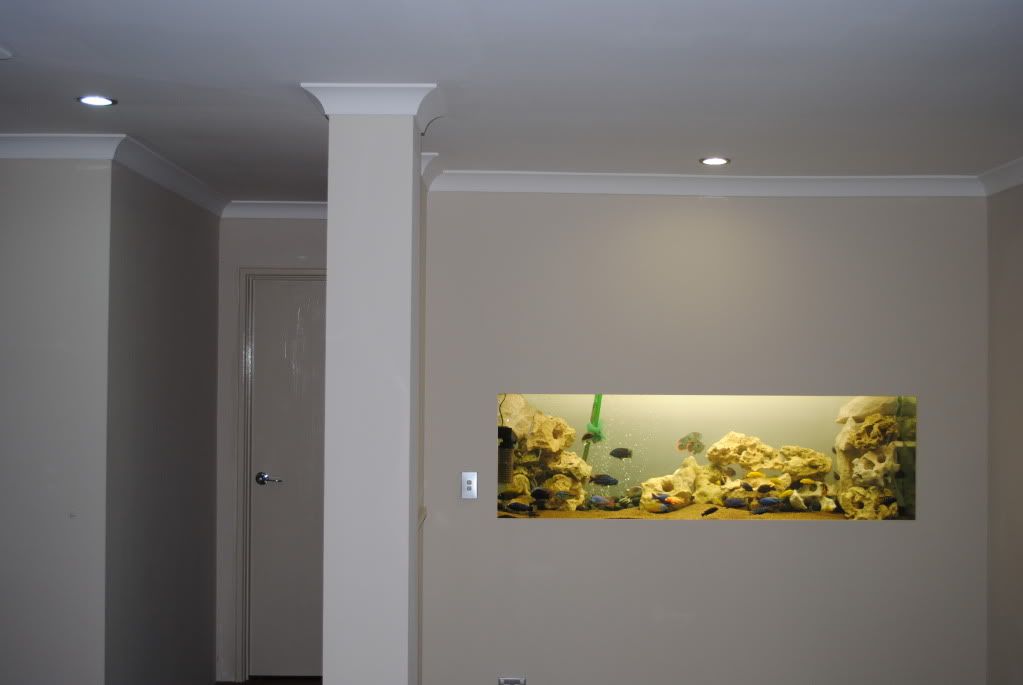
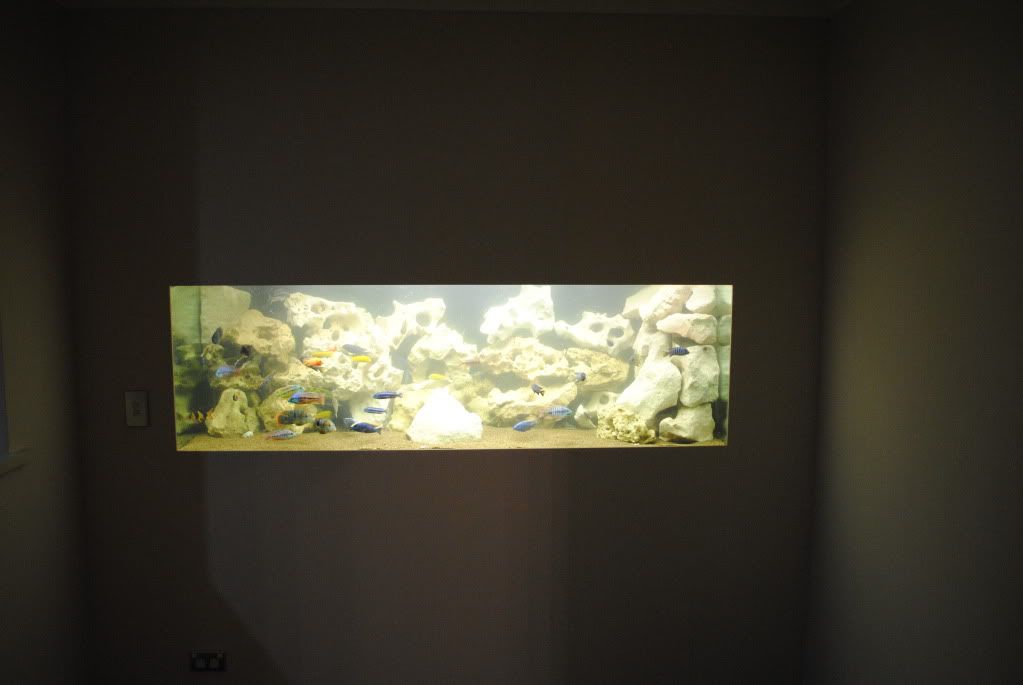
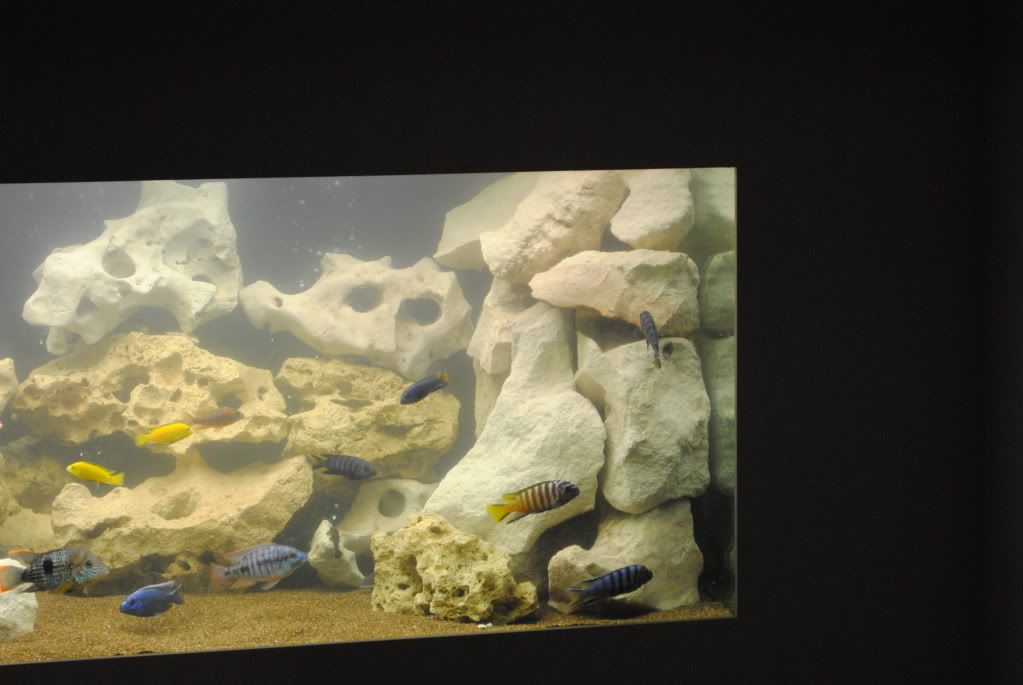
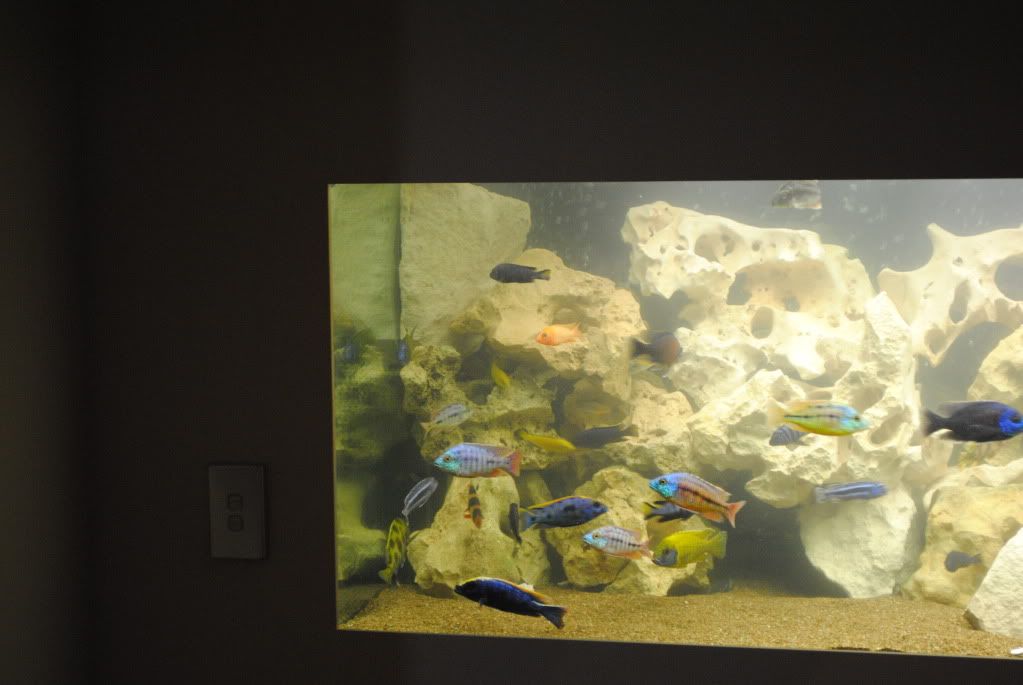
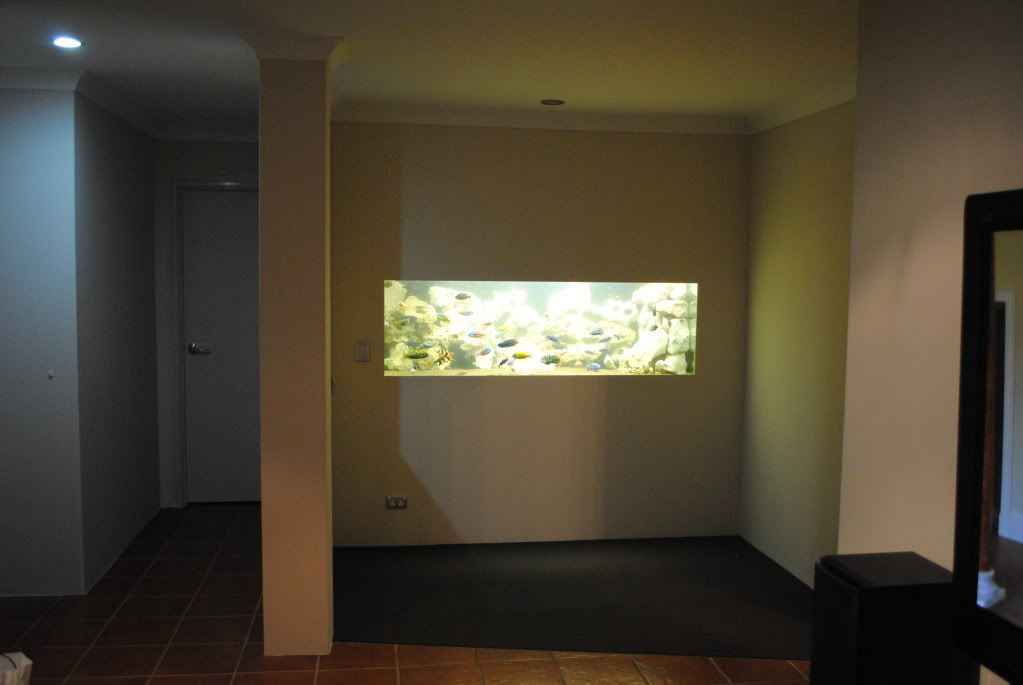
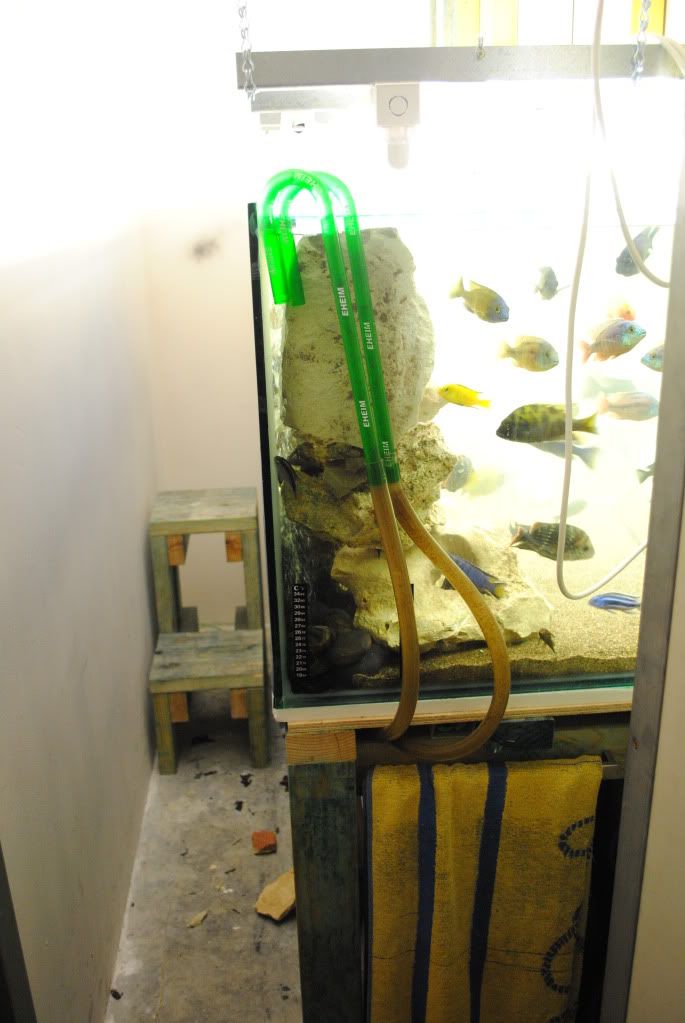
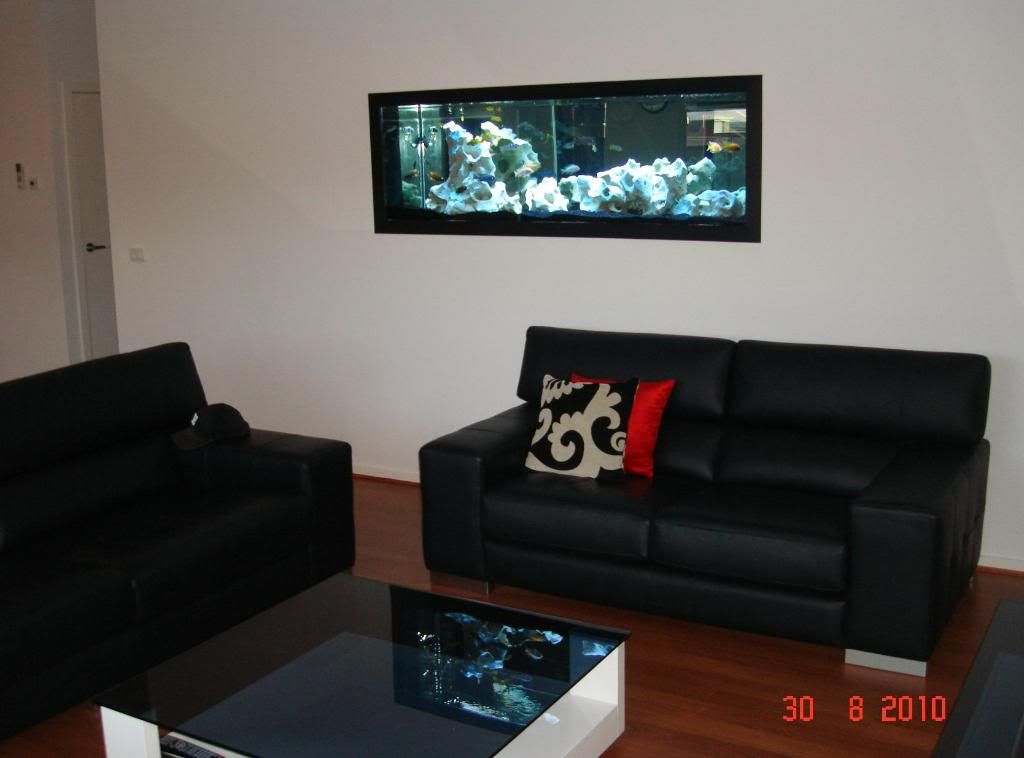
tank in
#2
Posted 07 June 2011 - 10:20 PM
PGI frame above tank.
Plasterboard and cornice installed
filled with sand - you can see the light fitting I made with fluros, PGI and chain.
rinsing the sand
all the limestone from my previous tank - still needed more though
outlet side of tank
light plugs - the light switches are connected to these plugs so that I can attach a timer if I want.
heater and airpump power - I have a 4 outlet and a 2 outlet air pump all running 12 inch airstones which stop around 200mm from the inlet side of the tank and all of the air stones are covered with black river stones. The 4 outlet airpump is on a timer so its not on While we are sleeping as its right next to our master bedroom.
15mm PVC pipe brings fresh water in from the hose cock outside.
#3
Posted 07 June 2011 - 10:29 PM
new limestone installed - the limestone on the LH side and RH side that cover the inlet and outlet and heaters etc, have been ground relatively smooth on bricks so that they sit nice and snug against the sides of the tank. You can just see the heater from the very right bottom of the tank but yi=ou have to be in a very awkward position. also the tops of a few pieces of limestone have been cut with a diamond blade so that they sit just below the lids and just above the water line.
inlet, heater and airline side
outlet side
view from home theatre with all of todays limestone installed.
outlet side photo taken today. notice the towel rail
inlet side from a few different angles.
If you're interested in some of my other comments, check out my album www.photobucket.com/kyelsfishtank
#4
Posted 07 June 2011 - 11:29 PM
love the step and filter room
cheers
Steve green
#5
Posted 08 June 2011 - 01:39 AM
#6
Posted 08 June 2011 - 05:59 AM
The step is just left over studs. Its only temporary until i can find something 400mm wide that folds up
#7
Posted 08 June 2011 - 06:40 AM
cheers mike
#8
Posted 08 June 2011 - 07:26 AM
#9
Posted 08 June 2011 - 09:52 AM
#10
Posted 08 June 2011 - 09:56 PM
#11
Posted 10 June 2011 - 01:10 AM
Clean professional finish, thanks for documenting and sharing.
Sit back and enjoy,
J
PS are those Aaron ATS speakers, nice!
#12
Posted 10 June 2011 - 07:57 AM
#13
Posted 10 June 2011 - 08:12 AM
#14
Posted 10 June 2011 - 08:48 AM
#15
Posted 10 June 2011 - 09:08 AM
#16
Posted 10 June 2011 - 08:08 PM
well done mate
#17
Posted 31 December 2011 - 11:31 PM
I reckon a finishing touch would be a frame around the giprock around tank and a shelf at bottom of tank front side with couple bar stools
#18
Posted 02 January 2012 - 08:51 PM
No offense to anyone that does have a frame around their built in tanks, but I've always thought they looked really old fashioned.
#19
Posted 03 January 2012 - 01:01 AM
#20
Posted 31 January 2013 - 09:30 PM
Personally I prefer the white one though.
Edited by Alex Hill, 31 January 2013 - 09:33 PM.
0 user(s) are reading this topic
0 members, 0 guests, 0 anonymous users