


 This topic is locked
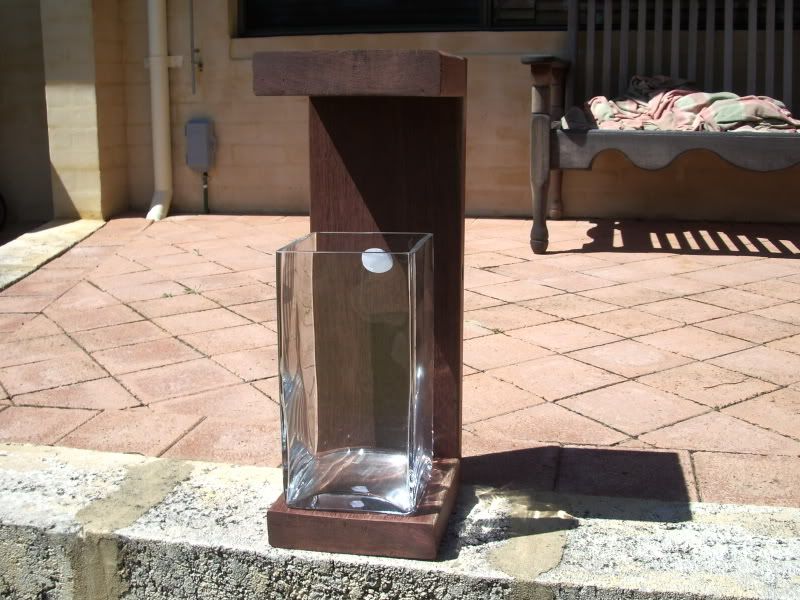
***First of all you would need to purchase or obtain your nano tank (I chose a hand-made Italian vase).
I started with an old wood plank from a pergola that was torn down. It certainly didn`t look like much, but I knew there was potential under the several layers of paint.
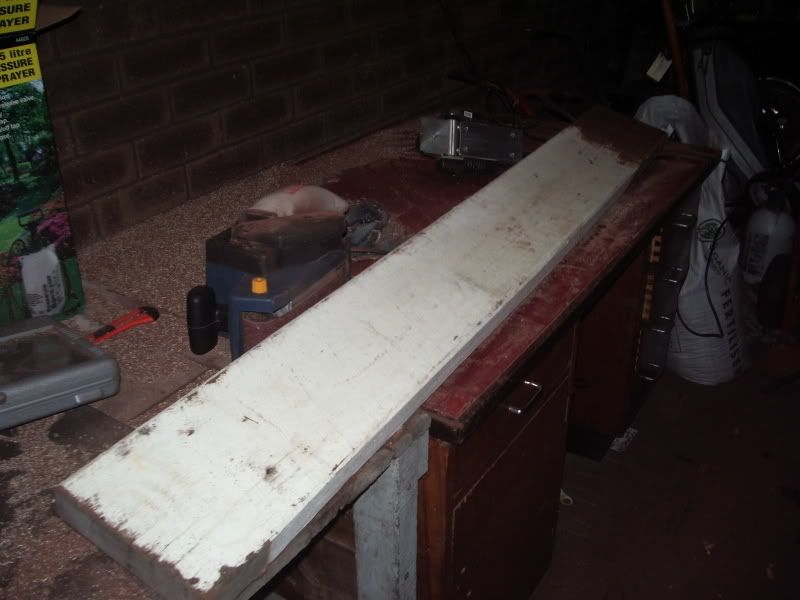
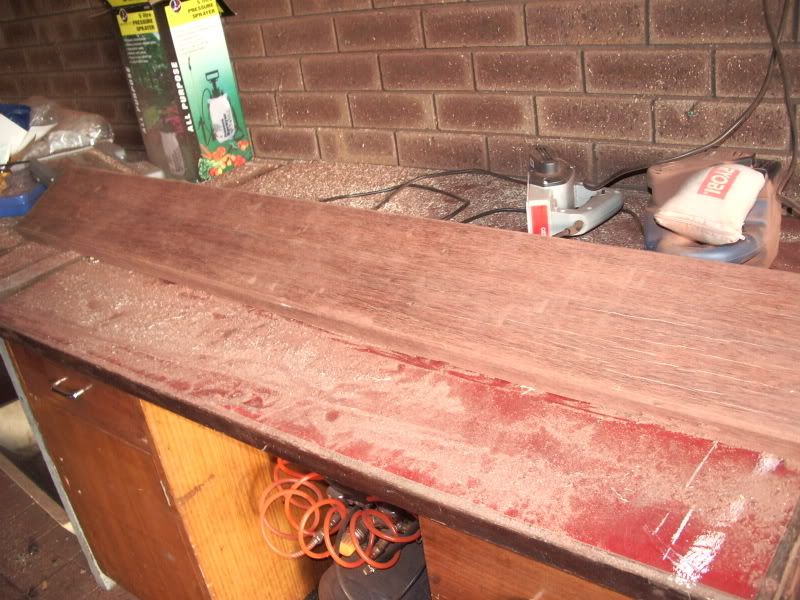
The timber needed to be cleaned up. At this point I chose to use a plane and electric sander to remove the layers of paint.
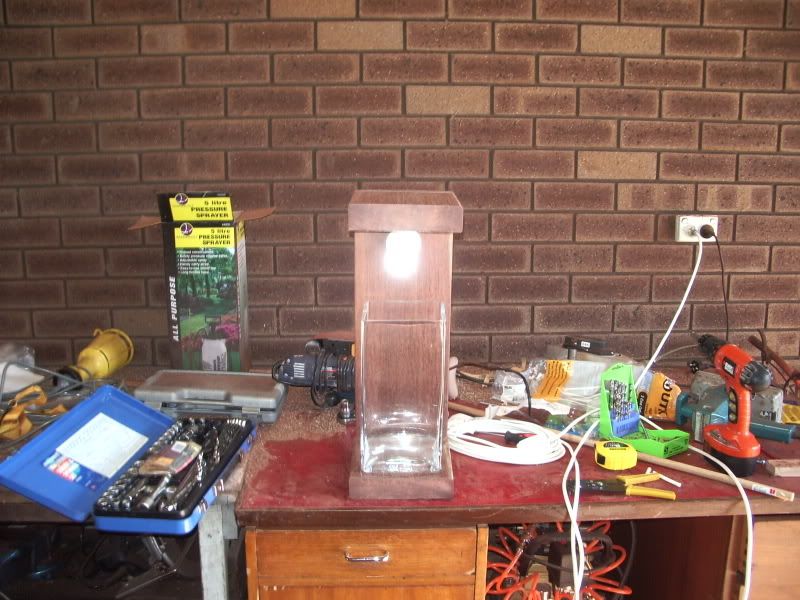
Because I bought the tank prior to starting this project. I measured, cut and bolted the pieces of wood to suit my requirements. I would suggest sealing/staining your wood for both looks and life-span.
At this point you MUST know what your doing as playing with electricity can be dangerous. If you don't know what you're doing, go and find an electrician, find an alternative or don't use a light. As shown below are the items I used for setting up the light bulb.
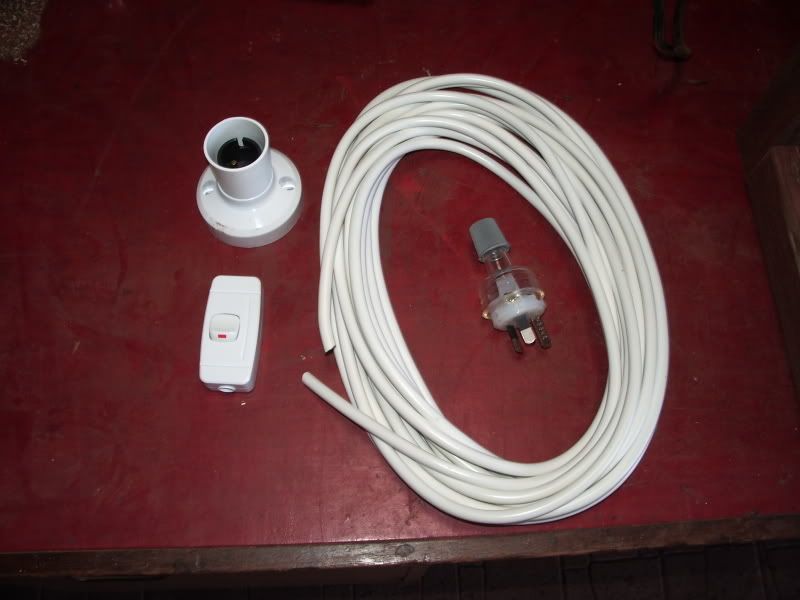
A hole was drilled and the cord was run through the back of the stand (to avoid unsightly cords ruining the feature).
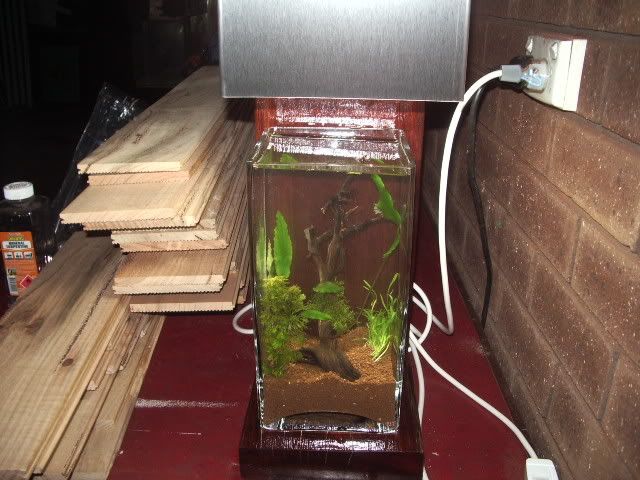
A polished stainless steel surround was bent to fit the stand, and was secured using matching coloured screws.

At this point you can do what you wish to create your nano tank.
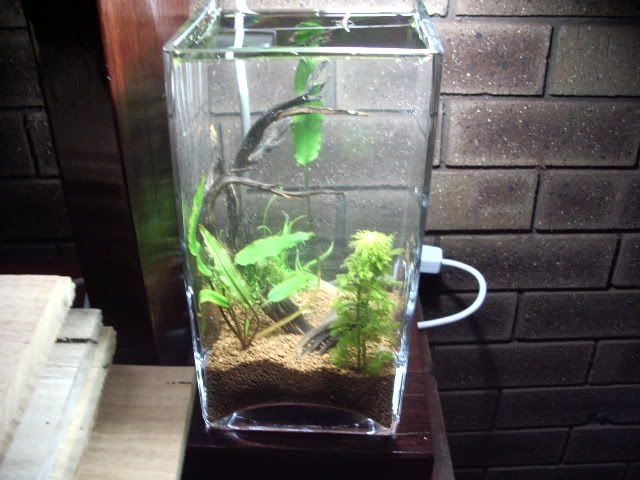
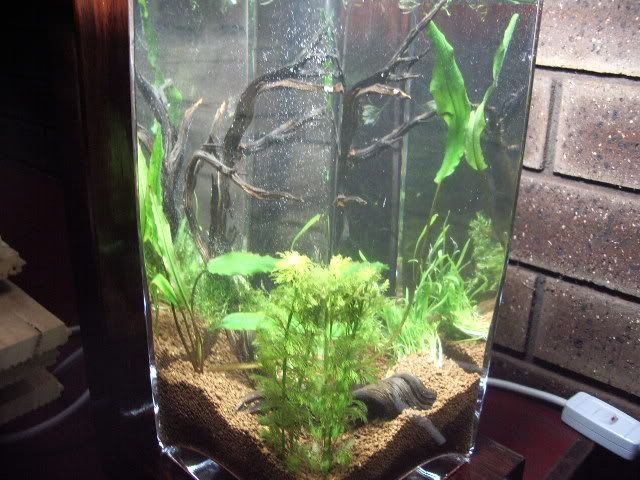
This is what I have done to give you some ideas. By using A.D.A soil, some small driftwood pieces and a few plants (donated by fellow PCS forum users), you can create what I have.

Hope you have fun creating your very own nano tank.
Regards
Bushie
This article was published in the PCS newsletter in April


