Wanted to make a background for my new(secoundhand) 6x2x2.5
Had a look at a few difrent ways of doing it and ended up using someideas from the diffrent ways
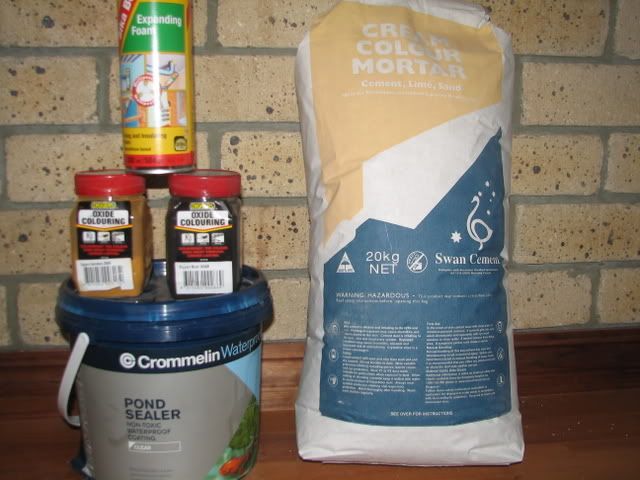
Got some poly from the WIZ for free Thanks Mate
What do you all think?

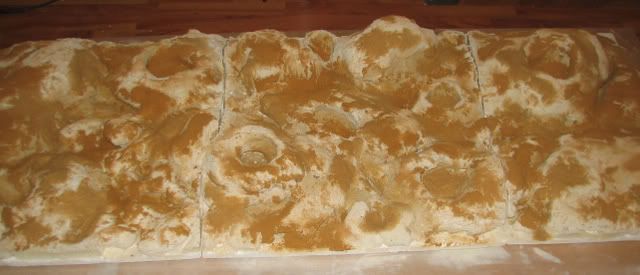
Step 1 cut poly to size of tank
cut random picecs of poly to make rock shapes and glue on top of each outher with a small blob of silicone
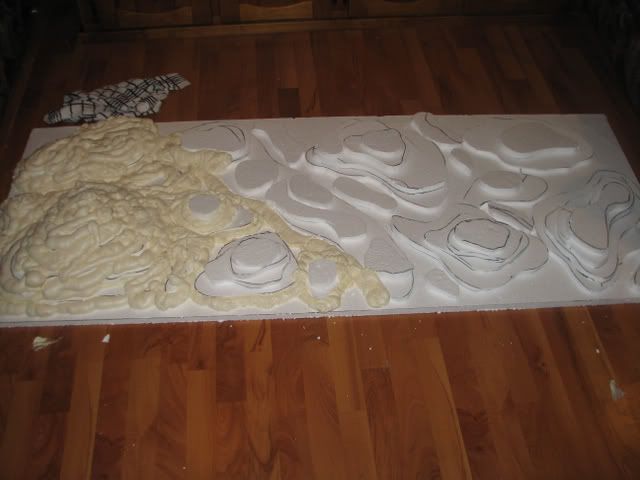
Step 2 go over all the edges with expanding foam The stuff that comes in a preasure pack
Spray random foam over back ground to make outher features
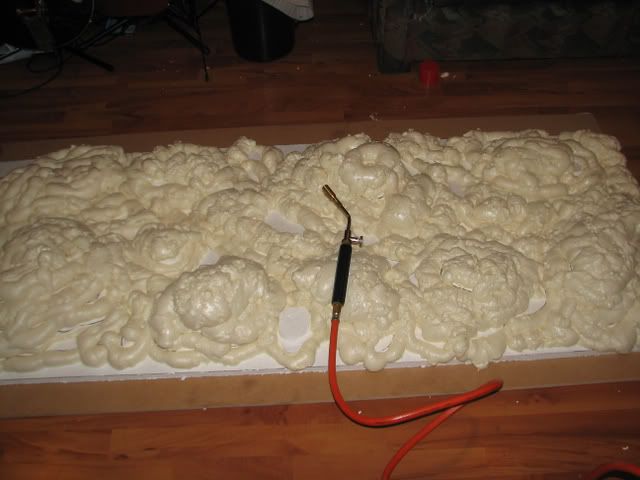
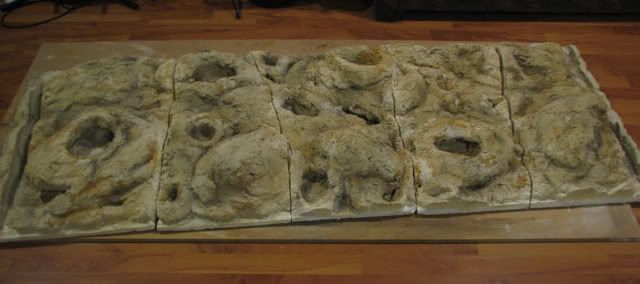
Step3 melt away poly to make caves note spray foam will not melt
smooth down foam with a wood rasp/file
Then when you are happy with the shape cut into sections to fit in tank openings
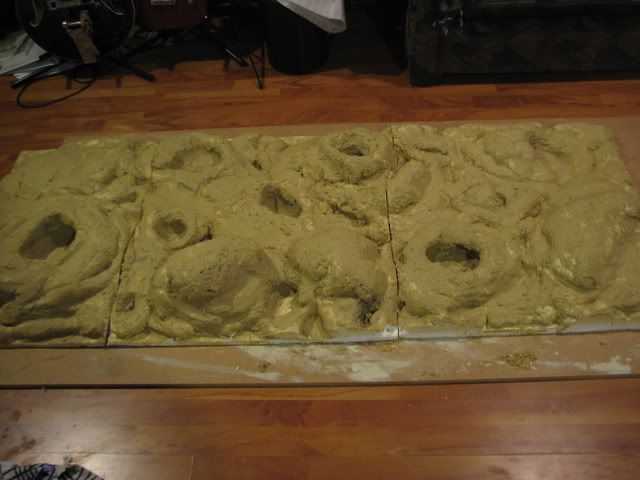
Step4 render all over with premix cream morta
Step 5 add some colour to next coat (cement Oxide) and do some more use drifrent colours to get the shade you want i only used two
Black & sand stone all done using a brush
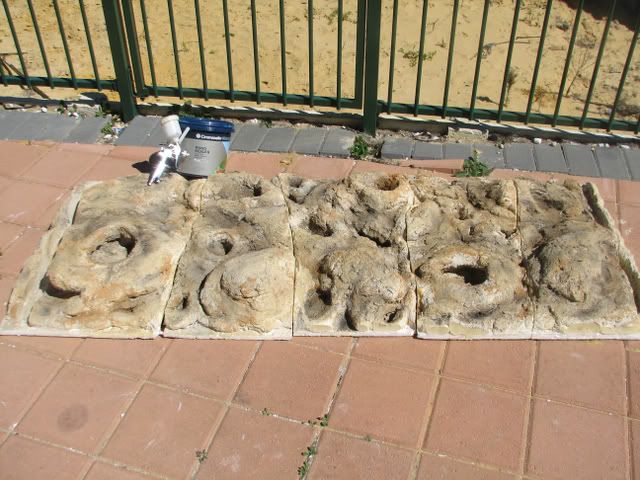
Step 6 seal with pond sealer i sprayed it but you can also brush it on

Step 7 Silicone to back of tank
render up the joins
Seal the joins with the sealer and a brush
Instr on sealer say leave for 7 days before filling with water
HAVE FUN
Regards Cobby