Jump to content


Posted Image

PCS & Stuart M. Grant - Cichlid Preservation Fund - Details here


Photo

4x2x2 Malawi Cichlid Display Tank Journal (d/l Warning)


  • Please log in to reply
13 replies to this topic

#1 Jezza

Jezza
  • Forum Member
  • Joined: 29-January 07
  • Location:Seville Grove
  • Location: Seville Grove

Posted 28 March 2009 - 04:24 PM

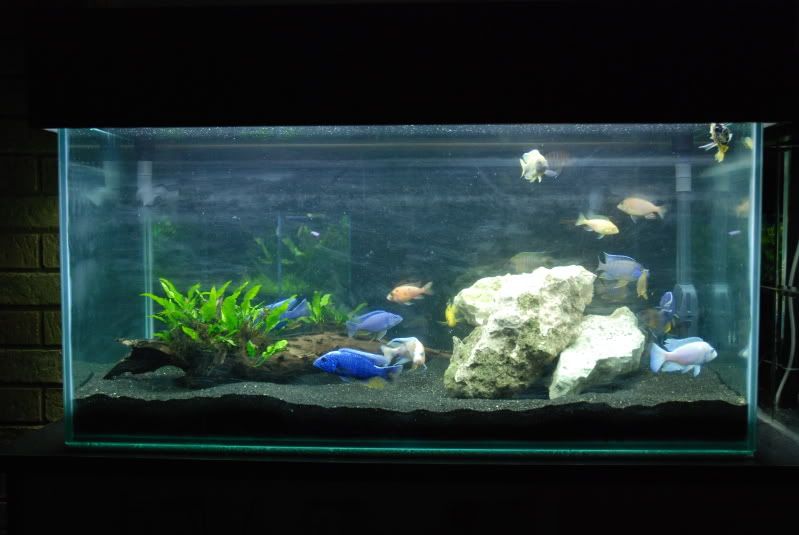
Well, after months of having most of what i needed, i finally got round to setting up my new cichlid display tank.

Specs:
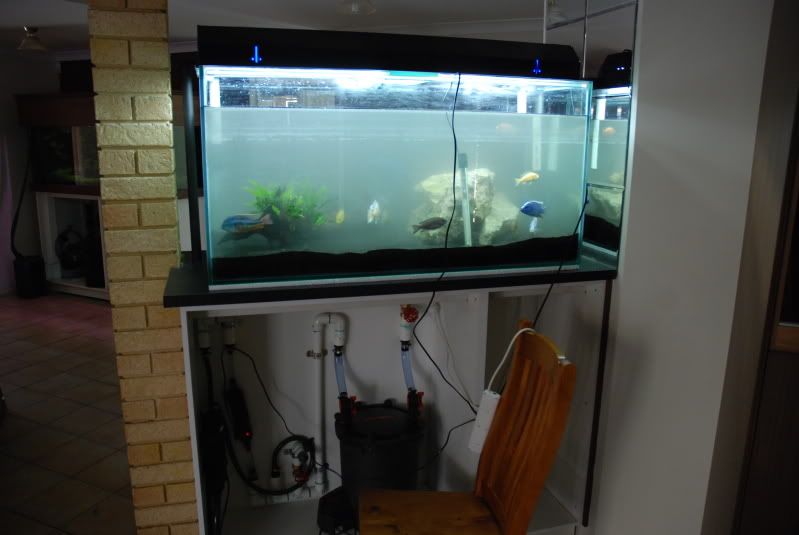
tank: 4x2x2 400L
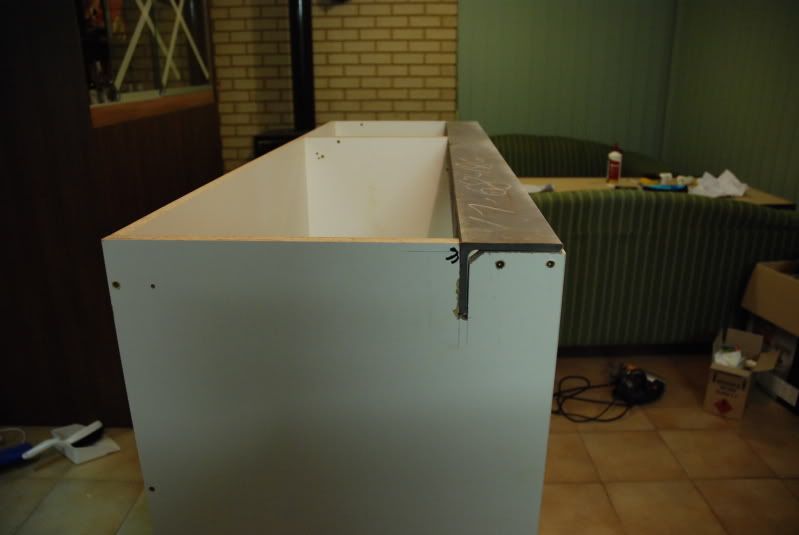
cabinet - melamine with steel lintel with 34mm laminated HMR benchtop (built entirely by myself)
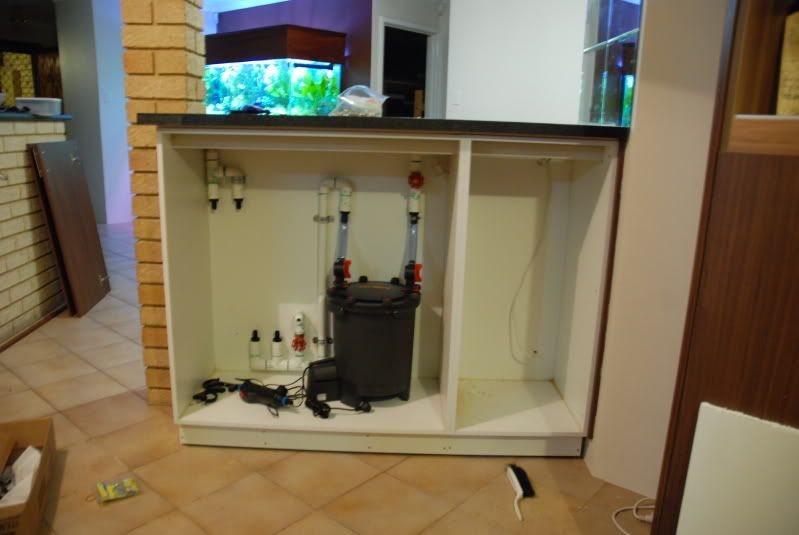
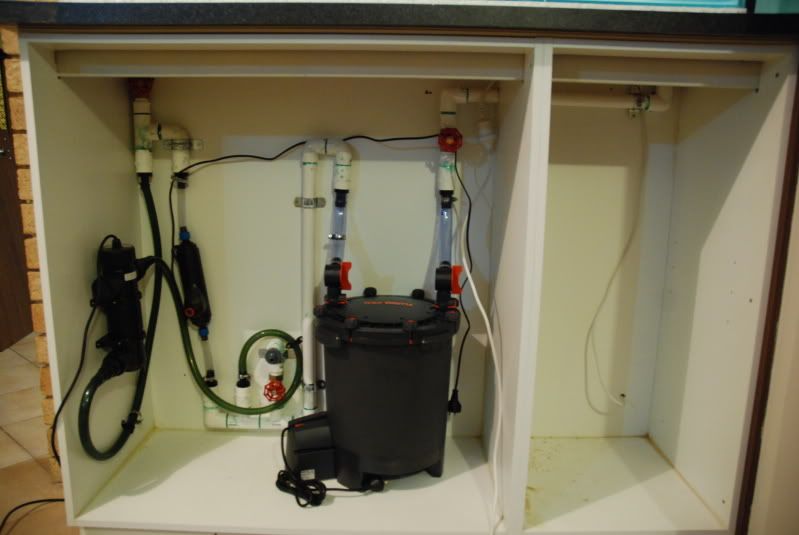
Filter: fluval FX5
UV: unknown brand (from my old tank - forgot what brand it is)
Heating: Hydor 300W external inline heater
Lighting: twin 36w t8 fluro
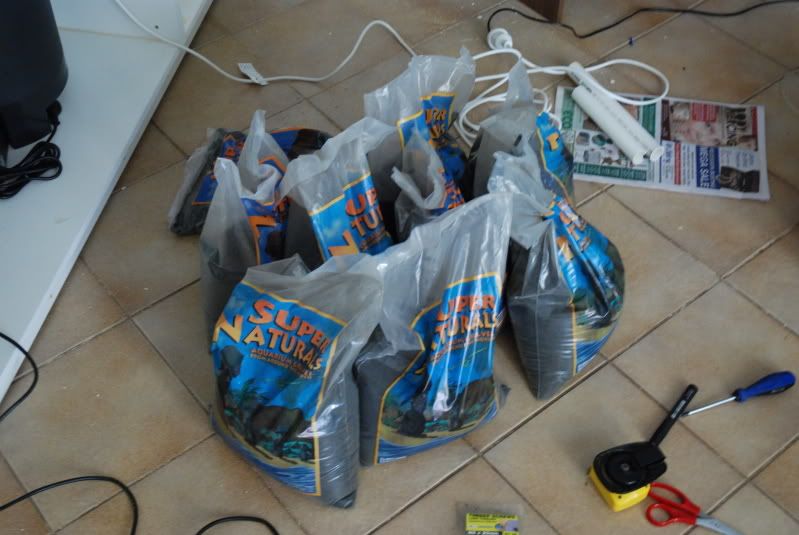
Substrate: 9x 9.5kg Tahitian Moon sand
Hardscape: limestone rocks and driftwood
Plants: java fern
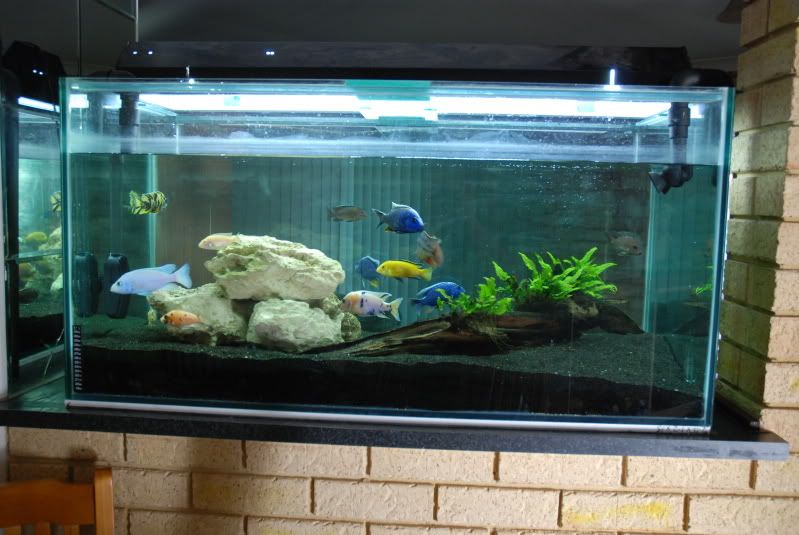
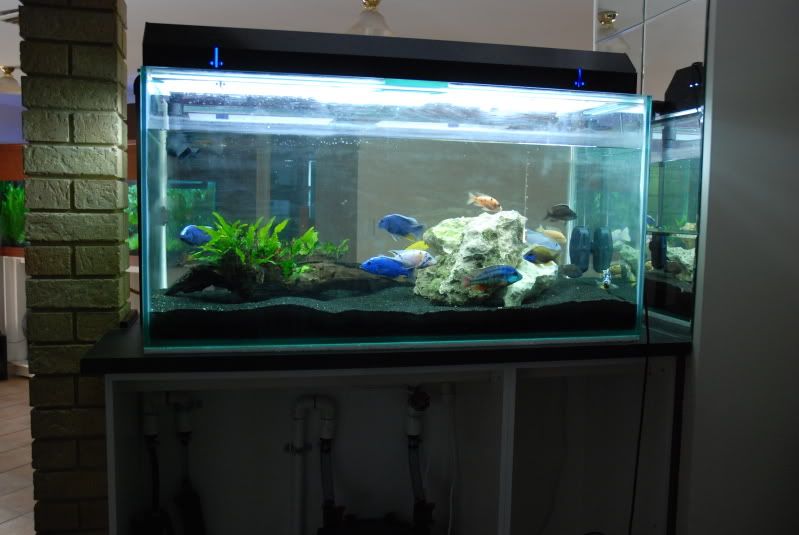
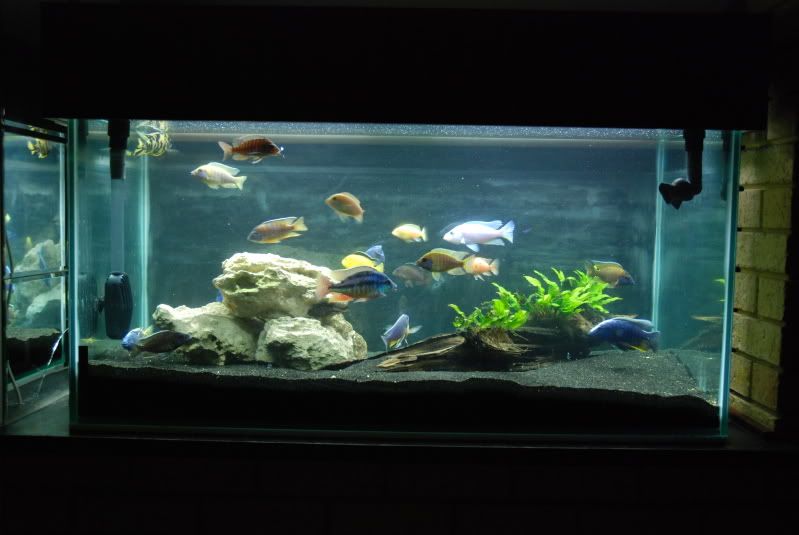
Fish: various alunocara (peacocks), electric blue, electric yellow, white knight, orangespot BN and a few others.

now for the pics:
the old tank before i started the new one
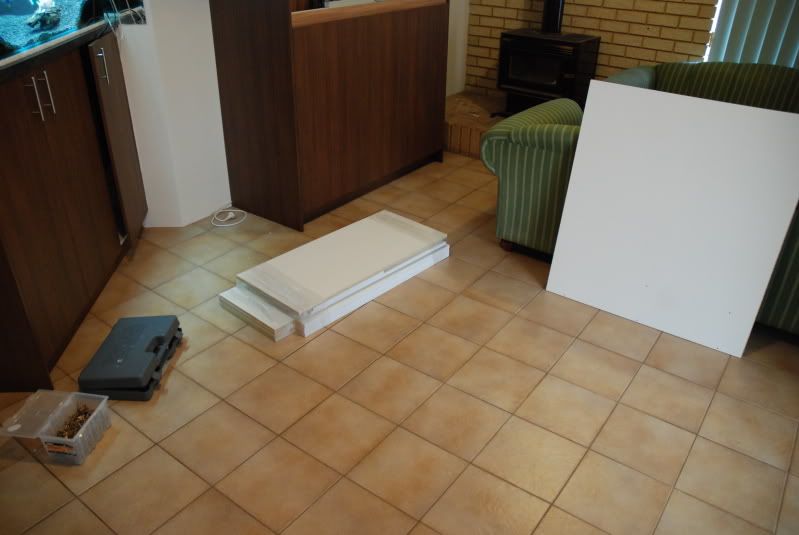
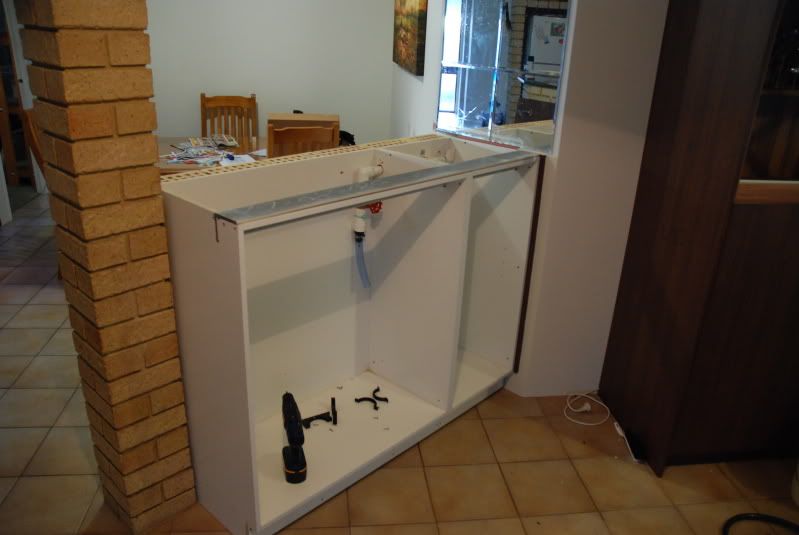
flat pack cabinet (from work)
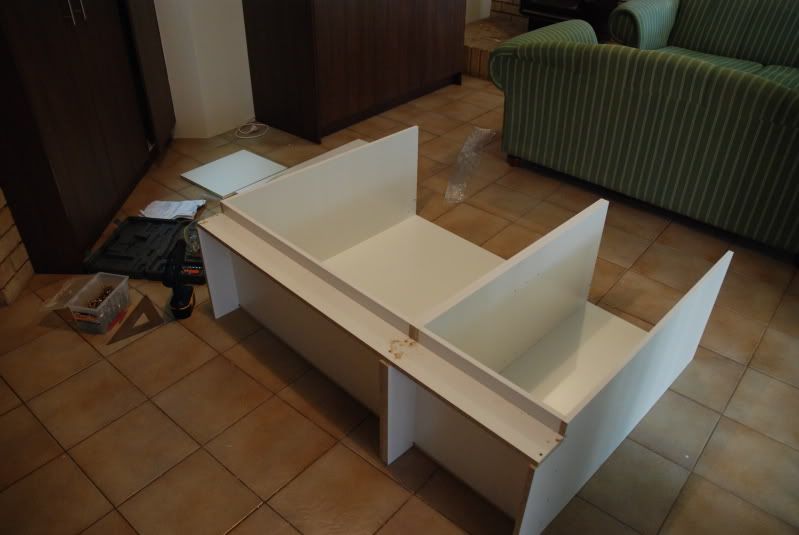
building the cabinet

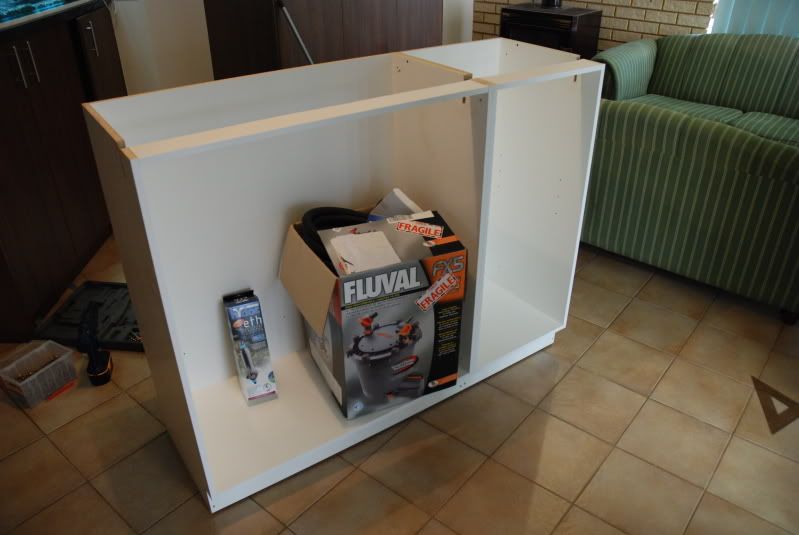
cabinet done
strengthening with lintel
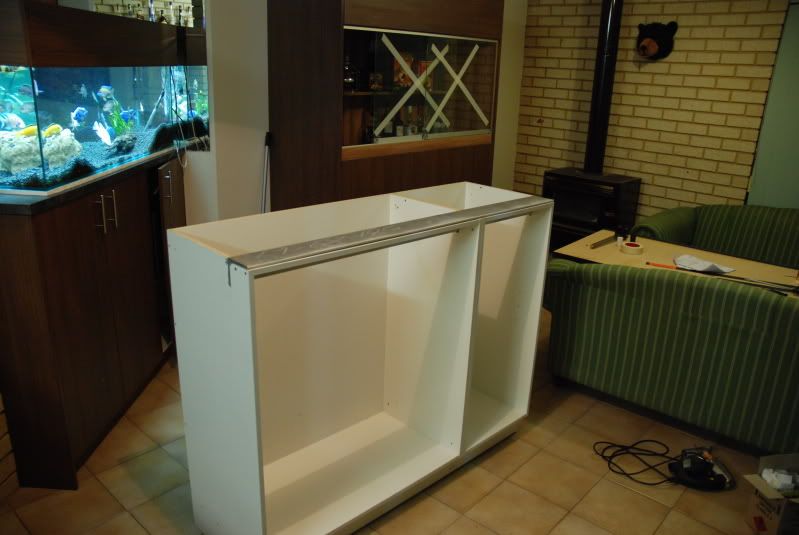
now its strong

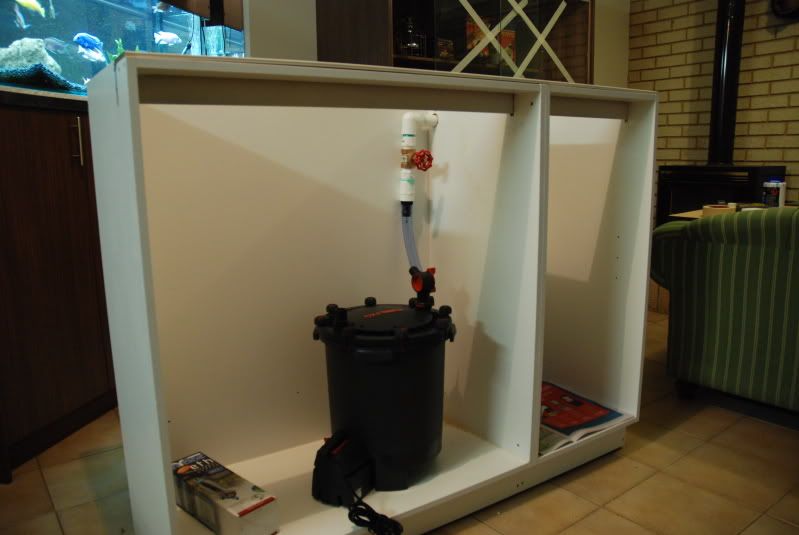
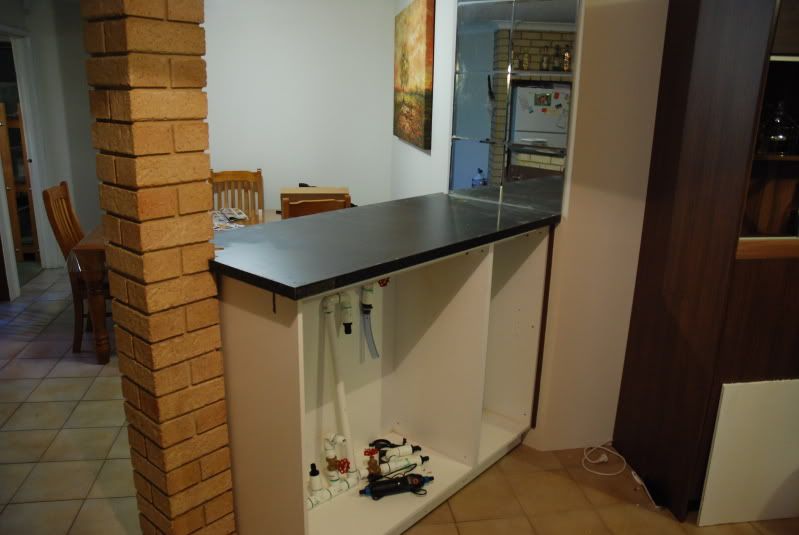
starting the plumbing
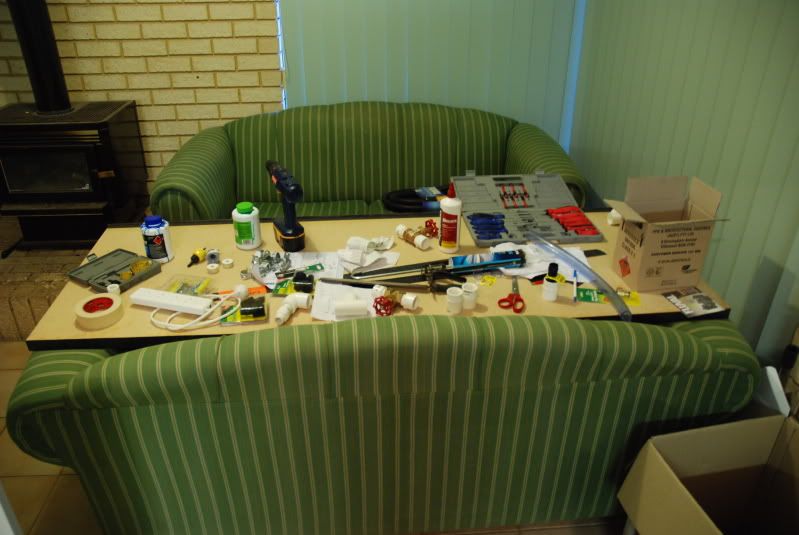
benchtop used as work bench
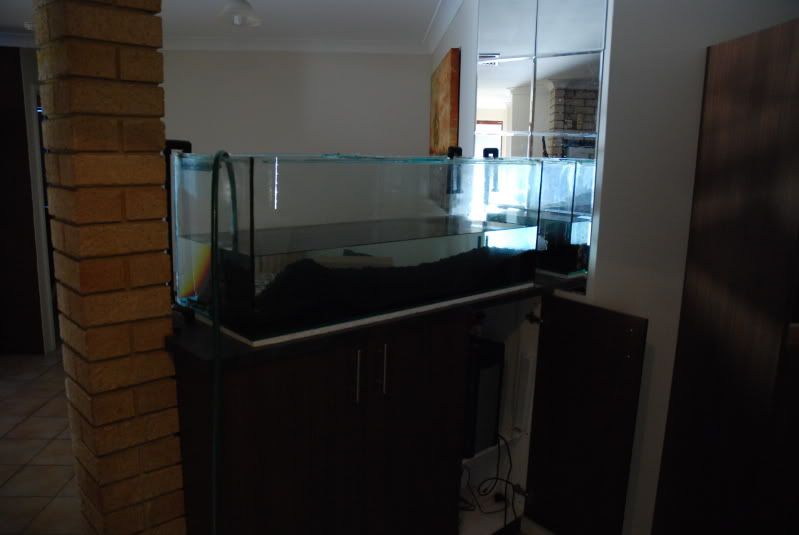
draining the old tank

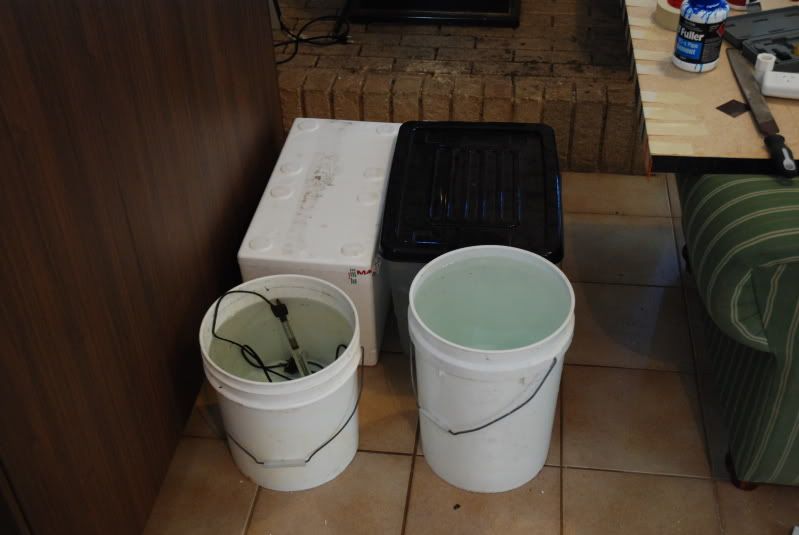
the old water in buckets and the fish in tubs (i reused almost all the old water)
old tank gone
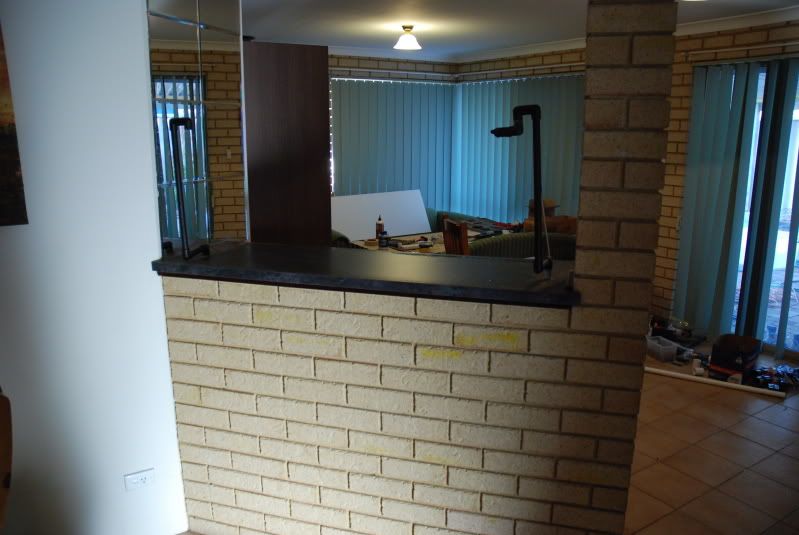
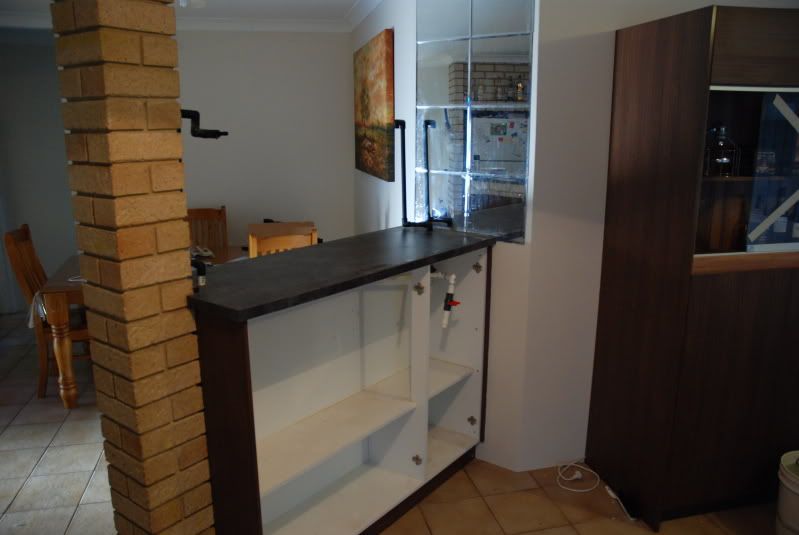

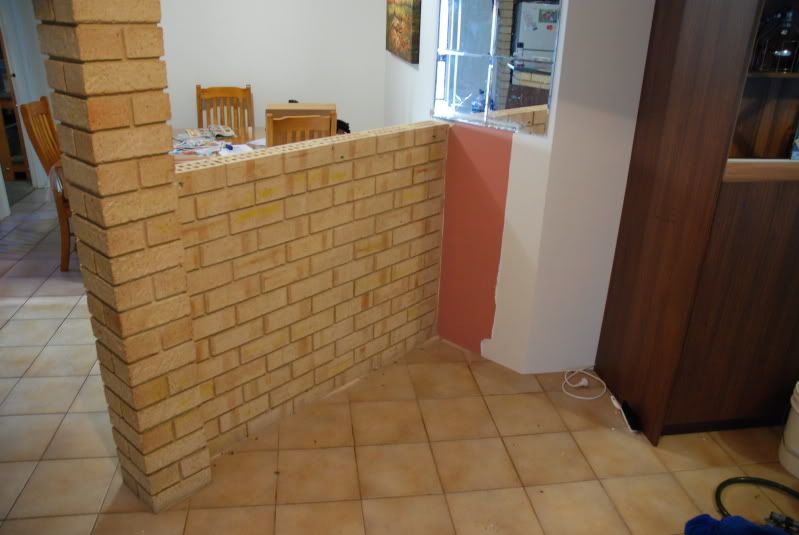
old cabinet gone
new cabinet fitted
new benchtop fitted


finishing the plumbing
new tank on and filling her up
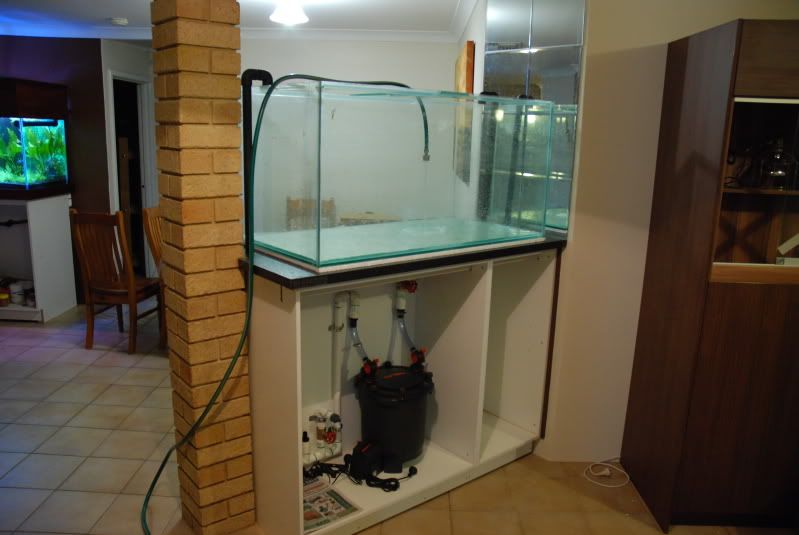
close up of the plumbing

substrate (9x 9.5kg of Tahitian Moon sand
sand added - clouded up heaps even tho i rinsed it first
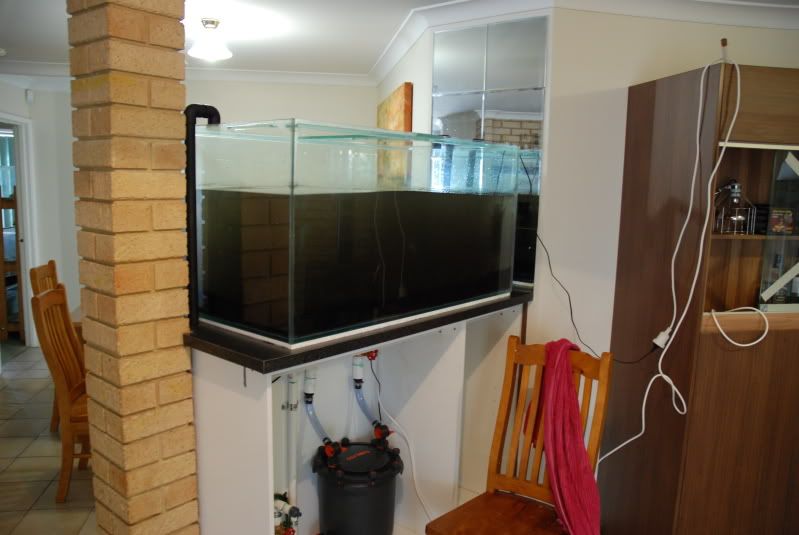
filter turned on - it all works smile.gif
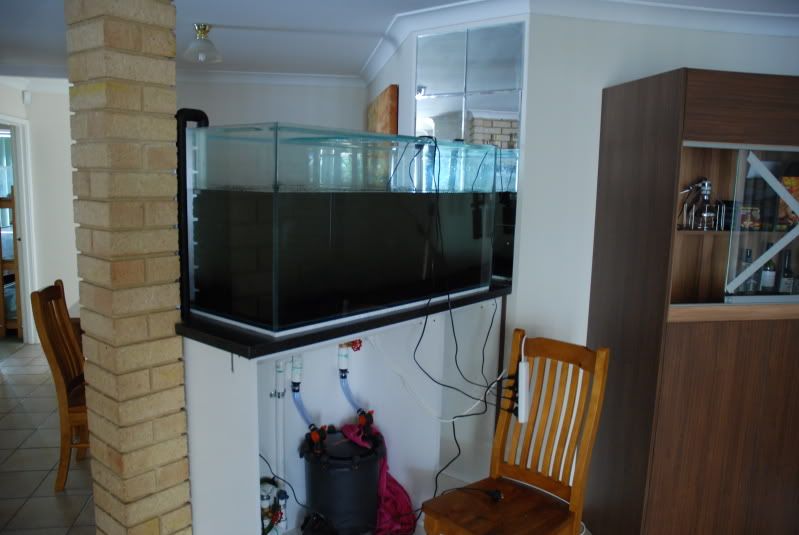

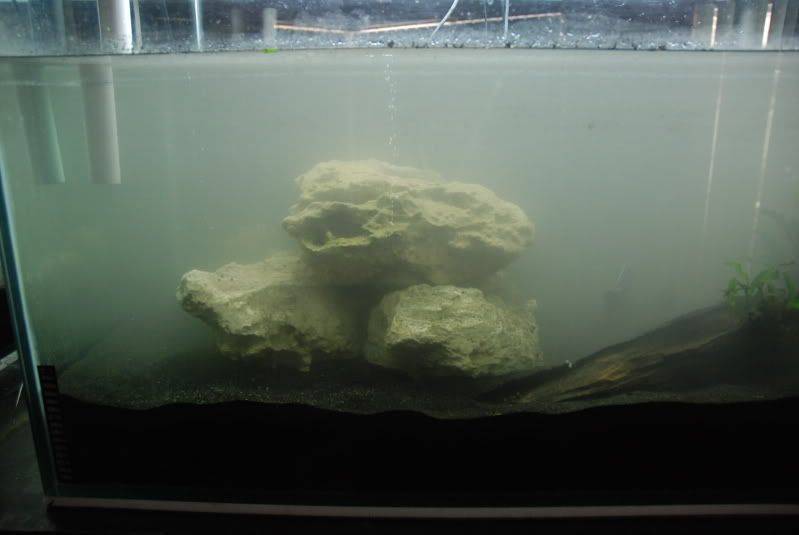
limestone and driftwood added

view from other side
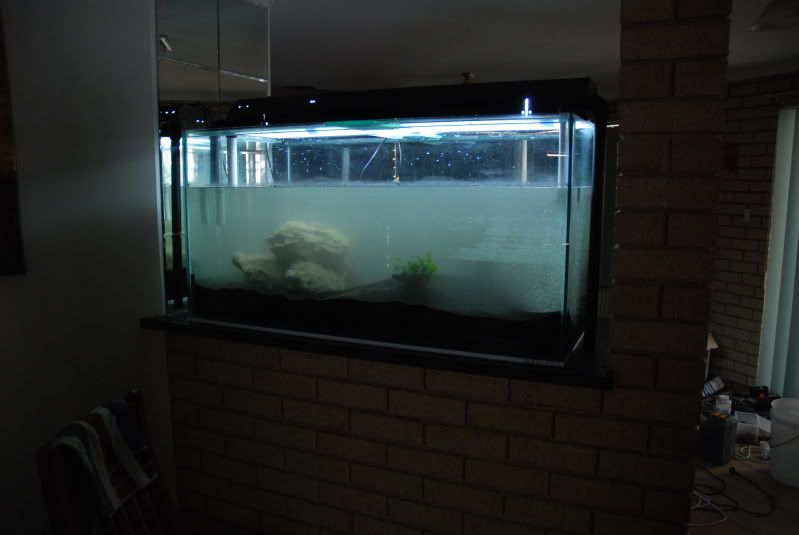
close up of limestone formation

Fish put in their new home
view from other side
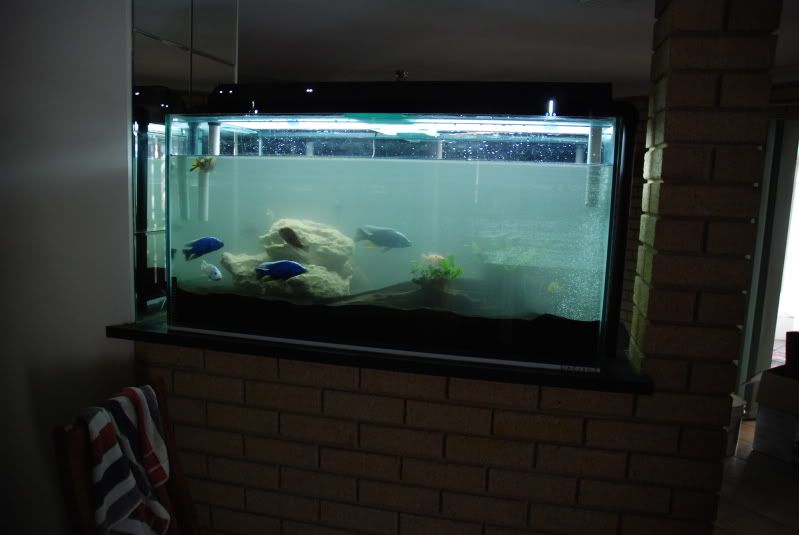

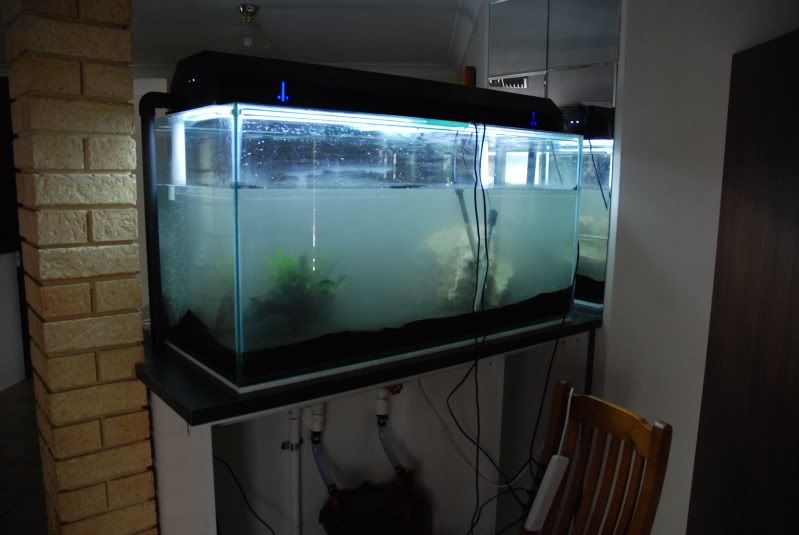
water is still cloudy and will probably take a few days to settle
still need to hand the doors and modify the hood to suit to new tank.
and still need to finish the in and out flow pipes

comments and suggestions welcomed

thanks for looking
jeremy

#2 ado

ado
  • Forum Member
  • Joined: 23-October 07
  • Location: Warnbro, W.A

Posted 28 March 2009 - 04:47 PM

looks awesome Jeremy!

The obviously large amount of work you put into it has payed off well!

Ado

#3 Sazabi

Sazabi
  • Forum Member
  • Joined: 22-August 08

Posted 28 March 2009 - 04:54 PM

looking good, looking really good biggrin.gif

When the water's cleared up post us another pic biggrin.gif

#4 Jezza

Jezza
  • Forum Member
  • Joined: 29-January 07
  • Location:Seville Grove
  • Location: Seville Grove

Posted 28 March 2009 - 05:07 PM

QUOTE (ado @ Mar 28 2009, 05:47 PM) <{POST_SNAPBACK}>
looks awesome Jeremy!

The obviously large amount of work you put into it has payed off well!

Ado

thanks mate
i was up till 1:00am friday night, then spent most of today on it too
it actually went easier than i expected, which was good.

QUOTE (Sazabi @ Mar 28 2009, 05:54 PM) <{POST_SNAPBACK}>
looking good, looking really good biggrin.gif

When the water's cleared up post us another pic biggrin.gif

thanks
yeah, i'll post a few more pics once its clear.

#5 rwillox

rwillox
  • Forum Member
  • Joined: 27-September 08
  • Location: Hamersley

Posted 28 March 2009 - 08:26 PM

Looks great, look forward to see photos when the water has cleared.
A lot of gravel in there.

Ross

#6 dazzabozza

dazzabozza

    Life Member

  • Admin
  • Joined: 16-March 07
  • Location: Beeliar, Perth WA

Posted 28 March 2009 - 11:19 PM

Looks great Jezza. Obviously a lot of effort has gone into this which is a rarity for cichlid tanks (compared to planted & marine).

That's a lot of moonsand $$$! Now looking at it would you have gone shallower? I can see some interesting pit and mound formations coming along after a bit of digging wink.gif

With the plumbing I'm guessing that the red tap and hose connector to the left of the cannister can be used for draining and top-up?


How do you control the water flow that passes through the separate in-line heater and UV units? Is it possible that the flow could favour passing through one unit and not the other? Would've been cool if you added a third water return path that way if you need to section off the UV or heater due to a fault/leak etc you could do so.

Hiding the foam and a hood to hide the light would be a nice finishing touch (not that I can talk coz I'm pretty average when it comes to presentation)

Top effort so far! smile.gif


Daz

#7 Jezza

Jezza
  • Forum Member
  • Joined: 29-January 07
  • Location:Seville Grove
  • Location: Seville Grove

Posted 29 March 2009 - 07:42 AM

QUOTE (dazzabozza @ Mar 29 2009, 01:19 AM) <{POST_SNAPBACK}>
That's a lot of moonsand $$$! Now looking at it would you have gone shallower? I can see some interesting pit and mound formations coming along after a bit of digging wink.gif

yeah, it is more than i expected - in hindsight i probably would have used a few less bags.
the pit is actually from the out flow of the filter - i have still to attach the outflow that came with the fluval, but need to find the right size adapter to make it fit.

QUOTE (dazzabozza @ Mar 29 2009, 01:19 AM) <{POST_SNAPBACK}>
With the plumbing I'm guessing that the red tap and hose connector to the left of the cannister can be used for draining and top-up?

correct - mainly for top ups as the fluval has its own drainage tap on the bottom.

QUOTE (dazzabozza @ Mar 29 2009, 01:19 AM) <{POST_SNAPBACK}>
How do you control the water flow that passes through the separate in-line heater and UV units? Is it possible that the flow could favour passing through one unit and not the other? Would've been cool if you added a third water return path that way if you need to section off the UV or heater due to a fault/leak etc you could do so.

Hiding the foam and a hood to hide the light would be a nice finishing touch (not that I can talk coz I'm pretty average when it comes to presentation)


i don't have a way of controlling the flow, but in my thinking it wont matter - if the flow favours the uv, then the water will flow slower thru the heater and thus increase the temp more but will blend with the cooler water of the uv anyway. and if the other way around, more water will get heated but not as much, so it will be the same result either way.

i had thought of a 3rd path, but the price of pvc parts were already ridicules. but if i choose to add one later there is room to do so - i will find a way if need be.

yes, i plan to modify the hood as soon as i get time (doing bulk overtime lately so it will wait till next weekend)
and i plan to put a trim around the foam also.

thanks for the comments
jeremy


#8 Managuense

Managuense
  • Forum Member
  • Joined: 08-May 07
  • Location: Seville Grove

Posted 29 March 2009 - 04:48 PM

Looks good Jez. I didn't know you were giving this tank a change around. Looks great nonetheless

#9 Jezza

Jezza
  • Forum Member
  • Joined: 29-January 07
  • Location:Seville Grove
  • Location: Seville Grove

Posted 29 March 2009 - 06:04 PM

QUOTE (Managuense @ Mar 29 2009, 06:48 PM) <{POST_SNAPBACK}>
Looks good Jez. I didn't know you were giving this tank a change around. Looks great nonetheless

cheers kyle
yeah i've had the tank for a while and got the filter and cabinet late last year, so i thought it bout time i pull out the finger and got it done.

the tank is clearing up but still i little murky

#10 brado20

brado20
  • Forum Member
  • Joined: 23-March 09
  • Location: port kennedy

Posted 29 March 2009 - 06:52 PM

looks great, the hard work paid off, cant wait to see more pictures after the water has cleared.

#11 Jezza

Jezza
  • Forum Member
  • Joined: 29-January 07
  • Location:Seville Grove
  • Location: Seville Grove

Posted 04 April 2009 - 05:04 PM

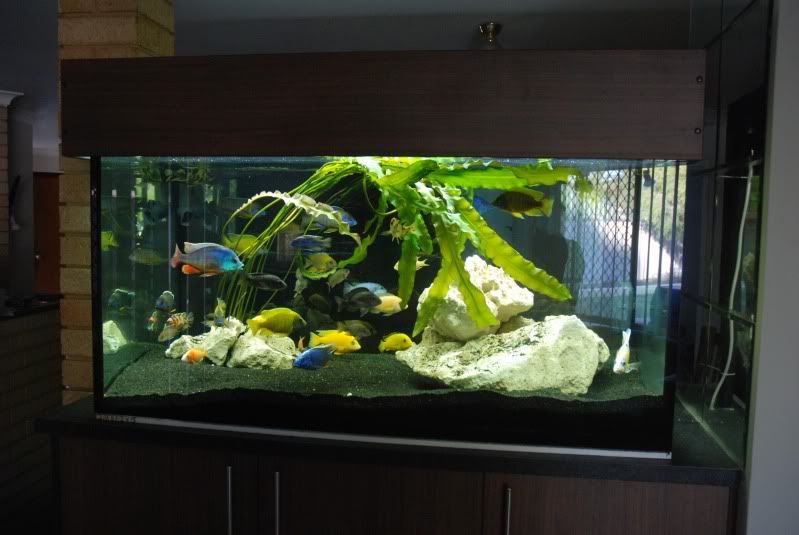
Some shots now that the water has cleared.
Still need to fit the light surround and doors.


#12 Jezza

Jezza
  • Forum Member
  • Joined: 29-January 07
  • Location:Seville Grove
  • Location: Seville Grove

Posted 09 April 2009 - 09:52 PM

i finally got the hood on today


not happy with the scratches on the tank. problem was i didn't see them till i had pulled down the old tank (it was dark when i cleaned the new tank) and by then i had passed the point of no return.
i am looking into getting a new tank to replace it...

#13 Jezza

Jezza
  • Forum Member
  • Joined: 29-January 07
  • Location:Seville Grove
  • Location: Seville Grove

Posted 29 May 2010 - 04:02 PM

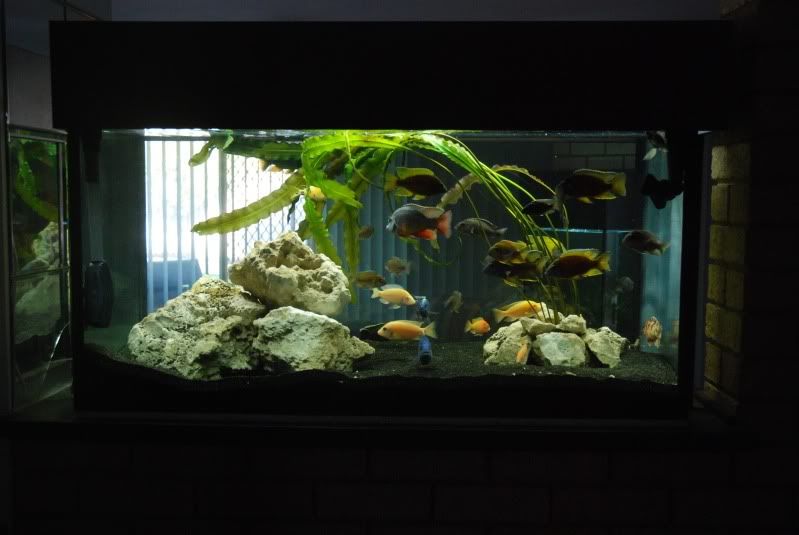
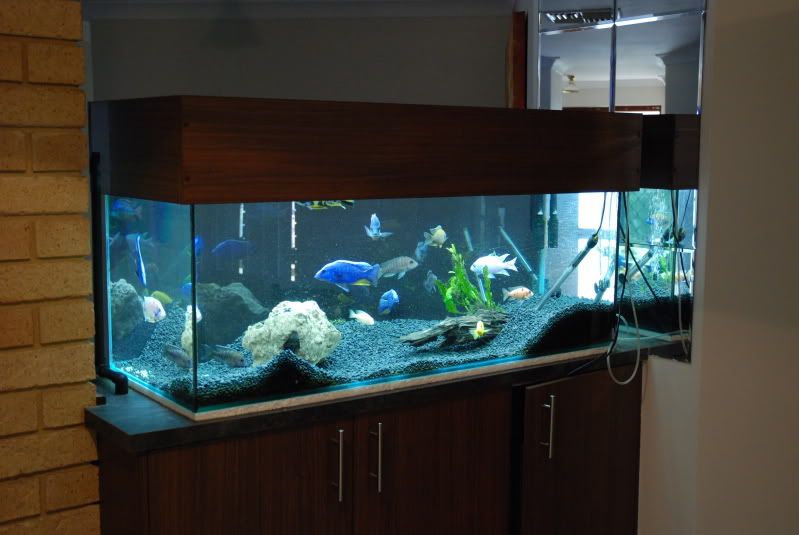
finally i got a brand new tank and a slightly new layout


#14 Wet Dreams

Wet Dreams
  • PCS Club Member
  • Joined: 15-October 08
  • Location: Bunbury, WA

Posted 02 June 2010 - 08:34 PM

Looks awesome Jez!


1 user(s) are reading this topic

0 members, 1 guests, 0 anonymous users