


 This topic is locked
by Glenn Barrett | Photos by Matthew Begaud
This article details the construction of a tank rack, which will hold three 48×18x18 tanks. Please do not reproduce any photos from this article without the written permission of the author.
The photo to the below shows the completed stand.
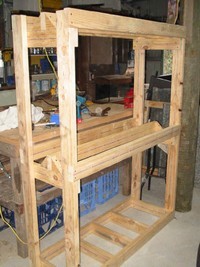
NB: for all joints in this rack I used a good squirt of Liquid Nails and 2 long screws. I believe this makes for a nice strong rack which will not wobble or sag over time.
I have used 35×90 pine for this job, which is cheap enough but still has good lateral strength.
Begin by cutting all your timber to length using a circular saw (see: Fig. 1. - Cutting your timber). Alternatively you can have the timber yard cut it for you, although this is a more expensive option.
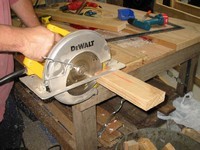
Fig 1. Cutting the timber to length.
To make a rack that will hold three 4×18x18 tanks you will require the following lengths of timber:
1.67m x 4
1.30m x 6
1.23m x 2
450mm x 4
390mm x 5
Begin with your 1.67 lengths, which will be your posts. You need to cut some rebates in them to house your cross beams (see Fig. 2.).The simplest way to make rebate joints is to attack the timber with a circular saw (set to the right depth of course) and then knock out the wafers with a hammer and chisel (See Fig. 3.).
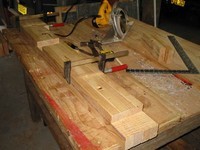
Fig 2. The sides.
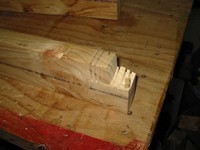
Fig 3. How to make rebate joints.
Lay 2 of these lengths on your bench, and use 3 of your 1.3 lengths as the cross beams (see Fig. 4.). The rebate joints should fit neatly together (see Fig. 5.) and should be joined with two screws, and of course some liquid nails (see Fig. 6.).
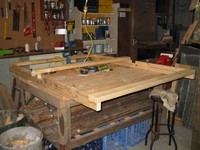
Fig 4. Cross beams
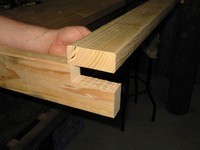
Fig 5. Rebating the BaZRack way.
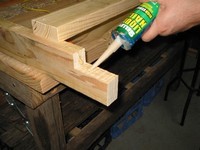
Fig 6. The obligatory liquid nails.
Its best to do the top and bottom beams first, then check that the whole job is square before adding the middle beam. If your job is square, the diagonal measurements will be the same (see Fig. 7.). If you have made your rebates a nice tight fit, use a hammer and block of scrap wood to persuade the beam into place (see Fig. 8.).
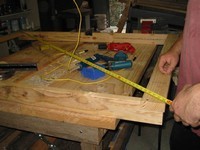
Fig 7. Checking its square.
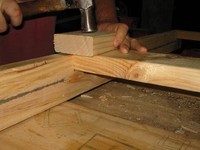
Fig 8. Persuading the beam into place.
Once you have this side assembled, do the other side exactly the same.
Now you need to take those 450mm lengths, and use them to join the front and back panels together. Make them a nice snug fit up under the top 2 cross beams (see Fig. 9.), and additionally underneath the middle shelf.
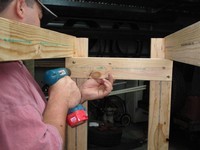
Fig 9. The top cross beams.
Using your 390mm lengths, make the base look something like this (see Fig. 10.).
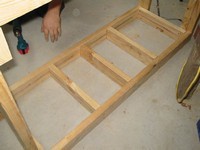
Fig 10. Rack base, looking down.
Grab a length of scrap timber, and cut 8 right-angled triangles (see Fig. 11.).Use these triangles as brackets to attach your 1.23m lengths as middle supports. They go in the middle, directly on top of your 450mm pieces (see Fig. 12.).
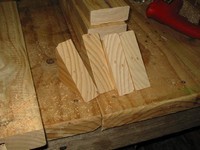
Fig 11. The pyramids - for extra strength.
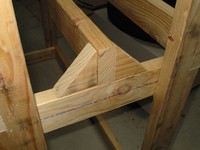
Fig 12. Pyramids in place.
Stand back and admire your work!


