Specs:
tank: 4x2x2 400L
cabinet - melamine with steel lintel with 34mm laminated HMR benchtop (built entirely by myself)
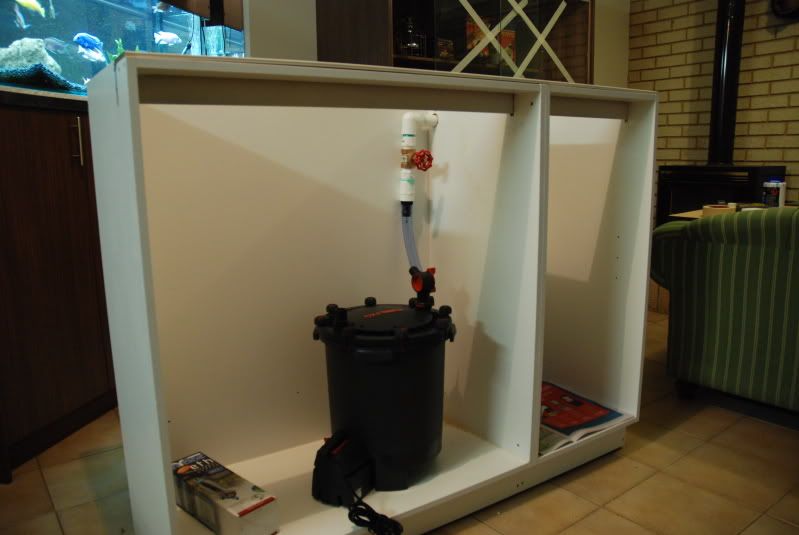
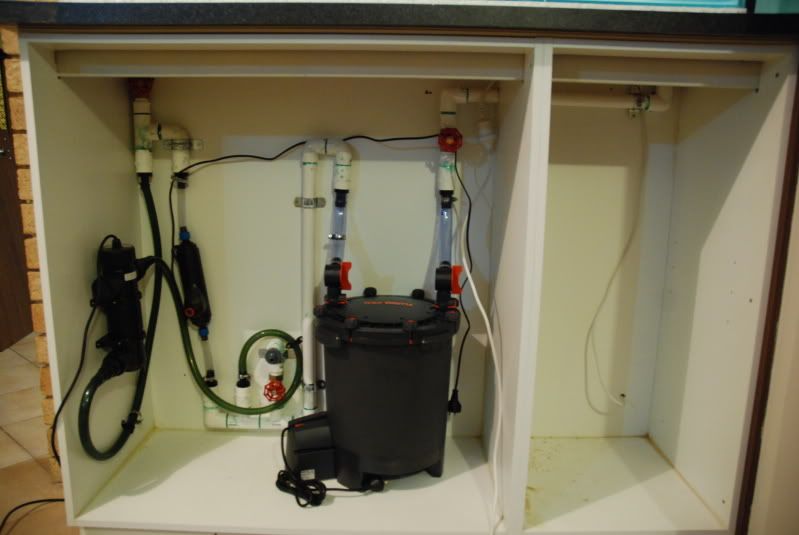
Filter: fluval FX5
UV: unknown brand (from my old tank - forgot what brand it is)
Heating: Hydor 300W external inline heater
Lighting: twin 36w t8 fluro
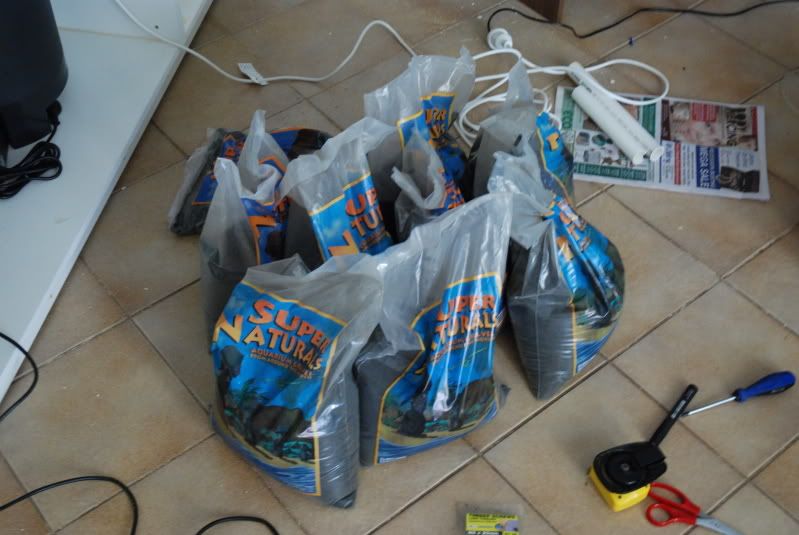
Substrate: 9x 9.5kg Tahitian Moon sand
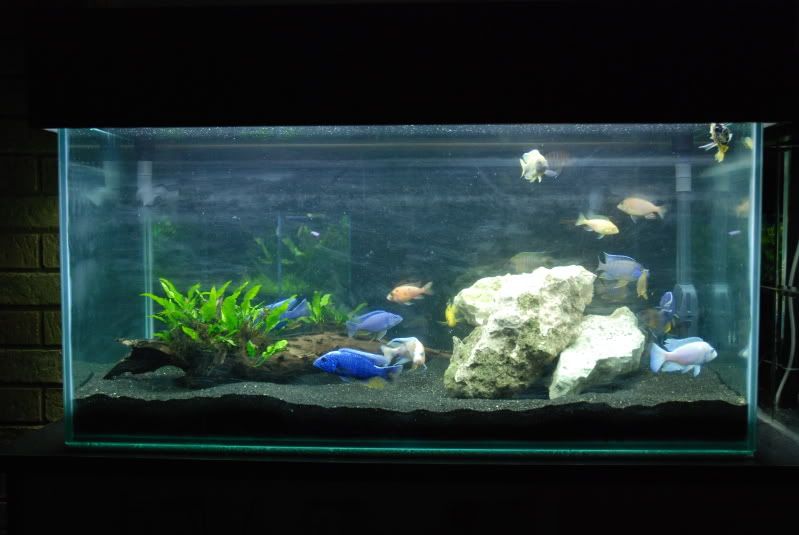
Hardscape: limestone rocks and driftwood
Plants: java fern
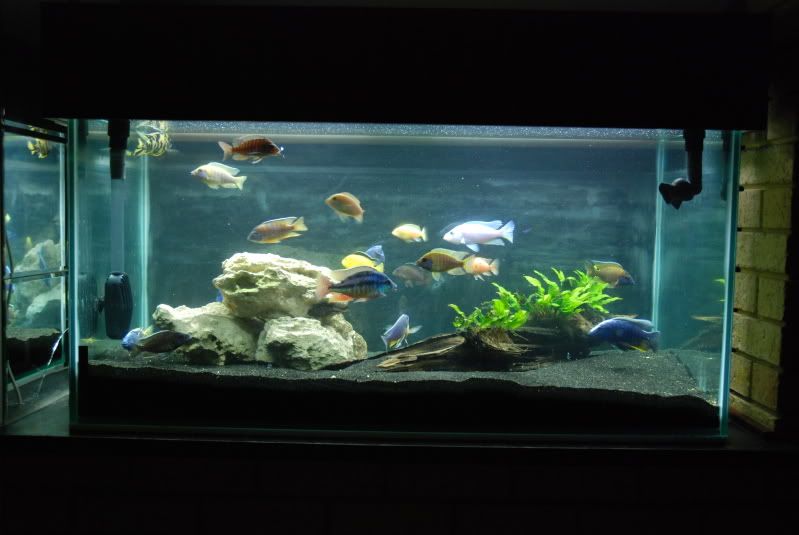
Fish: various alunocara (peacocks), electric blue, electric yellow, white knight, orangespot BN and a few others.
now for the pics:
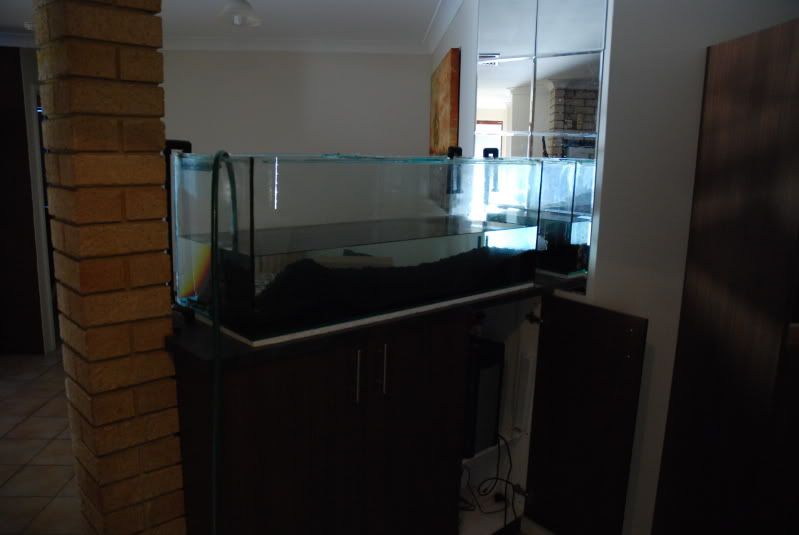
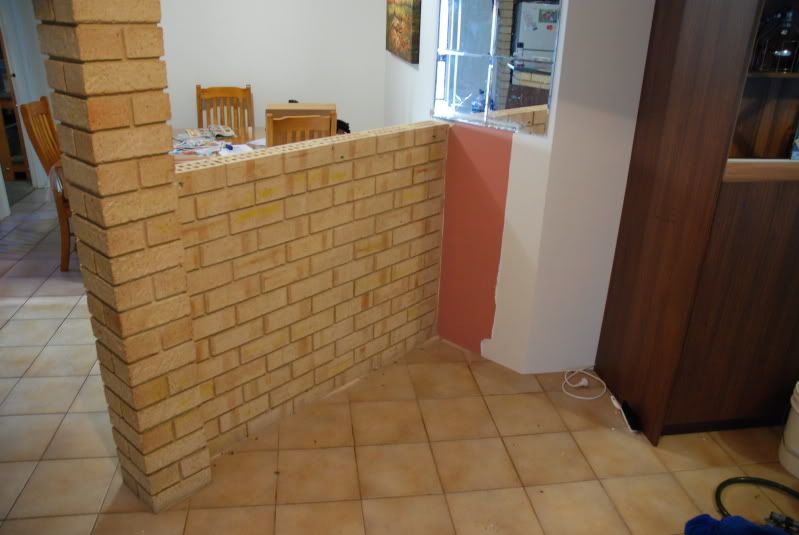
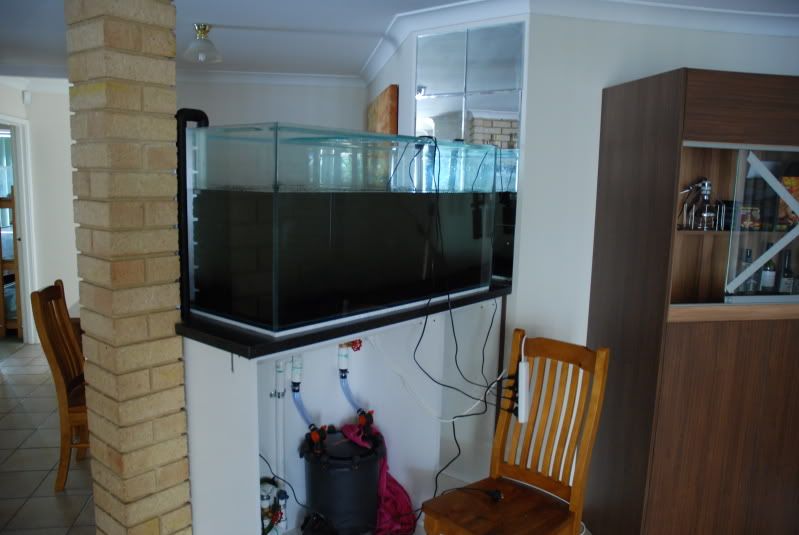
the old tank before i started the new one
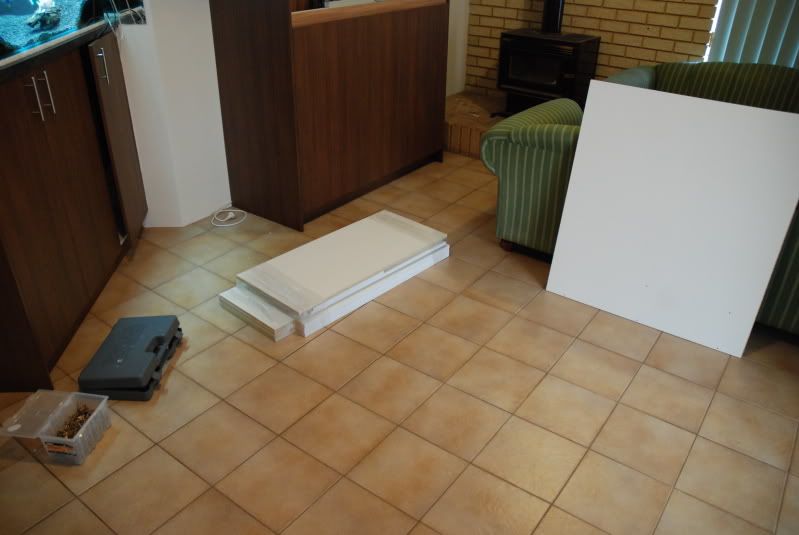
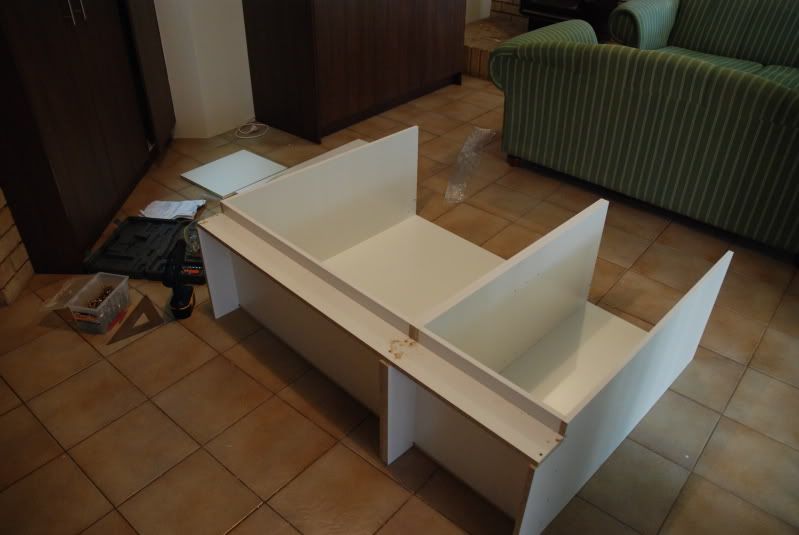
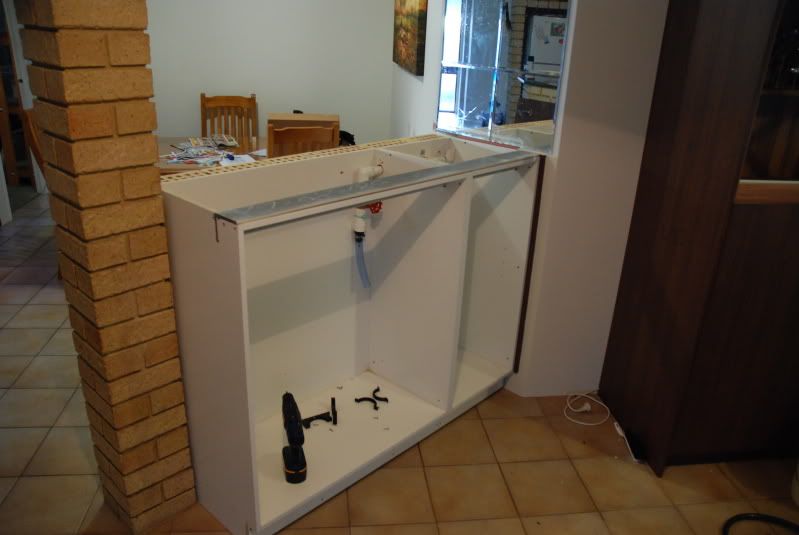
flat pack cabinet (from work)
building the cabinet
cabinet done
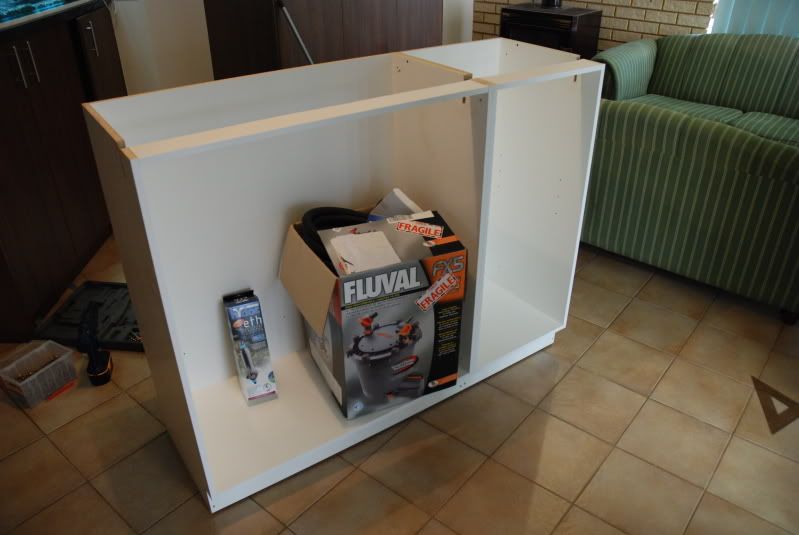
strengthening with lintel

now its strong

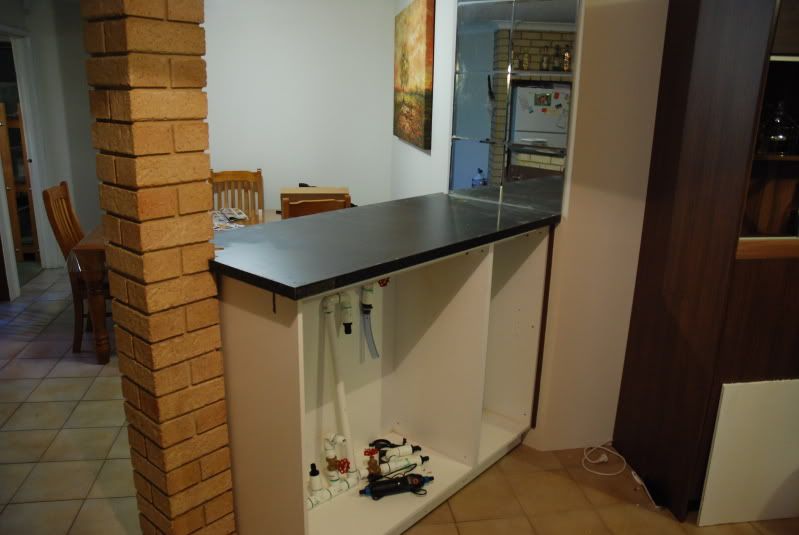
starting the plumbing
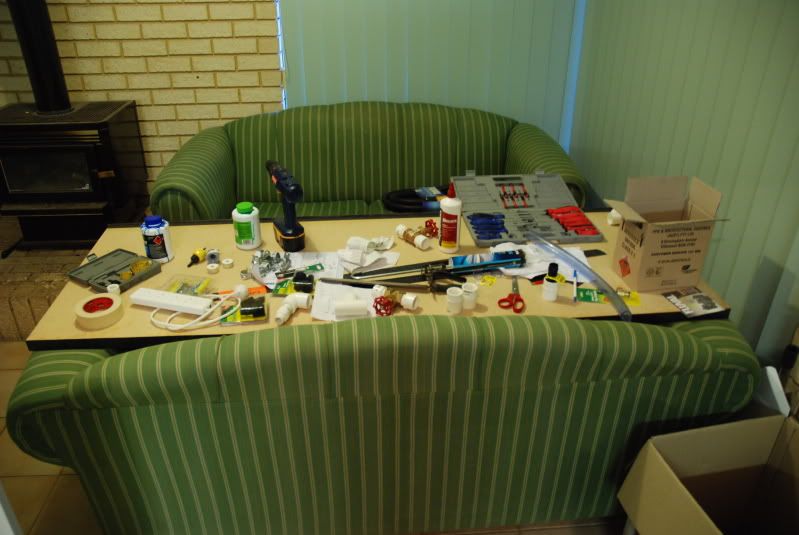
benchtop used as work bench
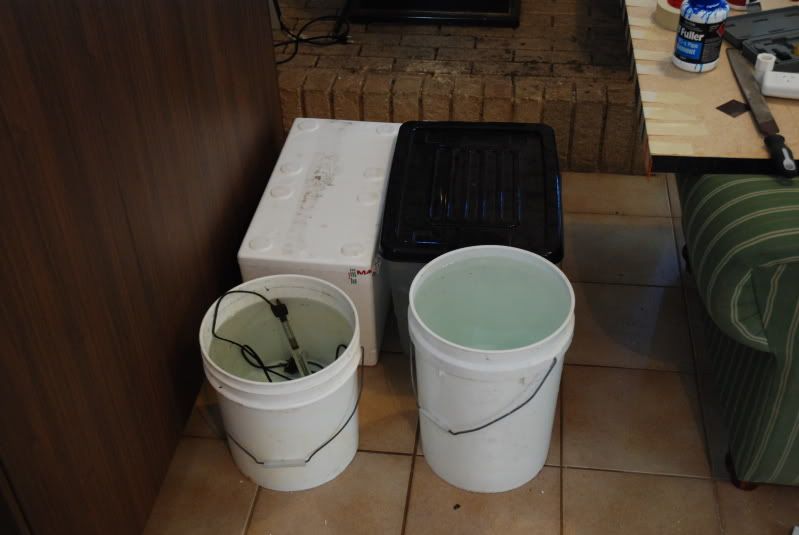
draining the old tank
the old water in buckets and the fish in tubs (i reused almost all the old water)
old tank gone
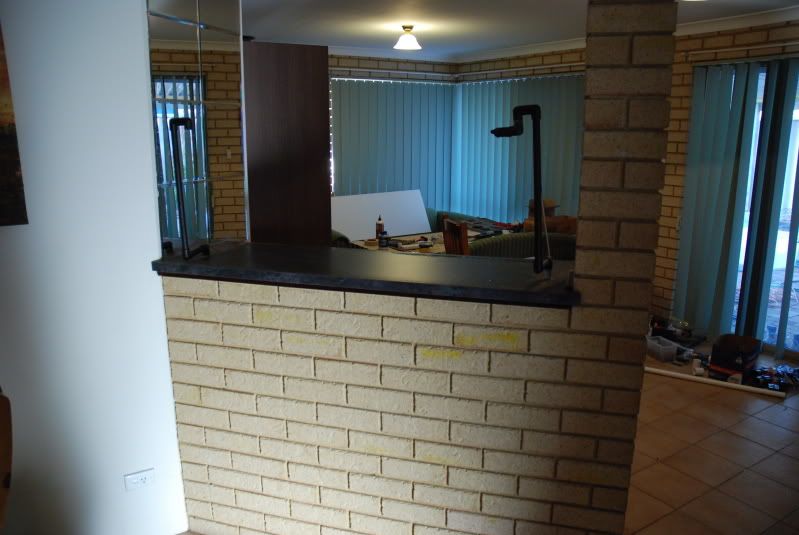
old cabinet gone
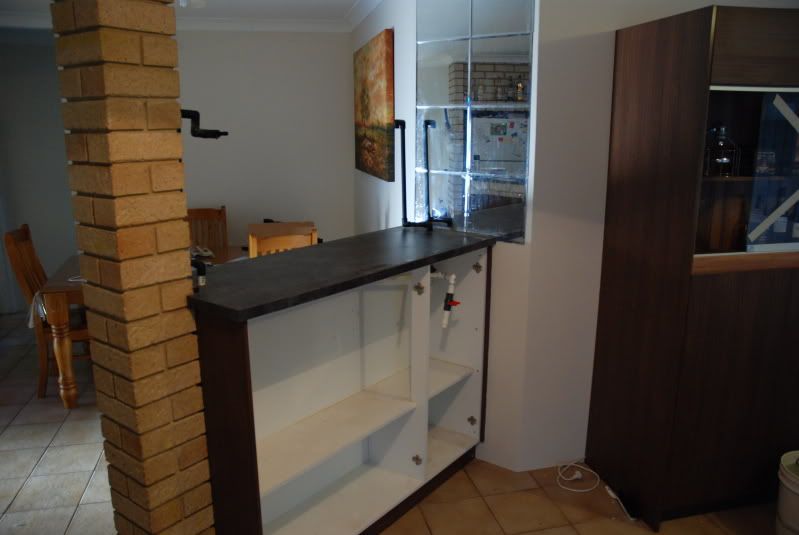
new cabinet fitted
new benchtop fitted
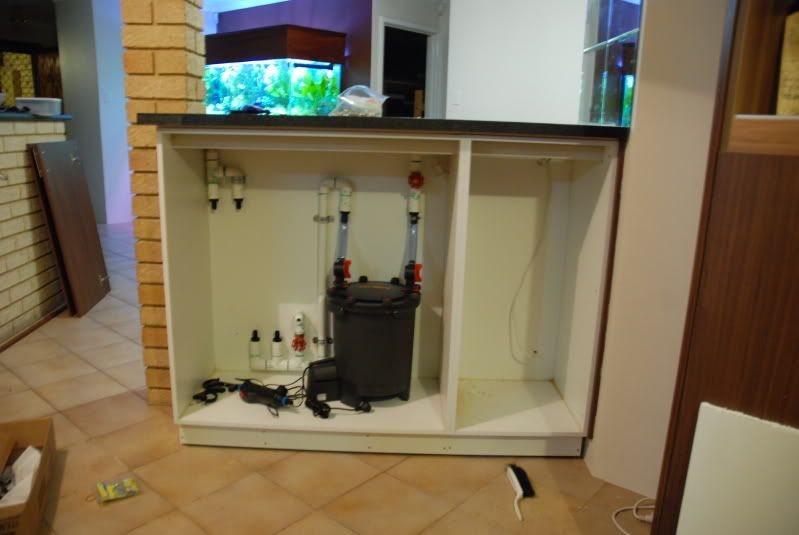
finishing the plumbing
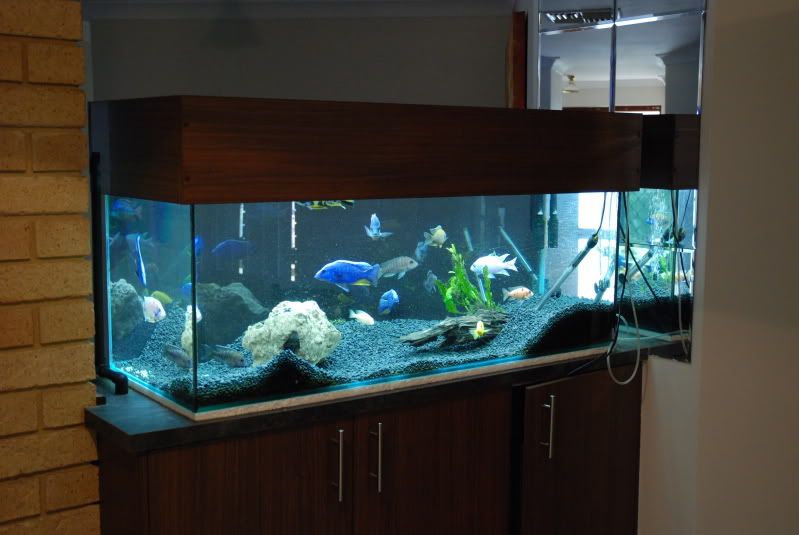
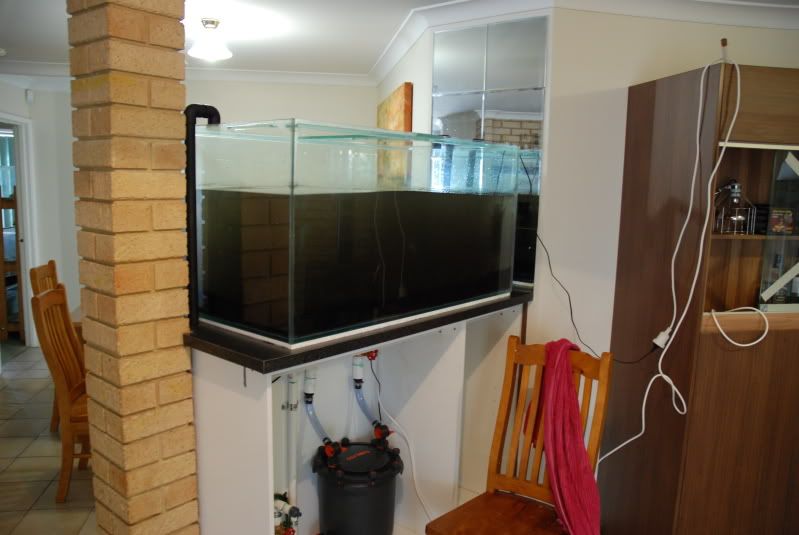
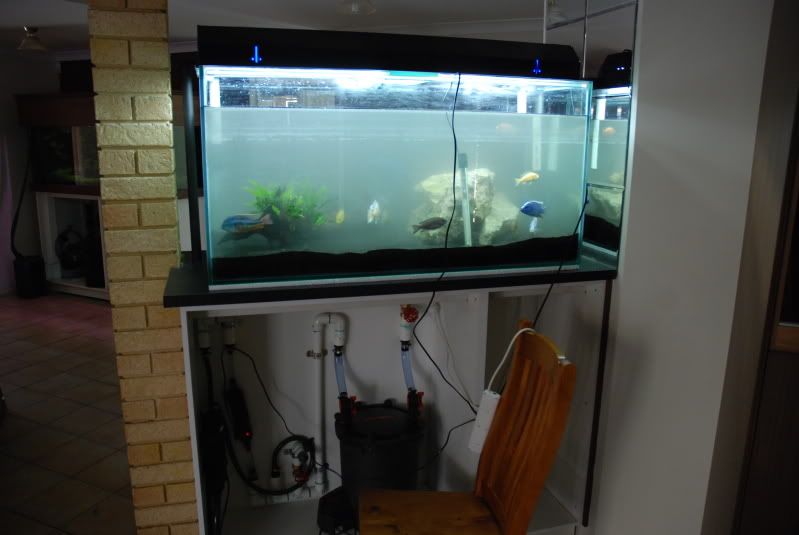
new tank on and filling her up
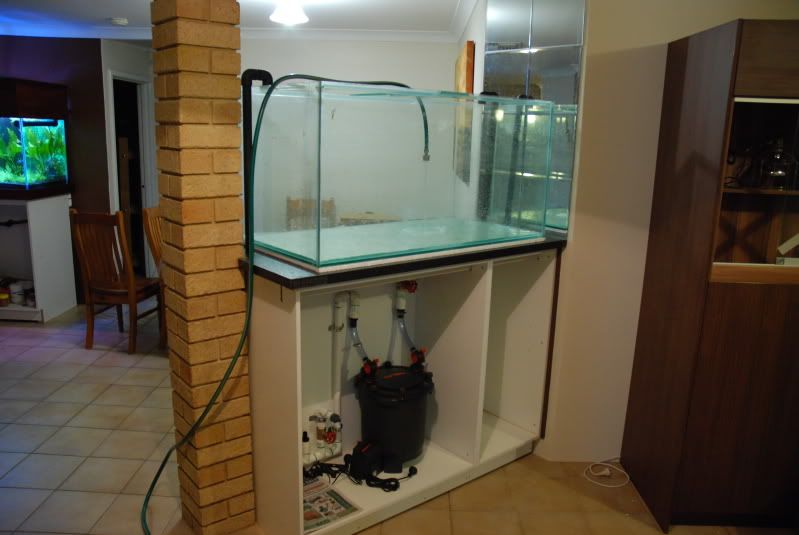
close up of the plumbing
substrate (9x 9.5kg of Tahitian Moon sand
sand added - clouded up heaps even tho i rinsed it first
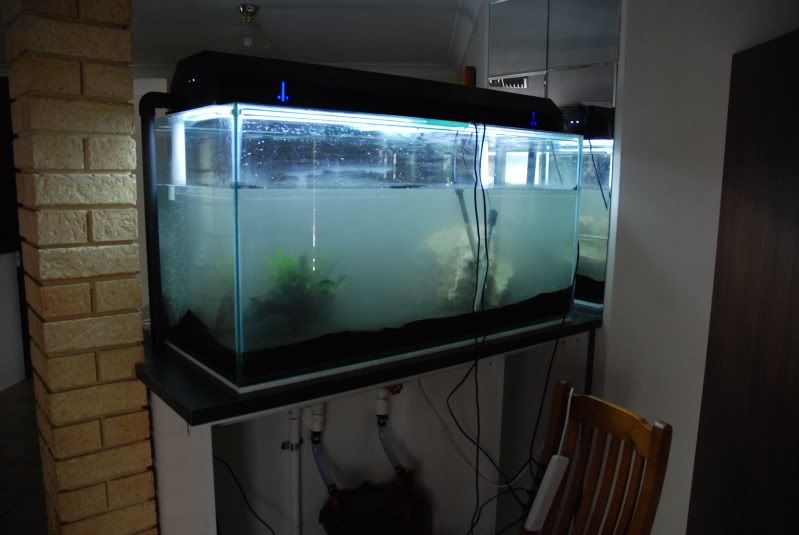
filter turned on - it all works

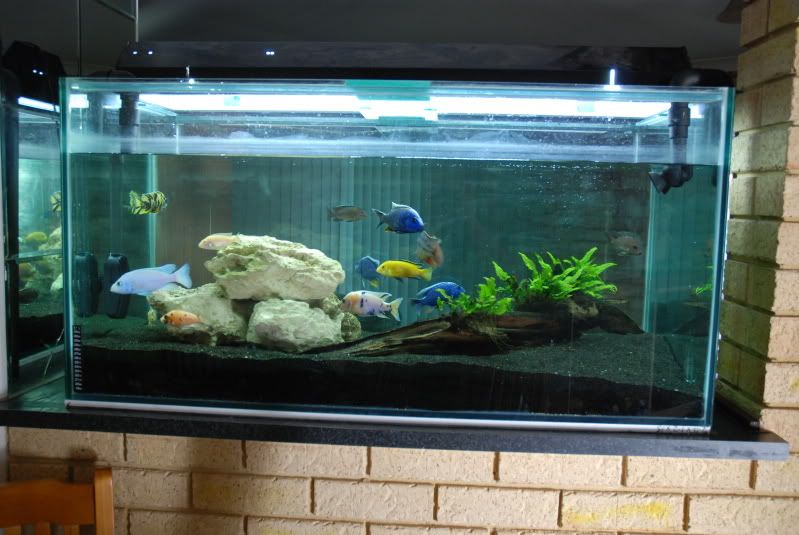
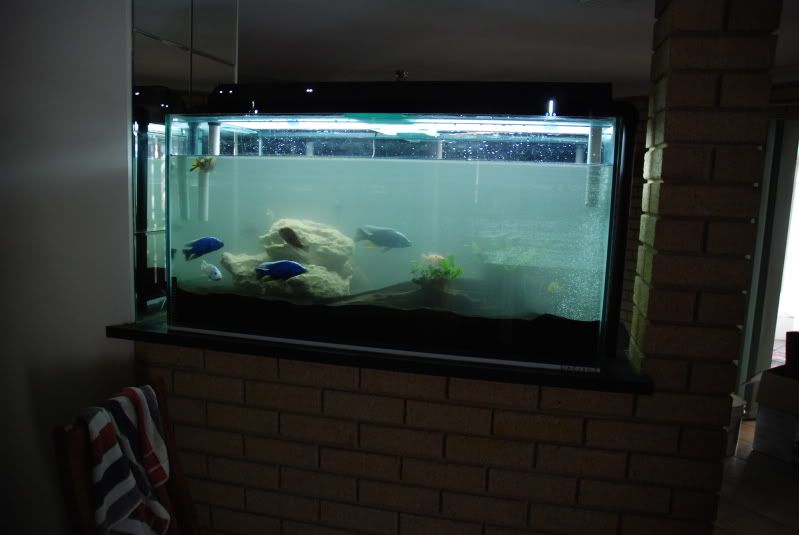
limestone and driftwood added
view from other side
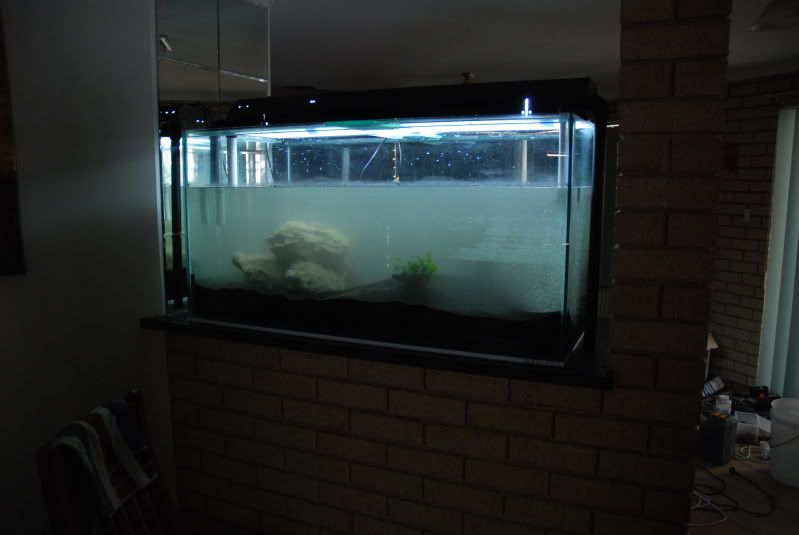
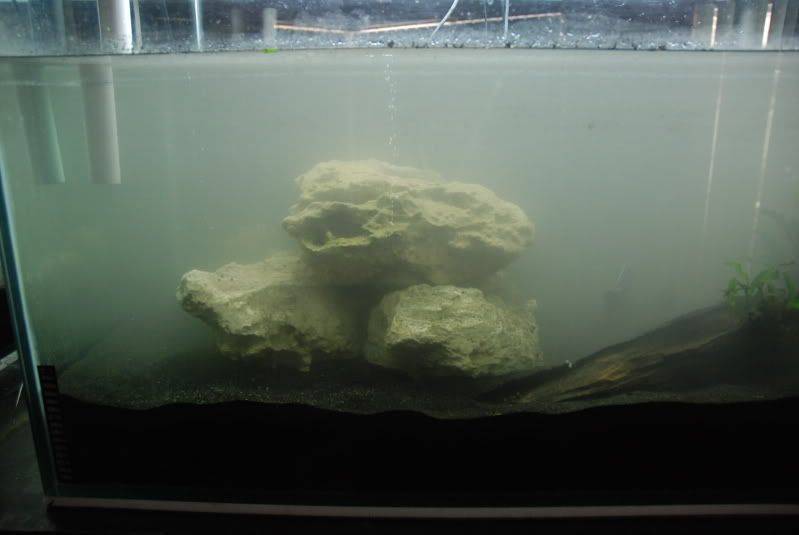
close up of limestone formation
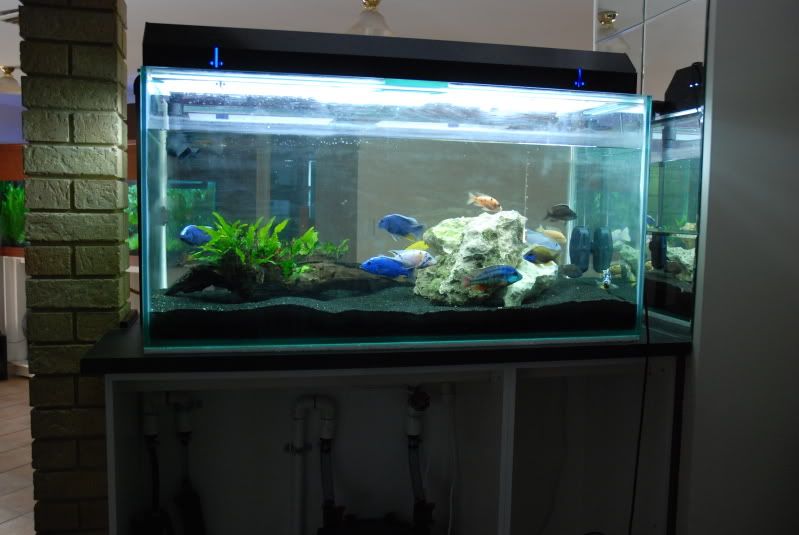
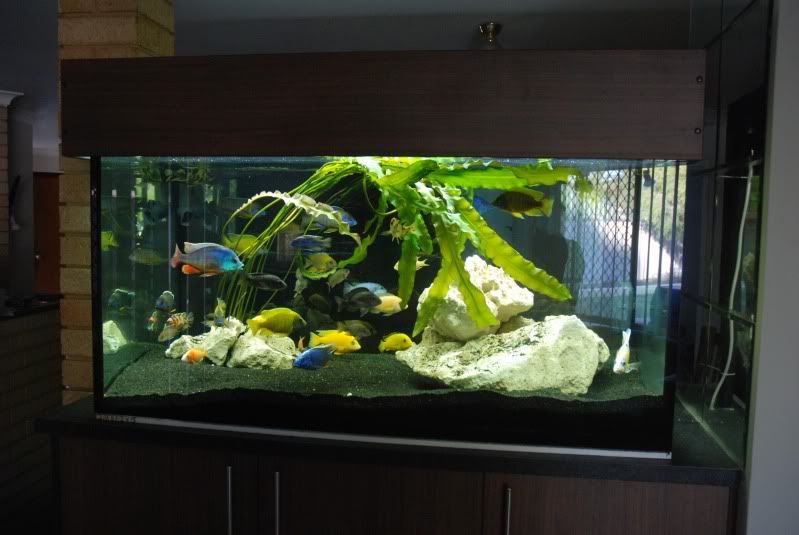
Fish put in their new home
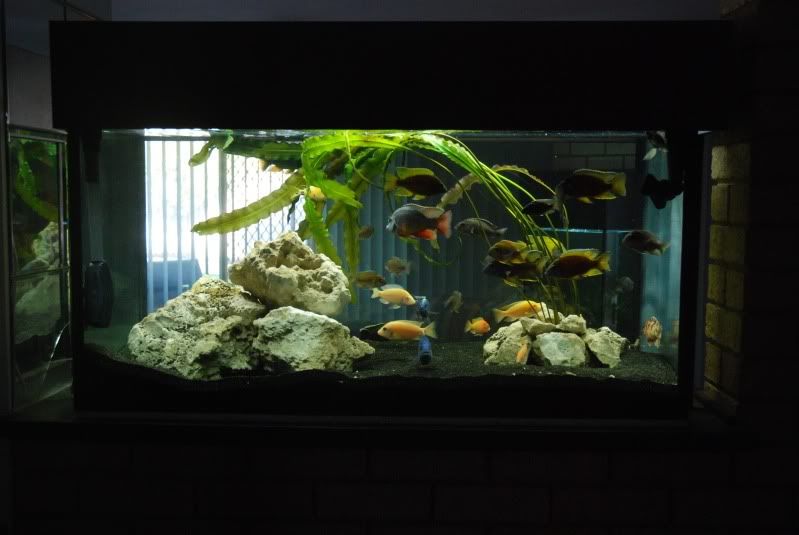
view from other side
water is still cloudy and will probably take a few days to settle
still need to hand the doors and modify the hood to suit to new tank.
and still need to finish the in and out flow pipes
comments and suggestions welcomed
thanks for looking
jeremy