Jump to content


Posted Image

PCS & Stuart M. Grant - Cichlid Preservation Fund - Details here


Photo

Welcome To The Jungle... (update 24/03/13)


  • Please log in to reply
39 replies to this topic

#1 Rovik

Rovik
  • Forum Member
  • Joined: 12-July 10
  • Location: Bullcreek

Posted 21 May 2012 - 10:21 PM

Finely...

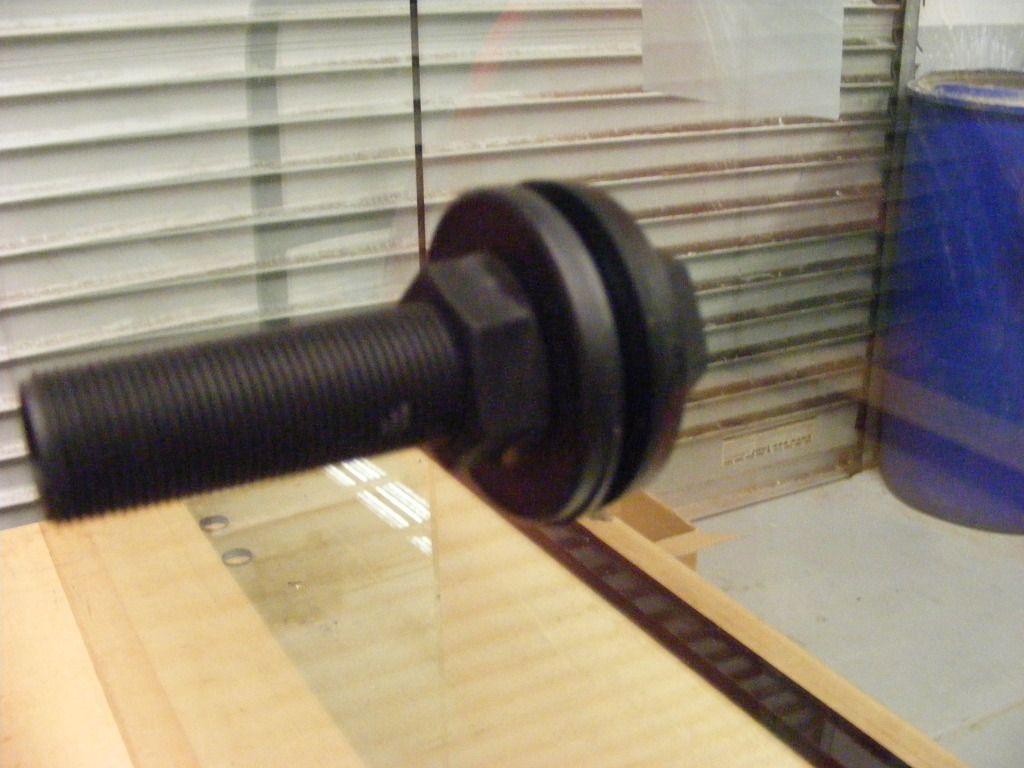
After months in planning my goal is starting to take shape and be realised.
Through just under 3 very intense years of fish keeping, I have kept various types of Aquariums...However planted tanks seem to be where my interest and heart lies.

Year 12 is Coming up and I should devote my time elsewhere.
Having multiple tanks is great, but I would just prefer having a single large one that is easy to water change and manage rather than dragging hoses through the house to slowly drain and refill lots of little tanks.

Ill be honest, the biggest tank I have kept personally was and still is a standard 3ft. (Disappointing I know)
So hopefully the new 5x2x32 will be just what I need.
I intend to keep this long term and sell off what's left of my small stuff.

Tank will be Semi-hard plumbed, but more on that later as well as the equipment.
This is a journal so I will post pictures regularly.

Before I go any further I would like to thank the Aquotix crew and especially Ollie.
For sharing his wealth of knowledge, generously and master craftsmanship, I thank you.
This project wouldn't of happened without him.

______________________________________________________________________________


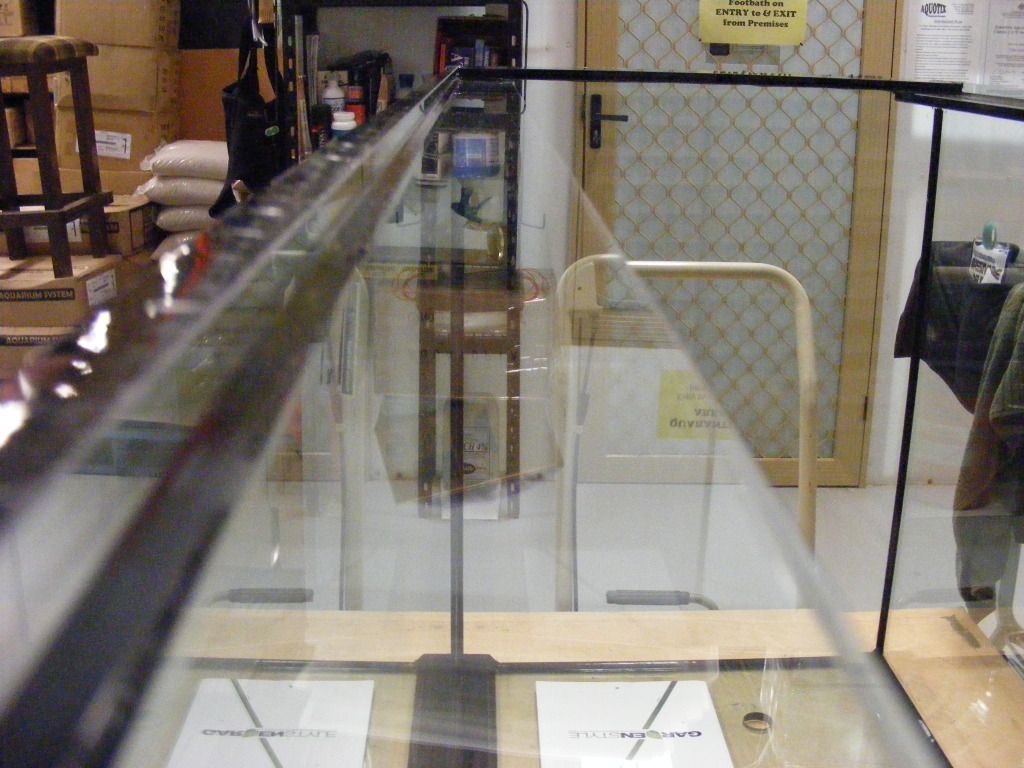
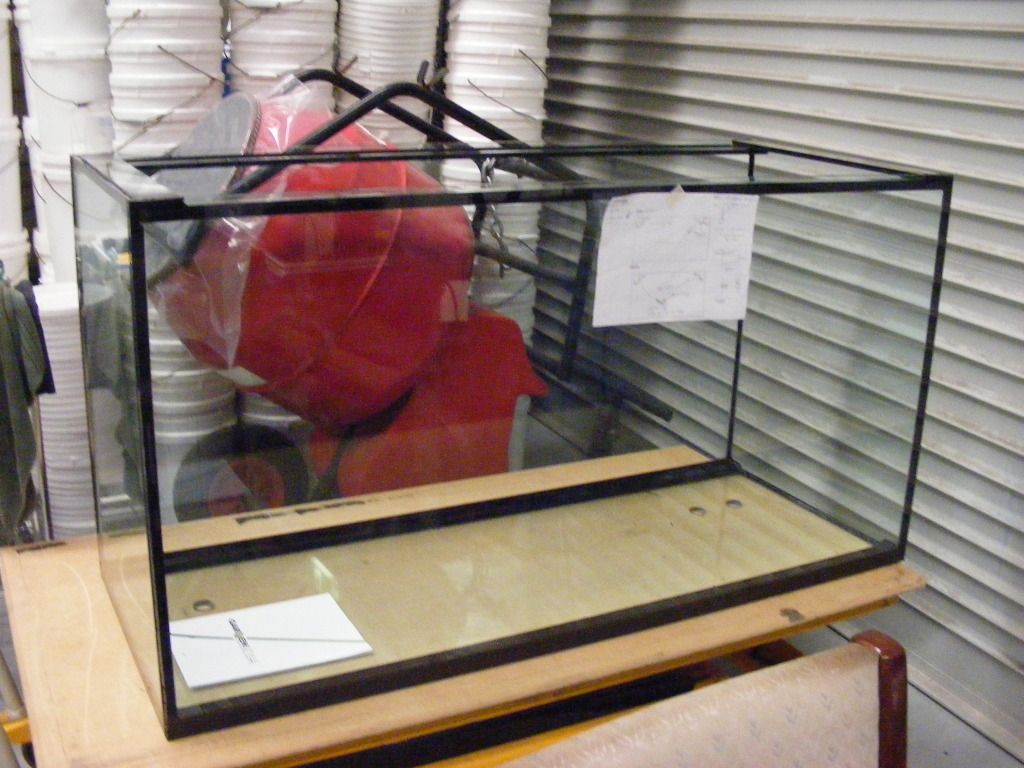
Here are some Pics from Saturday(19-5):

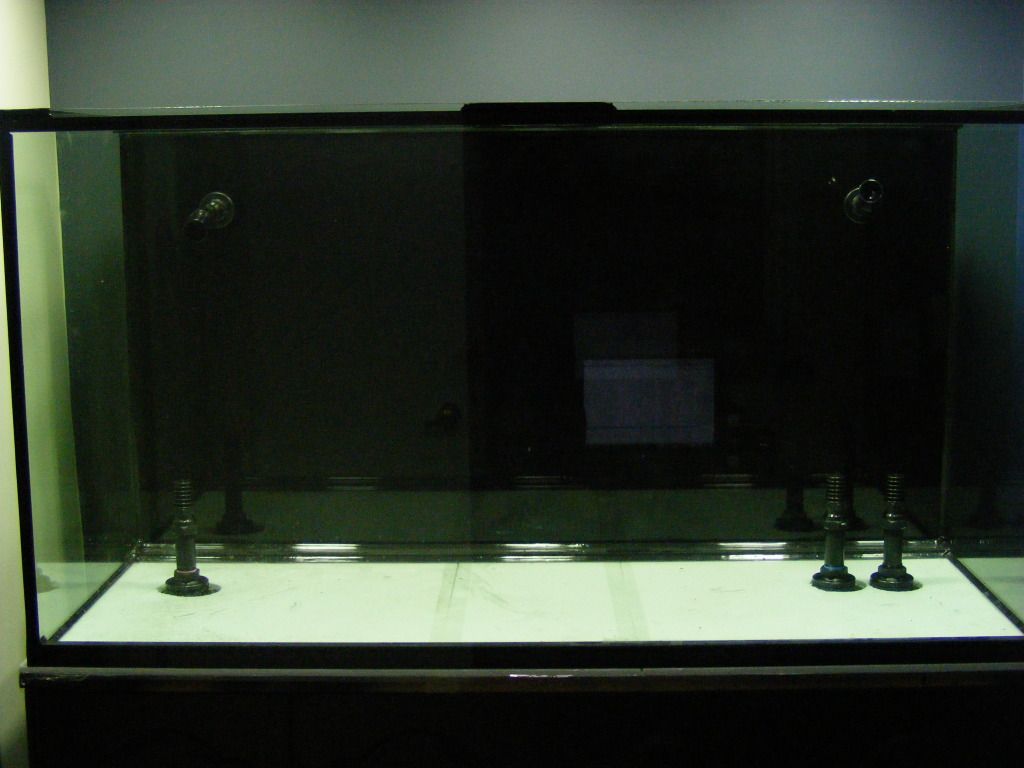
The tank is still being built and the top strap needs to be put on..

The strap was left off, so I could place a monster piece of driftwood in there...but figure I have more room for plants if I don't.
The smaller log from my shrimp tank will do fine.

I have been to most of the sponsors in Perth and I still fail to see a better made tank.
The black silicone gives you a fantastic straight line and an overall better look.
Sources say that it will last longer and is stain resistant. (Medications ect)
The tank was made Not 1mm out, perfectly to spec.

Really happy with the result.
Just have to wait for the silicone to cure.

Thats it for this entry, more next week.


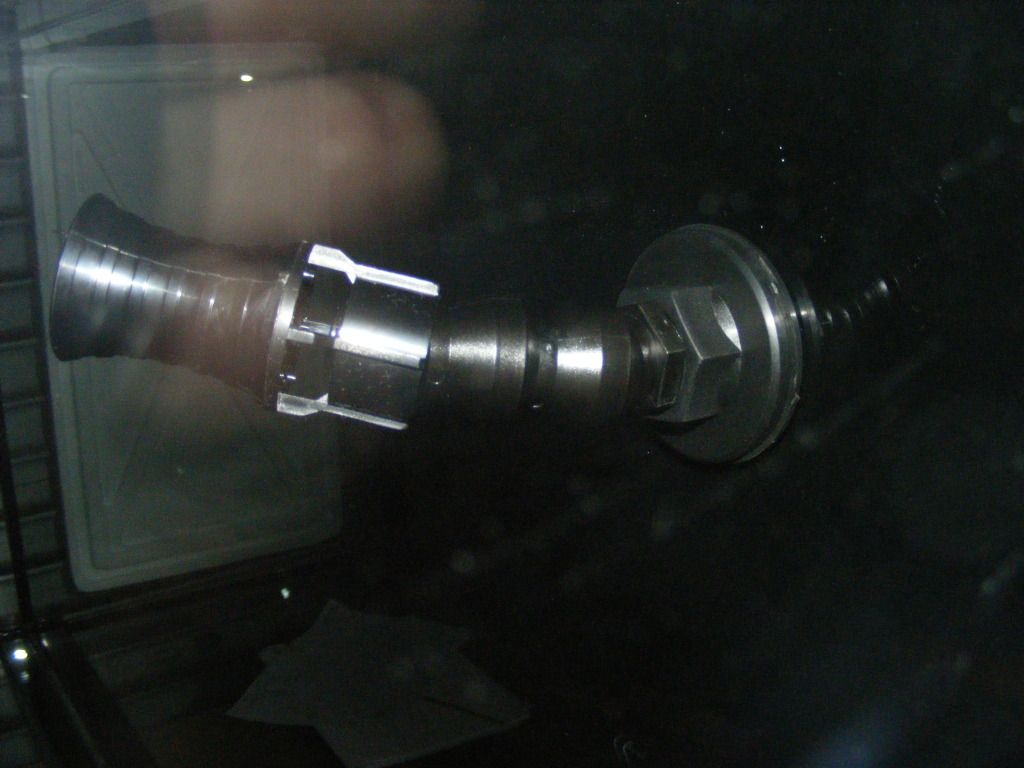
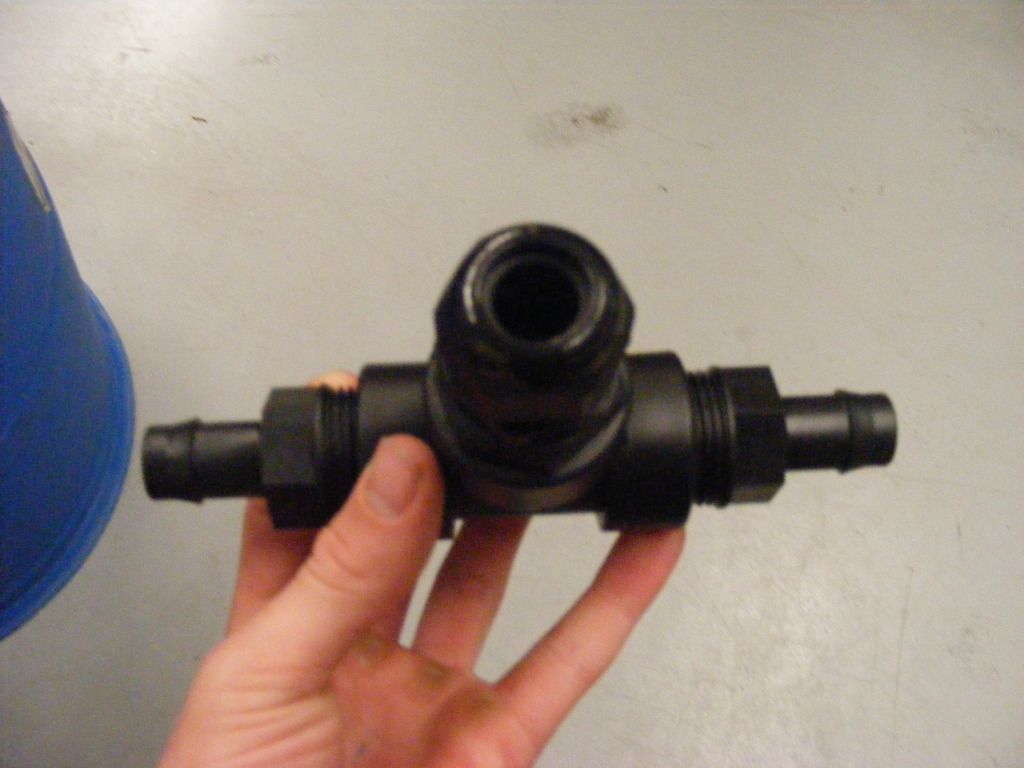
INLINE PROBE HOLDER:


Thanks.

Edited by Rovik, 24 March 2013 - 01:28 PM.


#2 dazzabozza

dazzabozza

    Life Member

  • Admin
  • Joined: 16-March 07
  • Location: Beeliar, Perth WA

Posted 21 May 2012 - 10:23 PM

Great looking tank Rov. Much dearer than the run of the mill ones?

#3 Bowdy

Bowdy
  • Forum Member
  • Joined: 21-May 10
  • Location: Parkwood

Posted 21 May 2012 - 10:37 PM

the tank is shmick mate. nice one

#4 SamJohns

SamJohns
  • Forum Member
  • Joined: 31-March 12
  • Location: Maylands

Posted 21 May 2012 - 11:49 PM

Nice man. Both my tanks now have black silicone. I much prefer it. Even just for the asthetics.

I was thinking about building my next tank myself. Wood frame, ply walls, perspex front and rubber inlay. But Ollie messaged me about a custom build and to be quite honest I'm swinging more that way now. May not a bit more expensive. But I think I'll sleep better at night with "peace of mind" waking up to find a tank with no leaks!

Whats going in there? Or did you post that?

#5 Anka

Anka
  • Forum Member
  • Joined: 01-November 11
  • Location: Kallaroo, WA

Posted 21 May 2012 - 11:53 PM

I'm excited to see the end!

#6 waruna

waruna

    New Life Spectrum

  • Sponsor
  • Joined: 31-August 06
  • Location: Perth, WA

Posted 05 June 2012 - 06:51 PM

Good luck with it all, well done smile.gif

#7 Dr_Pat

Dr_Pat
  • Forum Member
  • Joined: 24-July 10
  • Location: Gosnells

Posted 05 June 2012 - 07:41 PM

Looked 100% better with the back painted. Keen to see how this one goes young padawan.


#8 sue

sue
  • PCS Club Member
  • Joined: 08-July 09
  • Location: Bassendean

Posted 05 June 2012 - 07:48 PM

The tank looks great. Keep the photo's coming.

#9 Rovik

Rovik
  • Forum Member
  • Joined: 12-July 10
  • Location: Bullcreek

Posted 05 June 2012 - 09:51 PM

QUOTE (Dr_Pat @ Jun 5 2012, 07:41 PM) <{POST_SNAPBACK}>
Looked 100% better with the back painted. Keen to see how this one goes young padawan.


Don't you "young Padawan" me. laugh.gif
You just volunteered to help me move it into its final resting place.

For all those who don't know what pat is talking about.
I have painted the back of the tank black with an oil based paint. Using the product ESP first. (easy surface prep)
Looks great with the silicone and will be much easier than trying to put a background on with all the flanges and hosing, not to mention that it is sandwiched up against a wall.
This way I never have to worry about the background peeling off down the track or moisture build up or whatever.

Its due for its second coat tomorrow so ill post pictures then.

#10 Craig

Craig
  • PCS Club Member
  • Joined: 20-August 06
  • Location: Perth

Posted 19 July 2012 - 07:30 PM

Any updates Rovik?

#11 Rovik

Rovik
  • Forum Member
  • Joined: 12-July 10
  • Location: Bullcreek

Posted 02 August 2012 - 01:04 PM

Wow, its been a long time, Due to many delays like the Flu, constant Test and exams the tank has been on the back burner.
Now with the cabinet done and the room its going in being painted today, I should have the tank by SUNDAY !

No help from dad as, "Its my project" ect.
Picked up many new skills like cabinet and wood restoration using a compressor and spray-painting.

Will pop down to the plumbing shop today to find some fitting for my hard plumbing ect.

Ill post some pictures today sometime of what I have done.

Cheers.
Rovik.

#12 Bowdy

Bowdy
  • Forum Member
  • Joined: 21-May 10
  • Location: Parkwood

Posted 02 August 2012 - 01:21 PM

If you need any 20/25mm PVC let me know I always have offcuts.

#13 Rovik

Rovik
  • Forum Member
  • Joined: 12-July 10
  • Location: Bullcreek

Posted 02 August 2012 - 10:35 PM

Thank you for the kind offer Bowdy, but dad say he "only" wants brass going through the wall.
And I have already picked up threaded PVC for the cabinet from Aquotixs along with all my fancy Hansen fittings.

Edited by Rovik, 02 August 2012 - 10:36 PM.


#14 Rovik

Rovik
  • Forum Member
  • Joined: 12-July 10
  • Location: Bullcreek

Posted 17 August 2012 - 09:55 PM

Yay, Things are finally happening.

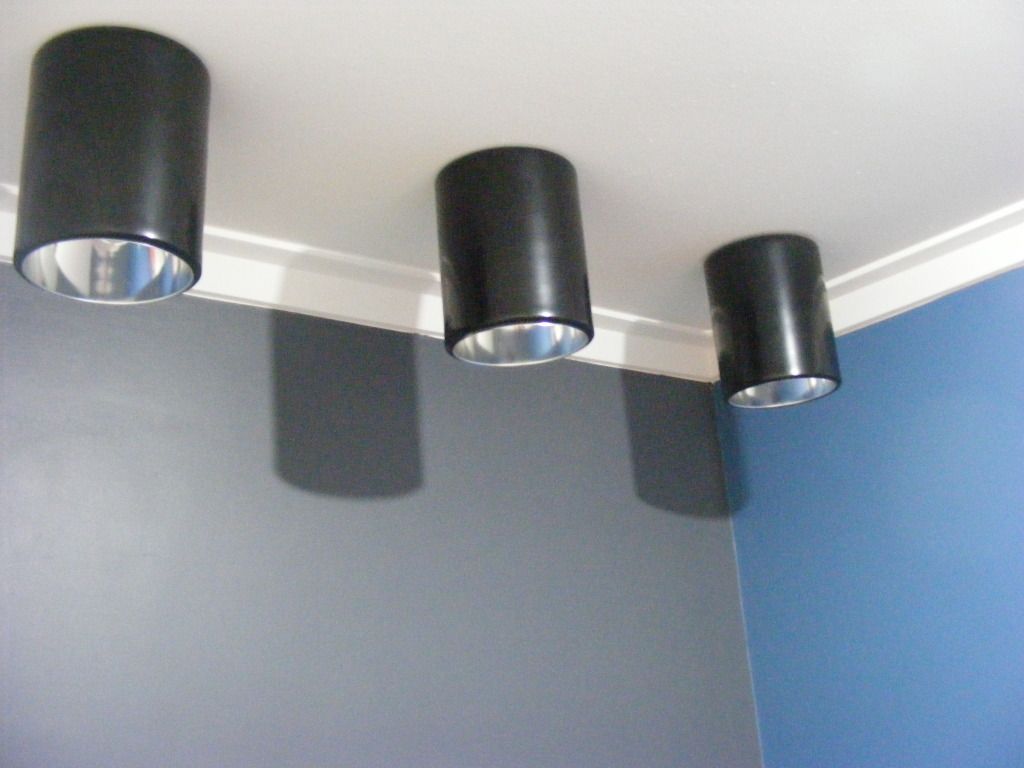
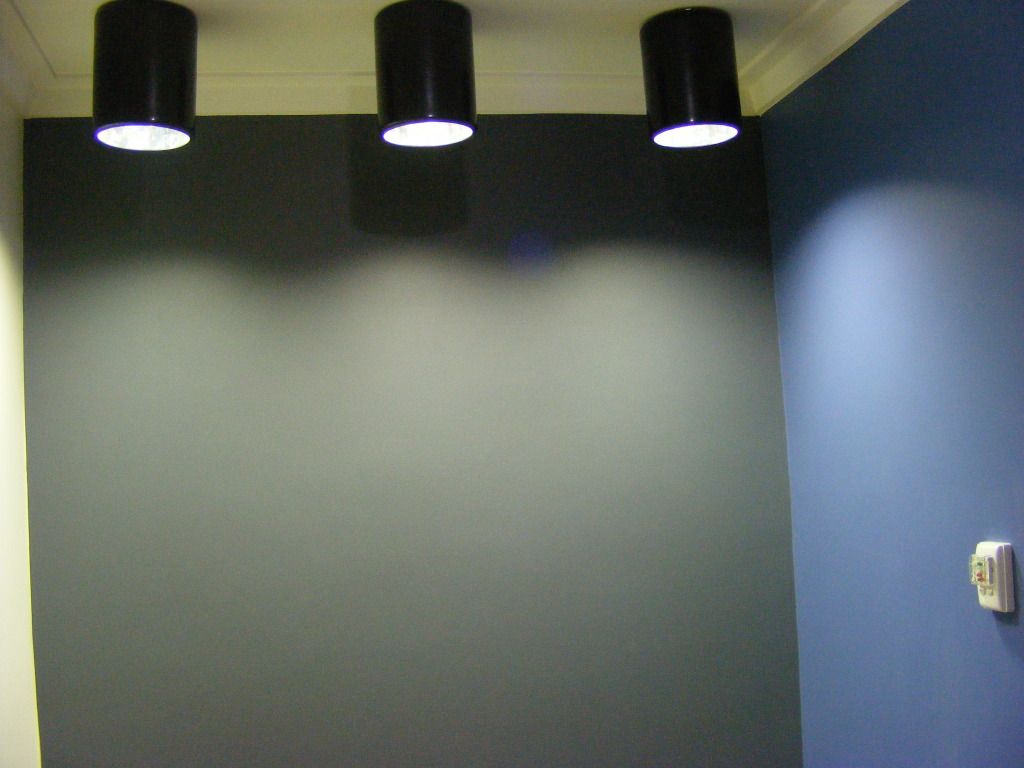
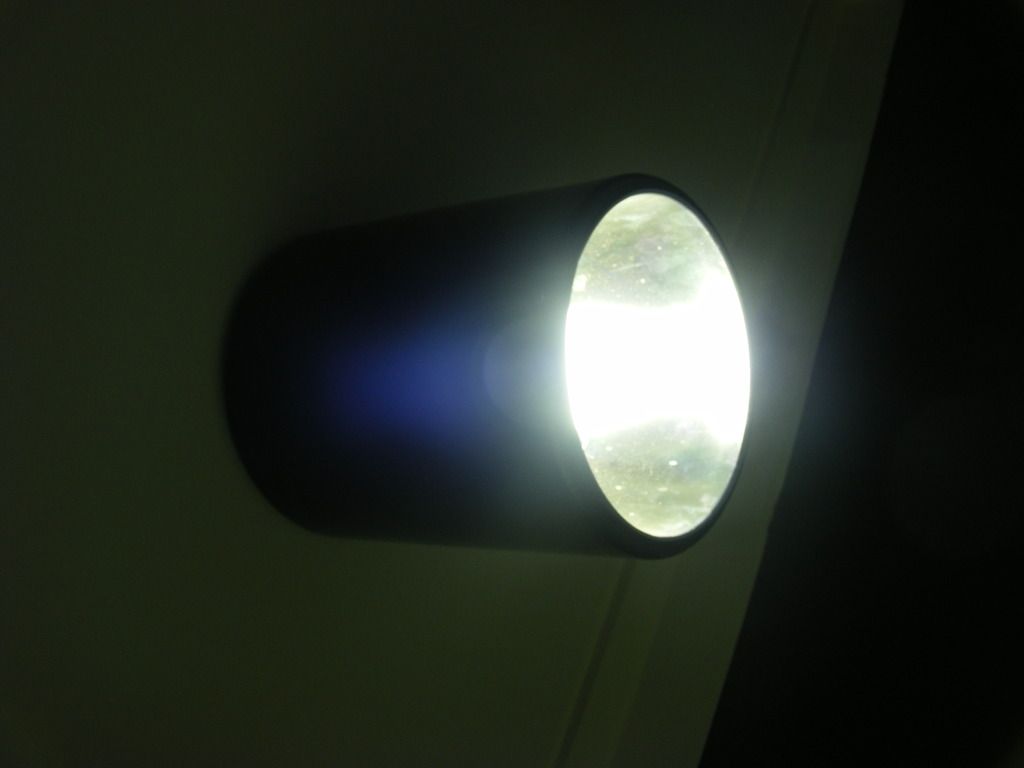
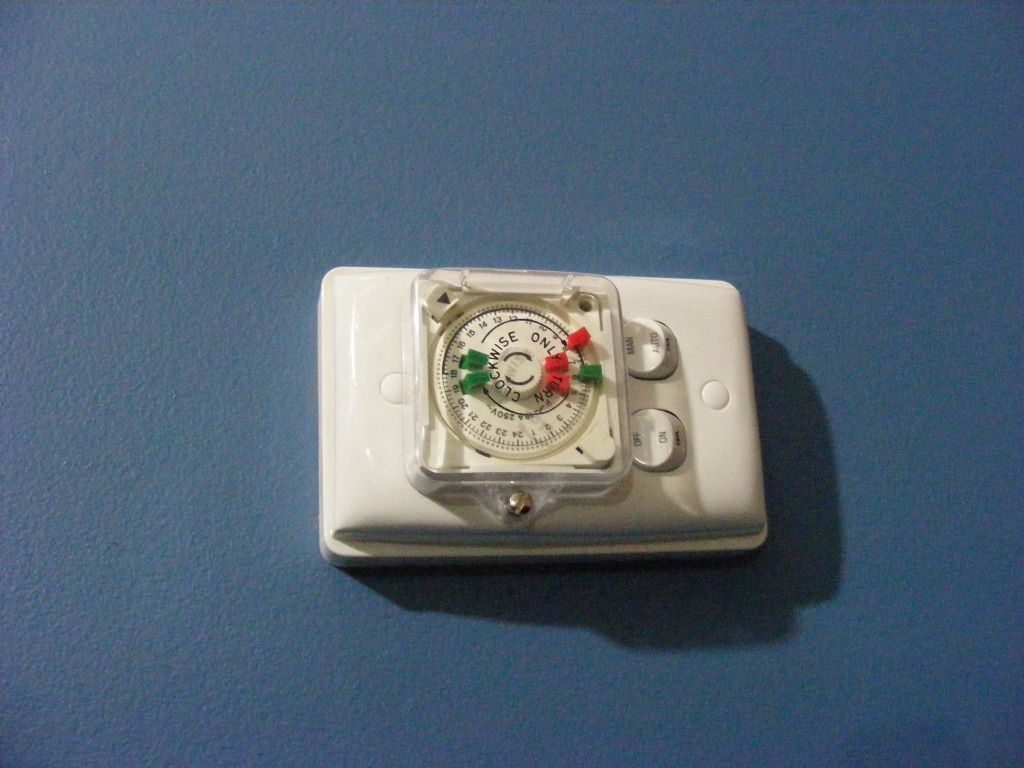
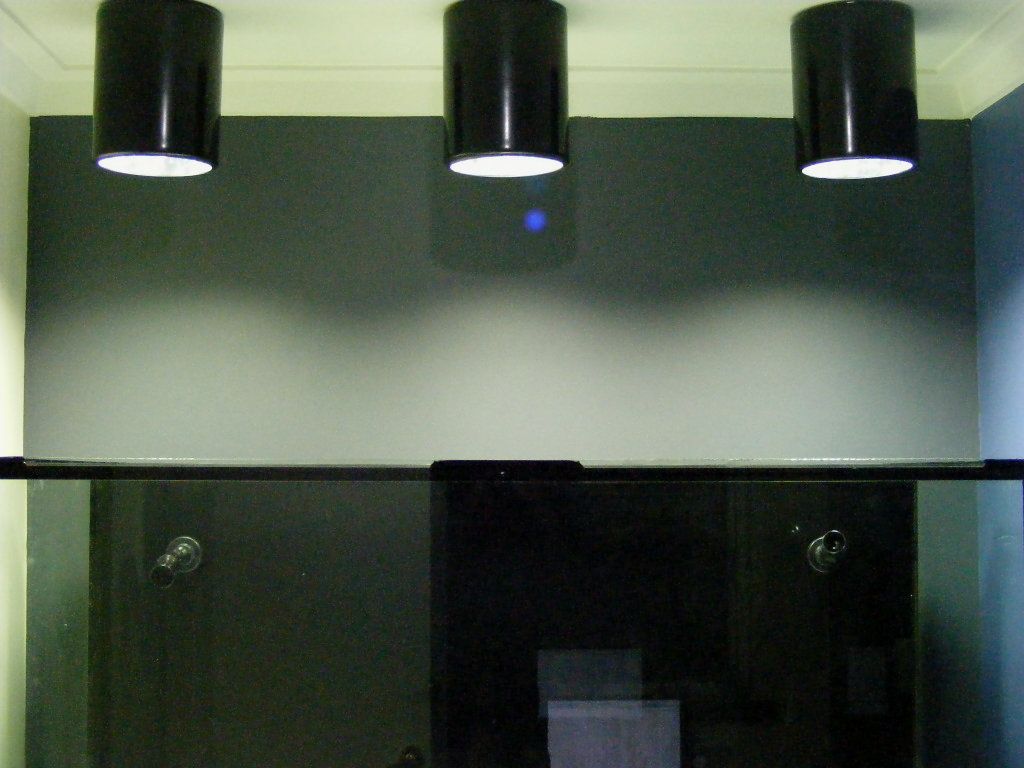
The Room is painted and lights have been hard wired and a timer installed on the wall. Neat and tidy.
The lights are 3x 125w Mercury Vapour, However "Old school"...They are perfect for what I am after and the colour rendition is great.
Nice clean white/day light.

A Massive thanks to Ollie (Aka Mr_Docfish) for helping me source these lights. cheers.gif


______________________________

______________________________

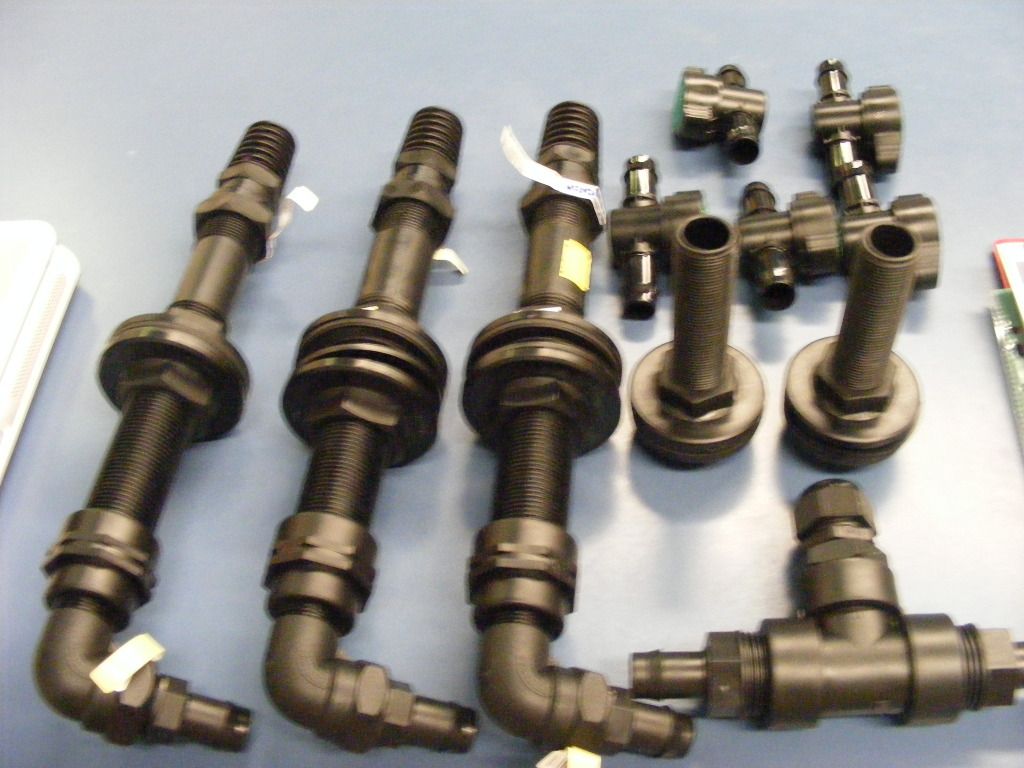
In this segment:
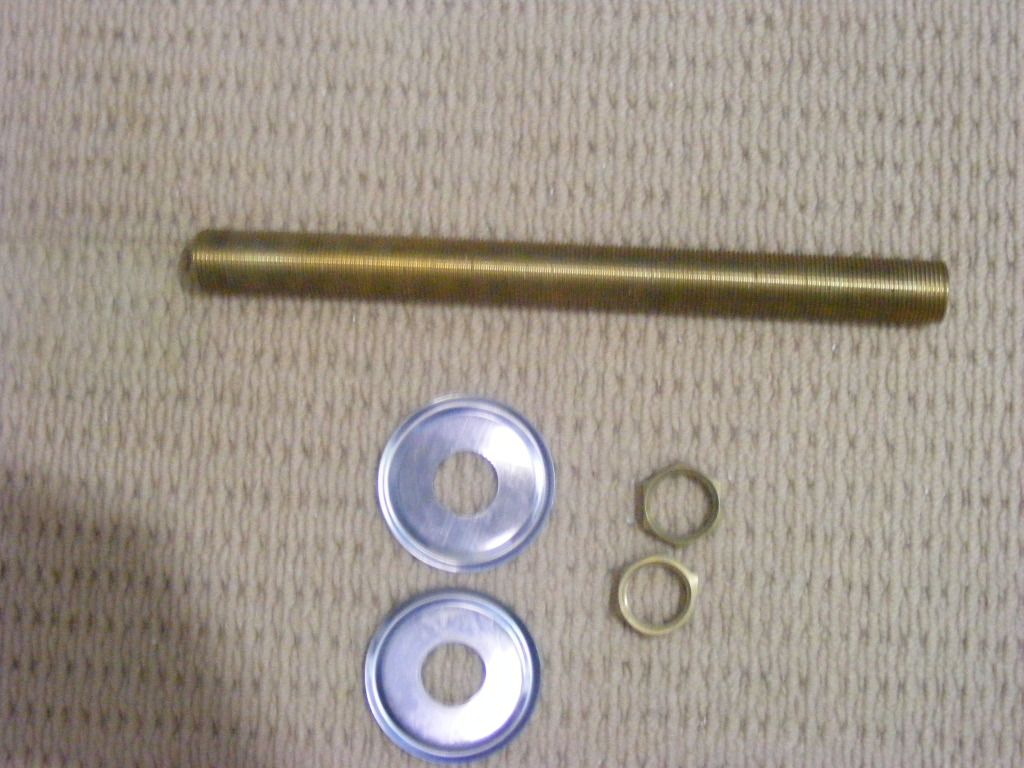
The piping for the wall to the tank,
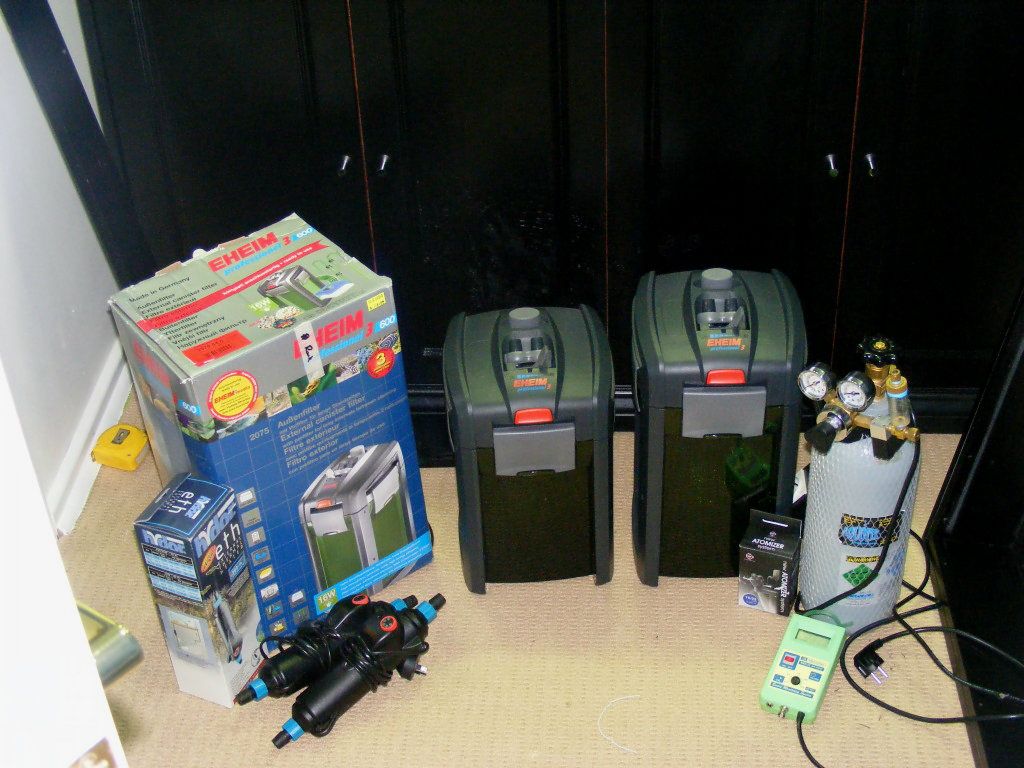
and 3/4" flow accelerators for the double outlet from the 2x Pro3 cannister filters.

The Flow accelerator will increase the flow because of the venturi effect it creates and are on a Loc-line fitting so they can swivel in any direction depending on where I want the flow. I think these look so much better and serve a much better purpose than standard outlet ect.


Edited by Rovik, 17 August 2012 - 09:57 PM.


#15 Rovik

Rovik
  • Forum Member
  • Joined: 12-July 10
  • Location: Bullcreek

Posted 30 August 2012 - 10:38 PM

Man, What a week.

Tank is now in place and should be filled by Tomorrow ! (31/8) yay !
Had troubles moving the tank in as its a 5ft tank in a 6 ft room leaving no room either side for manpower to lift so we ended up hiring a jack lift table and that did the job.

Really excited to wash 80kgs of gravel and Finnish the plumbing. biggrin.gif
Then I get to do the fun bit and plant.
Don't really have any theme in mind, just going to plant and hope for the best...then rearrange later after its grown a little bit.
Fine Aquascaping is just too hard with a 32" tall tank.

Thanks.
Questions or comments?, I appreciate your feedback guy.

Photos:


#16 Craig

Craig
  • PCS Club Member
  • Joined: 20-August 06
  • Location: Perth

Posted 30 August 2012 - 11:06 PM

QUOTE (Rovik @ Aug 31 2012, 01:38 AM) <{POST_SNAPBACK}>
Don't really have any theme in mind, just going to plant and hope for the best...then rearrange later after its grown a little bit.
Fine Aquascaping is just too hard with a 32" tall tank.


Try telling that to Tom Barr. Have you seen his Behemoth? 4ft tall if I remember correctly.

I'd high recommend putting some though into the layout. It would be a shame to see such a clean and elegant set up turn into a jungle (nothing wrong if you like that style, but you have more potential than that smile.gif ) Plan out your hardscape well and plant around it.

With regards to your current bulkhead height, I would consider raising them (depending on they way you plant out the tank). Mine were the same as yours intially, but plants would be sucked right into them (see my 7x2x2.5' journal for pics).

I see you are using the Atomizer. Id recommend ditching that for a Sera Flore 1000 reactor. You will use less CO2, get better disolution and no CO2 mist.

All the best with whatever you choose to go with.

Craig

#17 dazzabozza

dazzabozza

    Life Member

  • Admin
  • Joined: 16-March 07
  • Location: Beeliar, Perth WA

Posted 30 August 2012 - 11:11 PM

Is all that brand new gear Rov? Did Oli give u a pay rise or something? wink.gif

Hard to tell from the pic but is there a center brace? Will that affect the light penetration of the centre light?

Thought about adding some solar tubes between those light fittings to get some "free" light/energy?


Good job!

Dazza

#18 Rovik

Rovik
  • Forum Member
  • Joined: 12-July 10
  • Location: Bullcreek

Posted 31 August 2012 - 10:08 AM

@Craig

Thanks.

I do have some layout in mind, I tend to always lean towards Dutch themes, planting in groups with minimal hardscape, however this does have its downfall as it requires constant trimming to keep the stems looking good, compact and bunched as you would know, I'm more of a aquatic farmer but Ill give it a go. I used to be really into the "Amano- nature aquarium" style and have read many of his books but I'm over that phase now, Inventing my own style. biggrin.gif

I have one large moss covered log (shrimp tank log) which will hide the strainer on the right side, I wont be planting around there.
But the left side is a consideration, Ill see how he goes but if start eating plant ill just use a joiner and more pipe.

The bottom of the strainer will only be about 3-5cm from the gravel as I am planning to have a very thick gravel bed to provide extra surface area for my various types of Nitrobacter as well as lots of area for the root systems.

As for the CO2 diffusion, I did have a choice between the atomizer and the Sera:
I chose the atomizer over the reactor because you can see the micro bubbles and know when it is on/see it working, even though it waste CO2.
Your making me doubt my choice now. wacko.gif
It was a hard choice to make as I also have limited room in the cabinet. Ill have to re-evaluate this one.


@Daz

Pay rise, No. Just lots of hard work. wink.gif As well as the generosity and kindness of other, Ollie himself included.
The only new pieces of equipment is Larger Eheim (2075) and the atomizer.
The rest has been accumulated slowly over a period of 2 years with lots of "wheeling and dealing".

The centre brace shouldn't impact on light penetration too much as long as its kept clean, the light have a fair amount of spread so I'm not to fust.

I had a look at the solar tubes, might be a good option. One issue is that you cannot control the photo period, but hey, its free light.
They are great in conjunction with normal lighting, best of both worlds.
Ill see how I go with these lights and if I'm not satisfied with the growth of the plants or the power bill, ill look into it.

Do you know how much they cost ?
2 in-between the lights i have would be good. I wont rush into anything, trail and error I guess. The lighting I have should be plenty.

Thanks for the kind works guys.

#19 dazzabozza

dazzabozza

    Life Member

  • Admin
  • Joined: 16-March 07
  • Location: Beeliar, Perth WA

Posted 31 August 2012 - 12:44 PM

Not sure of the cost. It was discussed here many moons back - http://www.perthcich...?showtopic=9806

Check out the MASA link for the guy who did it as he may mention costs in there.

#20 Craig

Craig
  • PCS Club Member
  • Joined: 20-August 06
  • Location: Perth

Posted 31 August 2012 - 02:40 PM

If it's not too late, definitely switch to the Sera reactor. You won't regret it.

Solar tubes are a pretty interesting idea Daz. Im assuming you are still living with your parents Rovik? I know mine wouldn't be too chuffed about me cutting holes in the roof for solar tubes laugh.gif

What substrate are you going with?


0 user(s) are reading this topic

0 members, 0 guests, 0 anonymous users